How to Isolate Objects in Photoshop
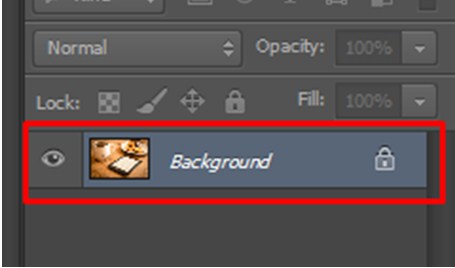
Today we will take a look at a few techniques for isolating objects in an image. Open up an image to work on. After loading the image,we can see this is simply one layer.
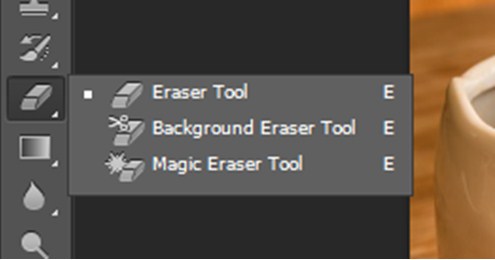
The image that we have selected is very simple in terms of complexity so cutting it out shouldn’t be too much of a problem. We will be using some tools which will make cutting certain images or removing a background pretty easy. We will look at this eraser tool, there are different option attach with it as example a background eraser tool and a magic eraser tool.
These are both very similar. The background eraser tool give us the option of having a brush. You can adjust the size of the brush, the hardness and the spacing with the sliders.
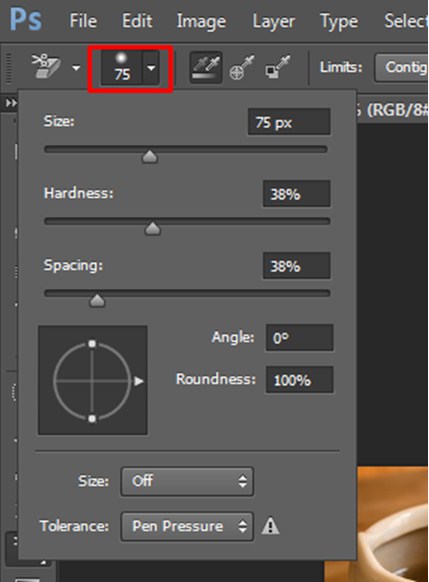
Let select the brush size to 75px and hardness to 38% and with these selection we begin to remove the background around the tablet. A you can see there’s a slight issue; a big issue when you try to remove the background around the tablet. As it is kind of taking the inside portion of the tablet as well and obviously this is not desirable.

To avoid doing so let’s undo this by pressing Ctrl +Z. Now if we look upon the menu bar we will find Tolerance.
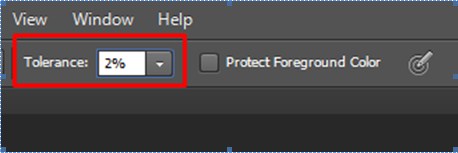
So the higher the value, the percentage value is more it will take away. So if we change the value to 2% and then we remove the background around the tablet, we can see its not taking any major portion surrounding the tablet.
The same thing applies here to the magic eraser tool. When you’re working with the eraser tool, with this type of image, you can just simply click and it will take away everything all at once. This happens without you having to use the brush. So we go back to 1% for the opacity, regular tolerance to one and we will see it has remove the background.
You might have also noticed this included the shadow. To see the result a little more precise we will try to increase the value of tolerance to 10. Now you see a subtle nice positive change. We got rid of a little bit more of the background with the shadow. We could choose to fill it in a darker color. We can compare the result to see that the result of this which actually not a bad result. But around some of the portion we can see slight issue with some of the white coming outside of the tablet.
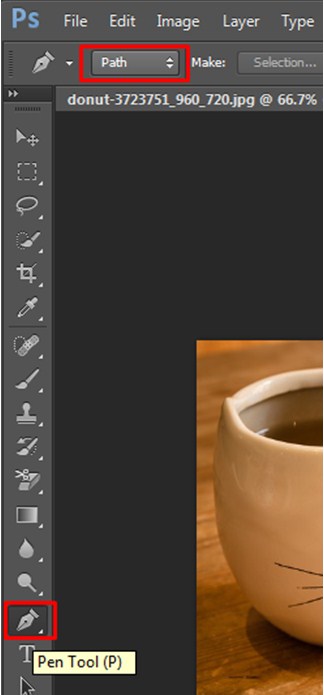
When it comes to these type scenarios, where the background color is very similar to the color in the object and you want to have a precise selection of the image then we use pen tool. Press Ctrl + Alt + Z few times to return to the initial stage. Select the pen tool and make sure it is on path.
An article with Clipping path instruction: Read here.
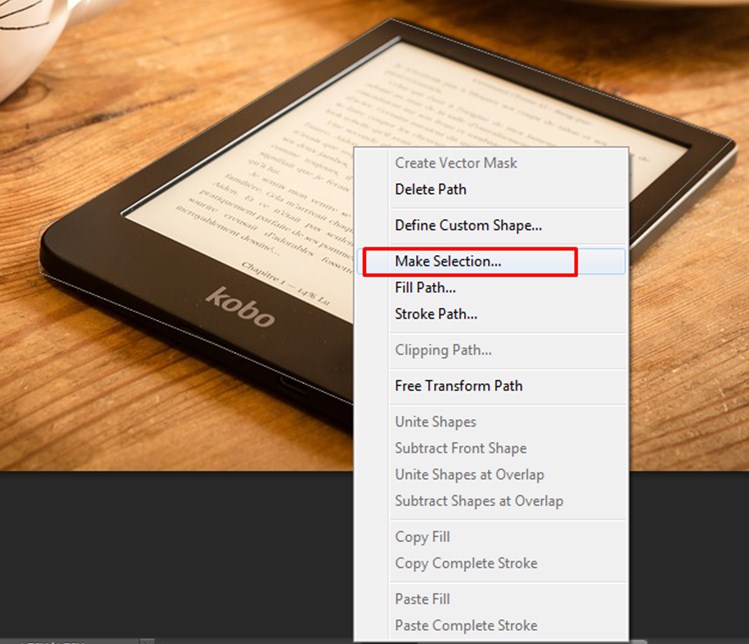
Select Make Selection by using the right side of the mouse and a dialog box appears. You have anti-alias line which is definitely what you want to be selected now press okay
It may invert the selection, selecting everything outside, in that case press Ctrl + Shift + I if this is not the case then move on to the next step. So now it’s only selecting inside the image. Press Ctrl+ C to copy and then Ctrl + V to paste. So now we have basically its own layer above the background layer. Now if we select the background layer and we go to Edit and select Fill.
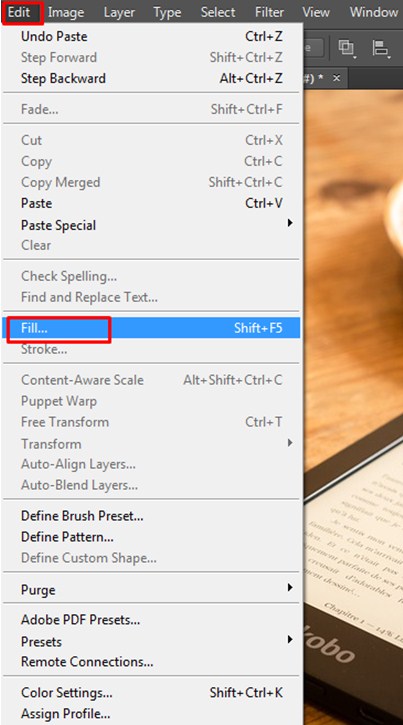
We will press OK. We can now see that we have white color surrounding the tablet. Basically this is a perfect crop out of the tablet as it is completely isolated from the background.
For some reason if you wanted to quickly add a drop shadow you can actually do that with the Layer Styles. Double-clicking like that layer and just go to drop shadow.

Fill the opacity to 100% . Change the blend mode to normal. Press okay and this is how we’ve officially created a nondestructive sort of short shadow.
So that is one way of working with isolating a very simple object using the pen tool and also experimenting with the background eraser tool and the magic eraser tool.

Adobe has been working hard to give us a better 3D tool in Photoshop. In this tutorial, you will learn how to make simple 3D text effect. We will be using ‘Repousse Tool’ to create this effect. Photo Courtesy … Continue reading How to Make Simple 3D Text Effect in Photoshop
Read MoreIn this tutorial, you will get to know about the tool that is used for many purposes and one of the most important tools in Photoshop coined as the ‘liquefied tool.’ The shortcut tool of … Continue reading Usage of “Liquified Tool” in Photoshop
Read More