
How to Create Starburst Effect in Photoshop
Here, you will learn on how to create starburst effect in Photoshop. I hope it will help you both the beginner and advanced level of students in a great deal.
Photo Courtesy – http://robertsproductions.net/
At first, go to File> New and make 1000 by 1000 pixels of document. Now, make sure the foreground color is selected as white wile background color as black. Select ‘gradient tool’ and draw a straight line onto the document. Go to Filter> Distort> Wave from the above toolbar. Make sure the wave is selected as ‘Square.’ Again, go to Filter> Distort> Polar Coordinates. Make sure it is selected as ‘Rectangular to Polar.’ As it is shown black and white, to make it color effect, you need to go to Image> Adjustments> Color Balance. Make some adjustments there. That sums up the whole process.
I hope that it will help you and from now on, hopefully you will follow this procedure more often in Photoshop and be an expert in this field in the future.
Here, you will learn about how to remove an image background through Photoshop. I hope that it will help the beginner level of Photoshop users especially. Photo Courtesy – http://onlinebusiness.about.com/ We can remove the background from … Continue reading How to ‘Remove Image Background’ in Photoshop
Read More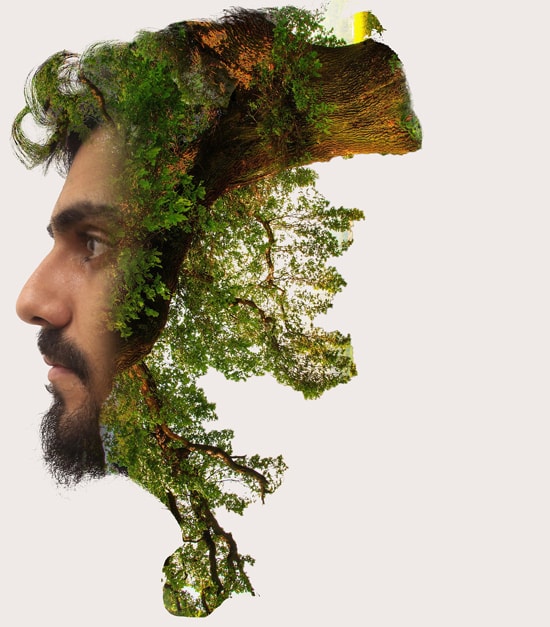
In this tutorial, we will create a trendy double exposure effect in Adobe Photoshop with the help of Blending Modes and Clipping Masks in a few steps. Open the image that you want to work … Continue reading How to Create a Trendy Double Exposure Effect in Photoshop
Read More