Destructive and Non-destructive Editing in Photoshop
Today we are going to talk about destructive vs nondestructive editing in Photoshop. It is hugely important topic to understand but fortunately it’s also simple. A destructive verse nondestructive edit simply means either you are permanently altering the pixel data in the photo or you’re not.
So let me show you what I’m talking about. Open up a file of our choice to work on, we have selected a nice photo of a bird. Let’s say for example we wanted to change something about this specific photo.

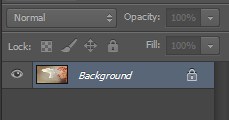
So we can see we have a background layer.
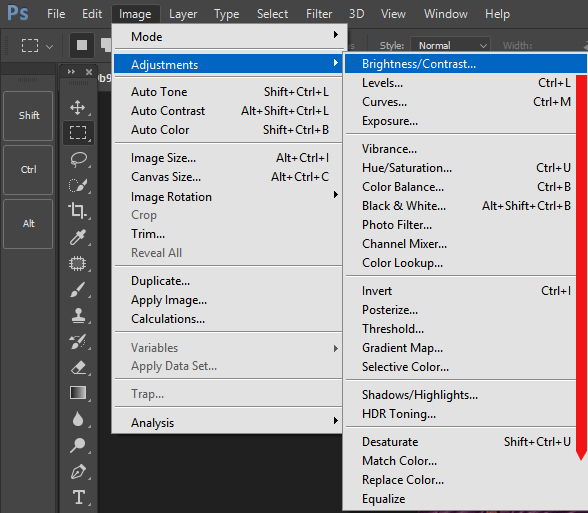
We want to change the contrast. So, let’s say we want to increase the contrast of this image. The destructive way of doing this would be to go to Image then Adjustments and applying any of these adjustments. So in our context we are going to specify brightness and contrast.
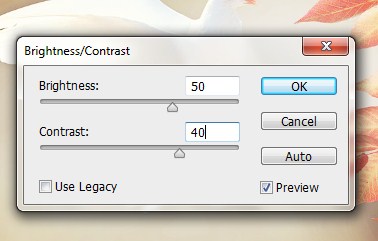
Select brightness and contrast and a the box appear with two sliders. To increase the contrast was simply take the slider and increase it by moving right also decrease it by moving left. Let select the slider in between 40 to 50 and press OK.
Now what has happened is that the change of contrast and brightness is applied directly into the pixels of the original photograph. So this would be considered a destructive edit. This is because there’s no longer a way for us to go back and really work with the original pixel data. Now of course we can go to Image->Adjustments and brightness and contrast and try to work with it more but you would really lost the original detail that you once had. This would be considered a destructive edit.
So let go back in the original format of the image. Press Ctrl + Z to undo what we have done so far.
To approach this in a nondestructive way we will be using adjustment layers. So the way we do that is by going to Window and Adjustments. The adjustments panel appears and we can see we have a number of function in the box. We will choose brightness and contrast from the box.
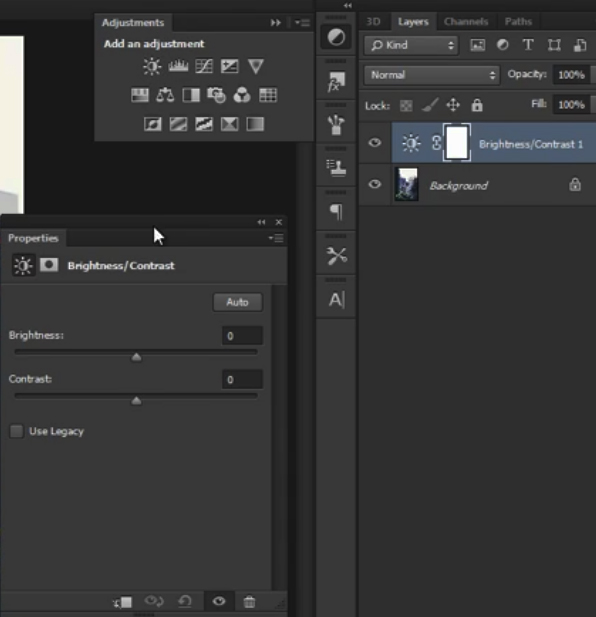
Unlike destructive methods where selecting Image->Adjustments and then applying brightness and contrast we are now selecting adjustment layer instead of breaking that information into the pixels.
Note if you want it to only include the layer beneath it remember to click this button shown below.
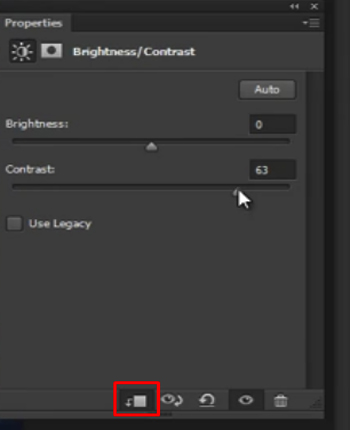
This mean, it will only apply it to this layer. So if you had a Photoshop document with many layers but you only wanted to apply to the specific layer then click this button.What’s really cool now is we can hide this layer by clicking on the eye icon. In this way can see the original pixel data.
And you can see the image is not permanently changed in any way as it was done in the case of destructively. Click on the eye again to have the edit option enabled. So this would be considered a non-destructive edit. So now if you now change the brightness or contrast of the image then this will not have any effect on the original pixel.
What’s also really good is we can apply multiple adjustment layers and experiment with the saturation, the lightness of the image etc. In non destructive editing we add another layer and work on it instead of working on the original image.
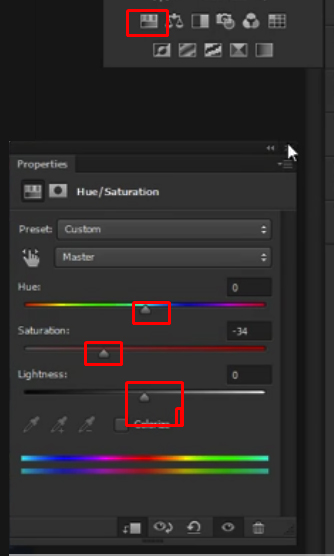
We can always experiment with hiding some of layer and showing them again. What is great is the fact that it is not destructive.
So when it comes to nondestructive vs destructive editing it doesn’t only apply to just adjustment layers, we also have what’s called Filters. This is the exact same scenario as the adjustment layers. Hide the Adjustment layers to reveal the original image. Now you will see on the menu bar we have Filter. We can add a filter directly onto the image. Let’s say we wanted to add a Gaussian Blur.
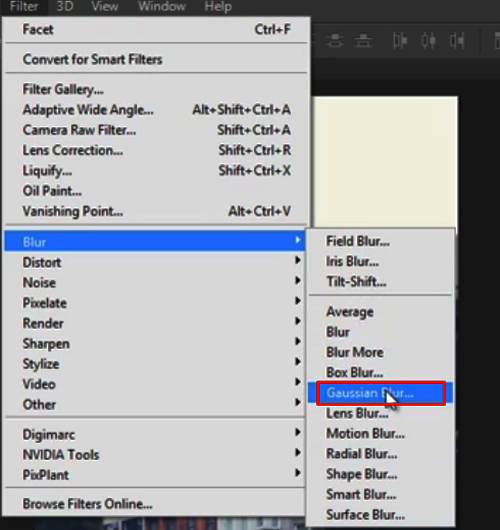
Press OK and now this blur has been permanently merged into the photograph. Now this would be considered destructive because we no longer have the original pixel data. So press Ctrl + Z to go back to the original image. Now to do it non-destructively we add Smart Filters. This would be the equivalent to Adjustment Layers. We right-click while hovering over the image to select Convert to Smart Object.
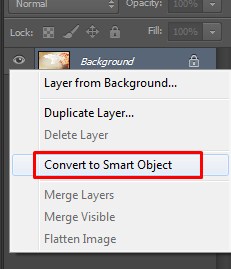
When we select Convert to Smart Object notice the icon change a little bit.
Now if we go back to the same menu Filter->Blur and Gaussian Blur and press OK. We will see beneath the background layer we will get the Smart Filters Layer.
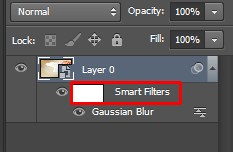
So now any type of filters that would add through this menu will be added beneath the smart filters section. As this has been change to a smart object. For example, you wanted to add noise of some sort.
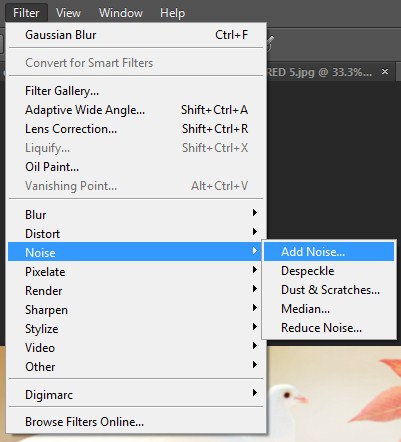
Increase the amount and press OK. Now you can hide all the smart filters or we can hide individually the actual filters themselves. This is done to see how it is looks like. The important thing now this is nondestructive.
Finally, we also have another way to manipulate a photo in a nondestructive way. So, let me go ahead and hide the smart object. Now double-click on the layer and this will bring up the Layer Style.
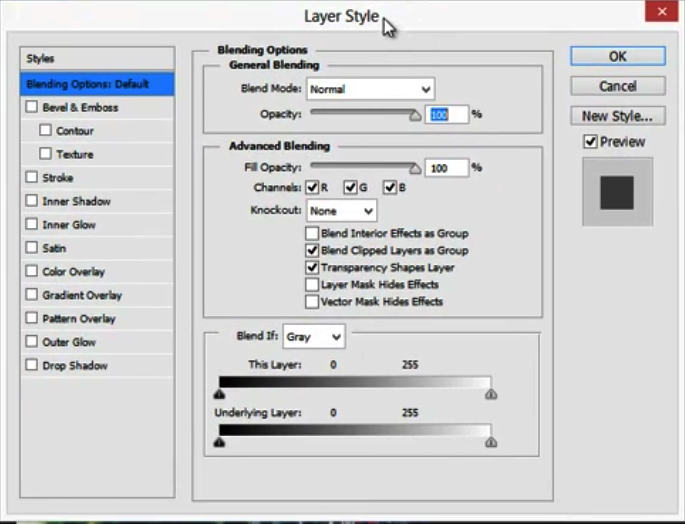
With the Layer style selected you can add for example Inner Glow. We have to increase the size so we could see the effect. Lets change the color to like a black and change the blend mode to normal. You will see you have this interesting sort of glow on the outside.
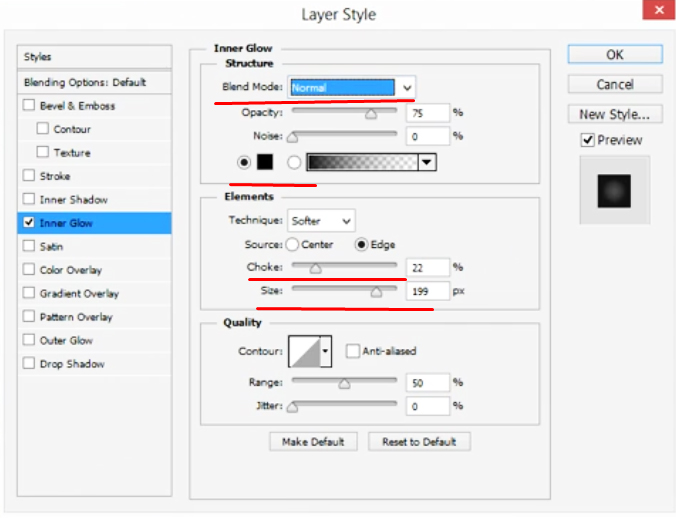
After selecting a suitable measure press OK. Underneath the image you have Effects and Inner Glow. Now you can hide this and as you could see it is non destructive. So if you double-click this again you want to add a second one, like a Color Overlay and change the blend mode to something of Color dodge and press OK. You can see you can have any number of those Layer Styles and it has not changed the original pixel data. So that’s the important thing to realize destructive vs nondestructive editing.
Related Articles:
How to do Non-Destructive Editing in Photoshop
Difference Between Destructive and Non-destructive Photoshop Operations