Basics of Layer Mask & Selection
The ability to create selections and use layer masks in Photoshop is easily one of the most powerful features available for optimizing your photographic images. In reality, Layer Mask is easier than you might think of. To start with, in general sense a selection is simply a way of telling Photoshop which area of an image you want to work with.
Before anything else let us cover some of the basics first. Open an image to begin working on with in. With Quick Selection tool click on the part of the image that you want to select. Press Shift key to select any additional part or pres Alt key to deselect any part.

So here is our image looks like after selection.
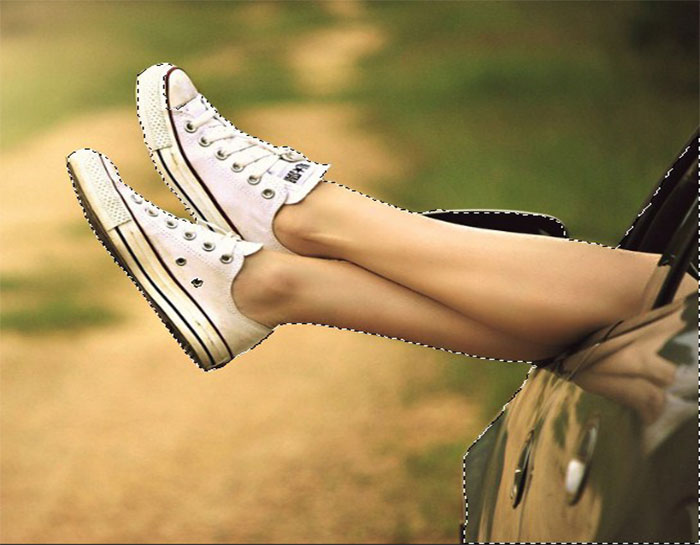
Original by Pixabay/ CC BY and edited by ClippingPathService.com
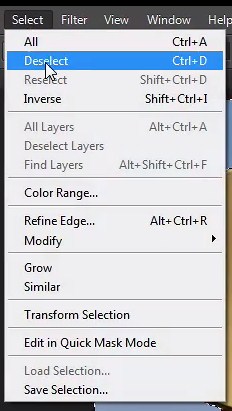
Let select part of the image that looks more prominent in the image. I wanted to share a couple of commands related to selections that prove useful in a lot of situations. At any time if I decide I don’t need the selection anymore I could choose Select > Deselect from the menu in order to remove that selection.
Now just sit back and take in some of these details to understand the concepts related to layer masks and selections. You will notice on the above image the marching ants. The animated line defines the boundary of the selection; what it actually defines is the boundary between areas that are completely selected and not selected .
I can use a selection as the basis of the targeted adjustment. For example go ahead and add an Adjustment.
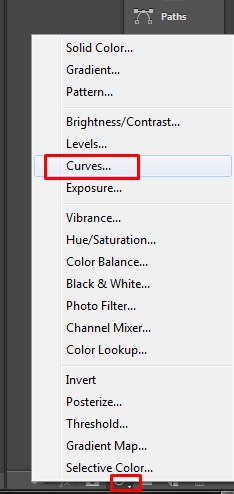
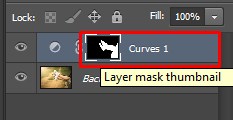
As, I have a quick selection active that adjustment will automatically be opened based on the selection. So my adjustment will only affect the area that I had. To find that selection we will just increase contrast a little so that we can see the selected part of the image is being affected but the background is not. This happens because we have a layer mask attached to our adjustment layer. In the context of layer mask black blocks and white reveals.
You can read this article to learn the use of layer mask in Photoshop
In the context of selections and layer masks we are talking about a variety of different things but they are actually in large part all the same. A selection is exactly the same thing as a layer mask is the same thing as an alpha channel is the same thing as quick selection mode. You might not know exactly what all of these things are yet and that’s okay. Let’s just take a look at how similar and actually simple they really are.
A layer mask defines which area of an image should be affected. In this case I’m using a layer mask to tell Photoshop that I only want my curves adjustment to affect part of the image. The way I’m doing that is to have a black and white image. White areas will be affected by the adjustment and black areas will not.
But what a selection look like? We always saw selection it looks like this marching ants but that’s not really how Photoshop looks at a selection. Photoshop looks at a selection as a black and white image.
Whereas, an Alpha channel is just a fancy way of saying that it is not one of the red green or blue channels that make up the color information in our photo. This is basically just an extra channel. Another alpha channel that’s not always shown to us is the quick mask mode.
In this case red sort of blends in go ahead and change the color of that quick mask mode to blue so that we can see a little bit more easily which areas are selected and which areas are not.
My real point is that when we are in the special mode for modifying selections, we get another temporary mask called quick mask. There is a selection not get saved in the process of being walked on but it is available and demonstrates. When it comes to layer masks, alpha channels selections, quick mask mode from Photoshop’s perspective they’re all exactly the same thing. They are all black and white images where white represents something that is selective or visible and black represents something that is not selected. We’re not visible in shades of gray or somewhere between partially visible partially selected etc.
So keep in mind as you’re working with selections and layer masks, things are not actually as complicated as they might seem on the surface behind the scenes things are pretty simple. Black and white in understanding these concepts. I hope I made selections and layer masks a much easier topic to measure.

Here, you will learn on how to create flare effects in Photoshop. I hope it will help you both the beginner and advanced level of students in a great deal. Create a new document. Click … Continue reading How to Create Flare Effects in Photoshop
Read MoreIn this tutorial, you will learn how to create masks through Photoshop CS5. I hope it will help the everyone and beginner level students of Photoshop specially. Photo Courtesy – http://www.popscreen.com/ In order to do this, you need … Continue reading How to Create Masks in Photoshop CS5
Read More