Photoshop Layer Masks for Beginners
Today we will talk about Photoshop layer masks. I’ll explain what layer masks are and how to use them in Photoshop. What does a layer mask do? It’s really simple; layer mask determines which areas of the layer hides which areas of the layer show up. Layer masks are a non-destructive way to edit your image. They allow you to apply creative effects to your photos selectively just where you want them rather than all over the image. It’s really a powerful tool if you can learn how to do it and get comfortable with it you have a lot more options.
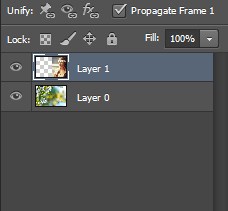
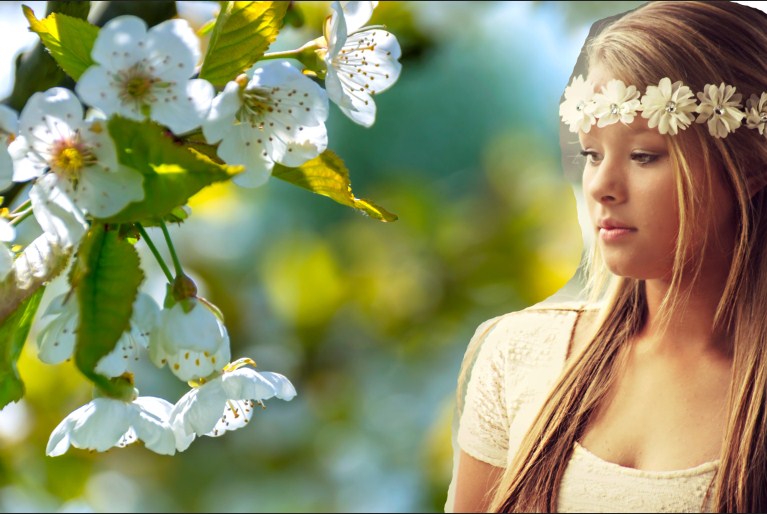
So first of all, let me explain a little bit about how layer mask works. If you look the image below you will find that I’ve got two layers set up. A basic texture at the bottom and on top is a picture of a model.
Basically what the layer mask does, it allows you to see through a layer down to the next layer. Here’s how we would use it.
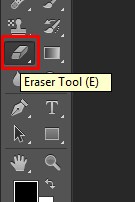
Let’s say you wanted to take the first layer of the model and have her on the background below it instead of the plain background. To do this, you got a few different options. If you are a beginner than the easy one is to grab the eraser tool and just quickly erase the background of the model image to make visible the layer underneath it with green background. As, we see, you will be seeing through to the layer below it.
However, it’s called destructive editing; you’ve gotten rid of those pixels by using the eraser tool in Photoshop. As you can see, we now don’t have the part of the picture anymore. We have lost information around those pixels. If you want to get some of the erased information back from the image later on then there’s really no easy way to get back your original image. So using the eraser tool is a destructive way of making part of your layer invisible.
All right let’s go into Photoshop again let’s undo this and now I’ll show how to do the same thing non-destructively with layer masks.
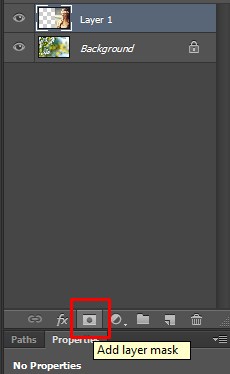
Click on the layer mask button, which is down at the lower left and when you click on it, it just opened up.
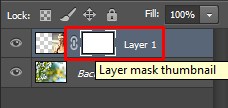
You’ll see that a second image right next to the original image with the chain appears. You want to be on this mask layer when you work on it. You don’t want to be working on the original layer here because you’re going to be destructively editing again. It’s completely white right now. White means that it’s completely transparent and not letting anything show through yet but when painted with black you can see through that mask.
Now the way a layer mask works is, rather than erasing out of the layer itself, it takes a mask and put it on top of that layer. So when we cut out or paint the mask, it cuts out that layer without getting rid of it and shows the layer underneath. The advantage of that is a mask is non-destructive, so we can paint it back. So, if we paint with black, it cuts it out, we see what’s underneath. If we paint with white; it covers it up again with that top layer. Now, if you would take the Eraser Tool and started to erase it, you’ll just make a hole in the image that you can’t recover, so that’s why we use a layer mask.
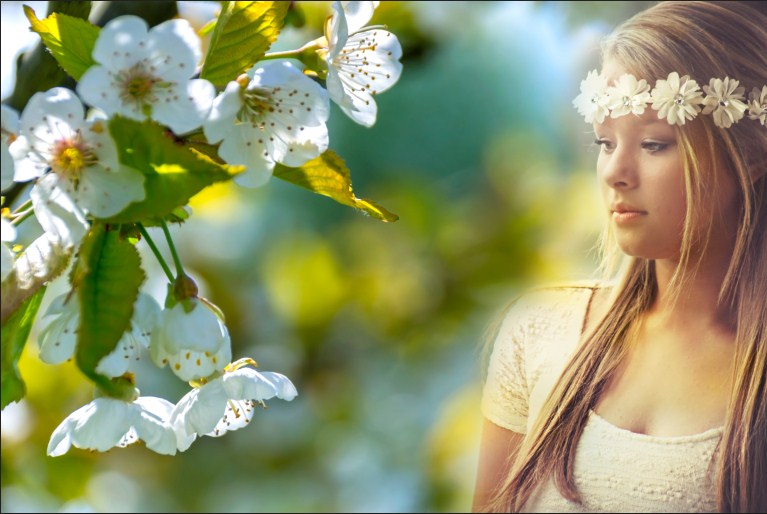
Alright, now let’s use the brush tool near the blank space beside the model. Use black color and with the black brush, you can make the brush a little bit bigger or smaller with these { & } and just paint over the layer on the image. As you can see we have all information about this original image still intact, but we only covered some part of the layer by using a mask. Decrease the opacity a bit and you are done. But what if you messed up while painting; well you can easily fix this by using a white color. You can go to the white layer mask, use the white brush and just paint back everything or some part of the image that we want to have it back. As you can see its good way to erase or hide something in Photoshop.
Remember, on the layer mask, the black color is for hiding and the white color is for revealing part of the layer.
You are in control of how much it reveals where it reveals the part of the image. It’s totally in your hand. It is reversible and it’s completely changeable at another date as long as you hang on to these layered files.
Create a black and white picture with colored areas
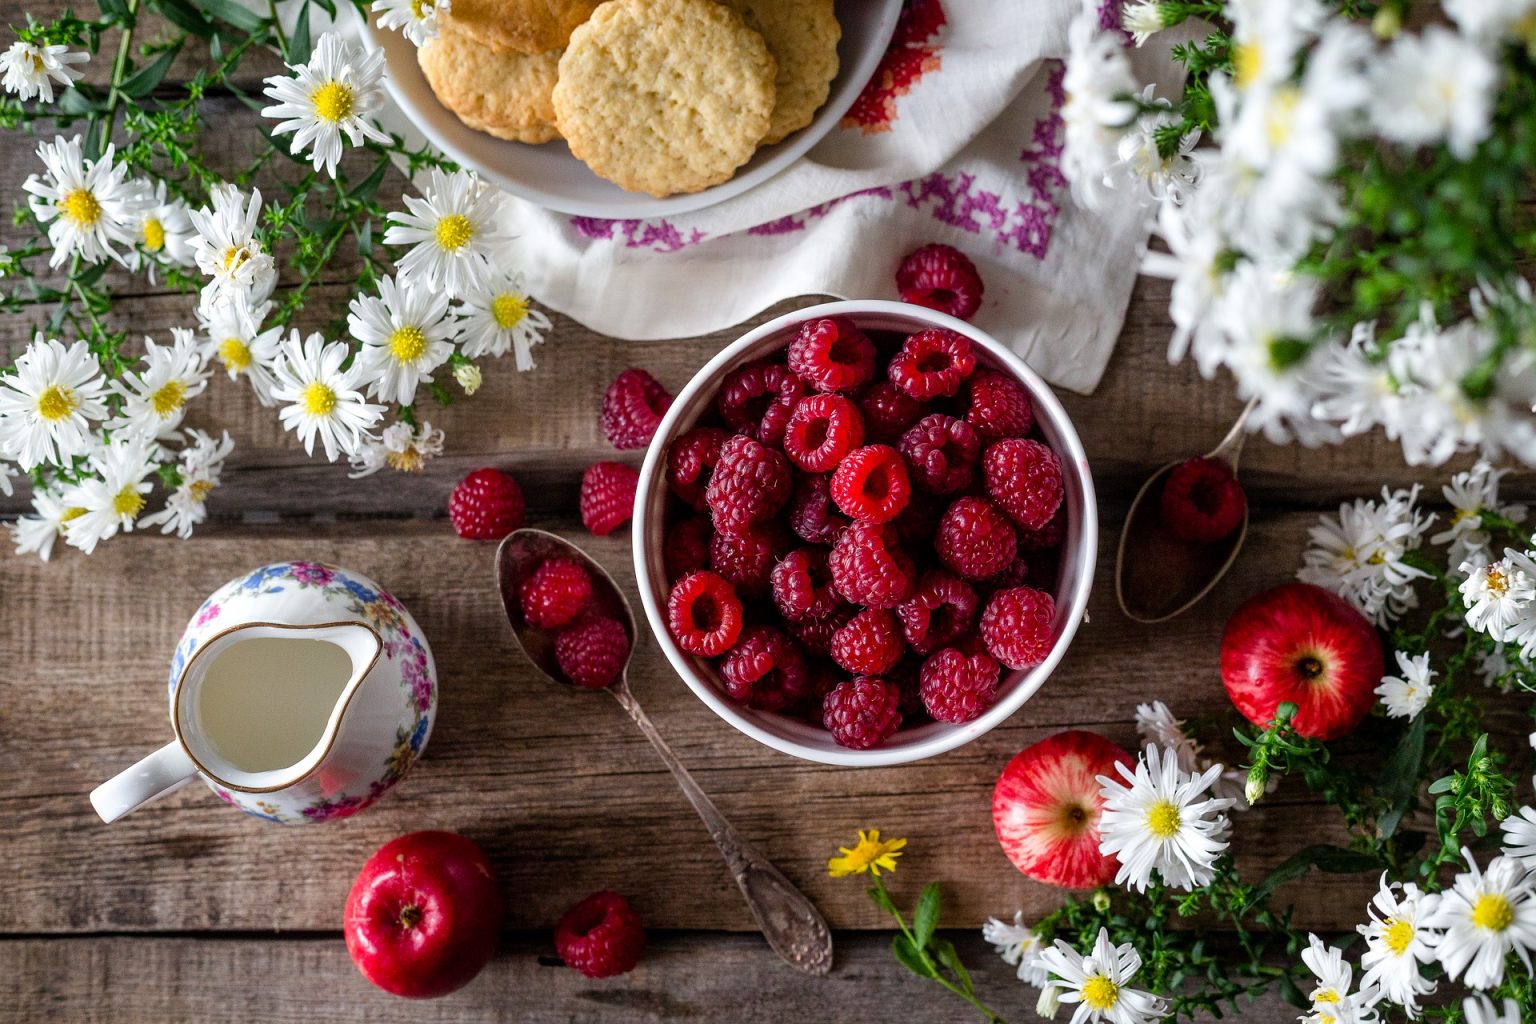
Let’s use the idea of layer mask to reveal some of the color from a black and white image.
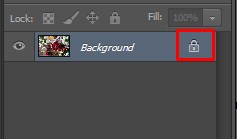
After opening the image in Photoshop double click on it to unlock it.
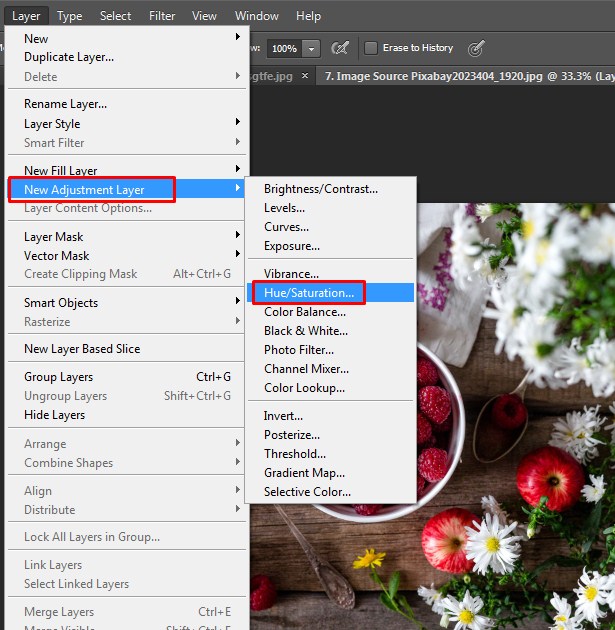
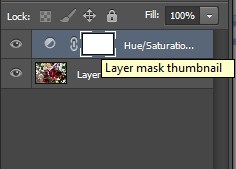
Now turn the image into black and white. To do this select Layer- New Adjustment Layer- Hue/ Saturation and click OK.
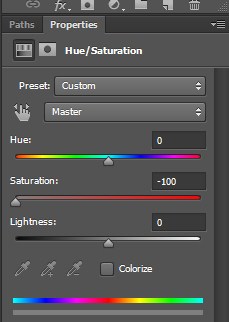
Then drag the saturation slider to the very end of the bar.
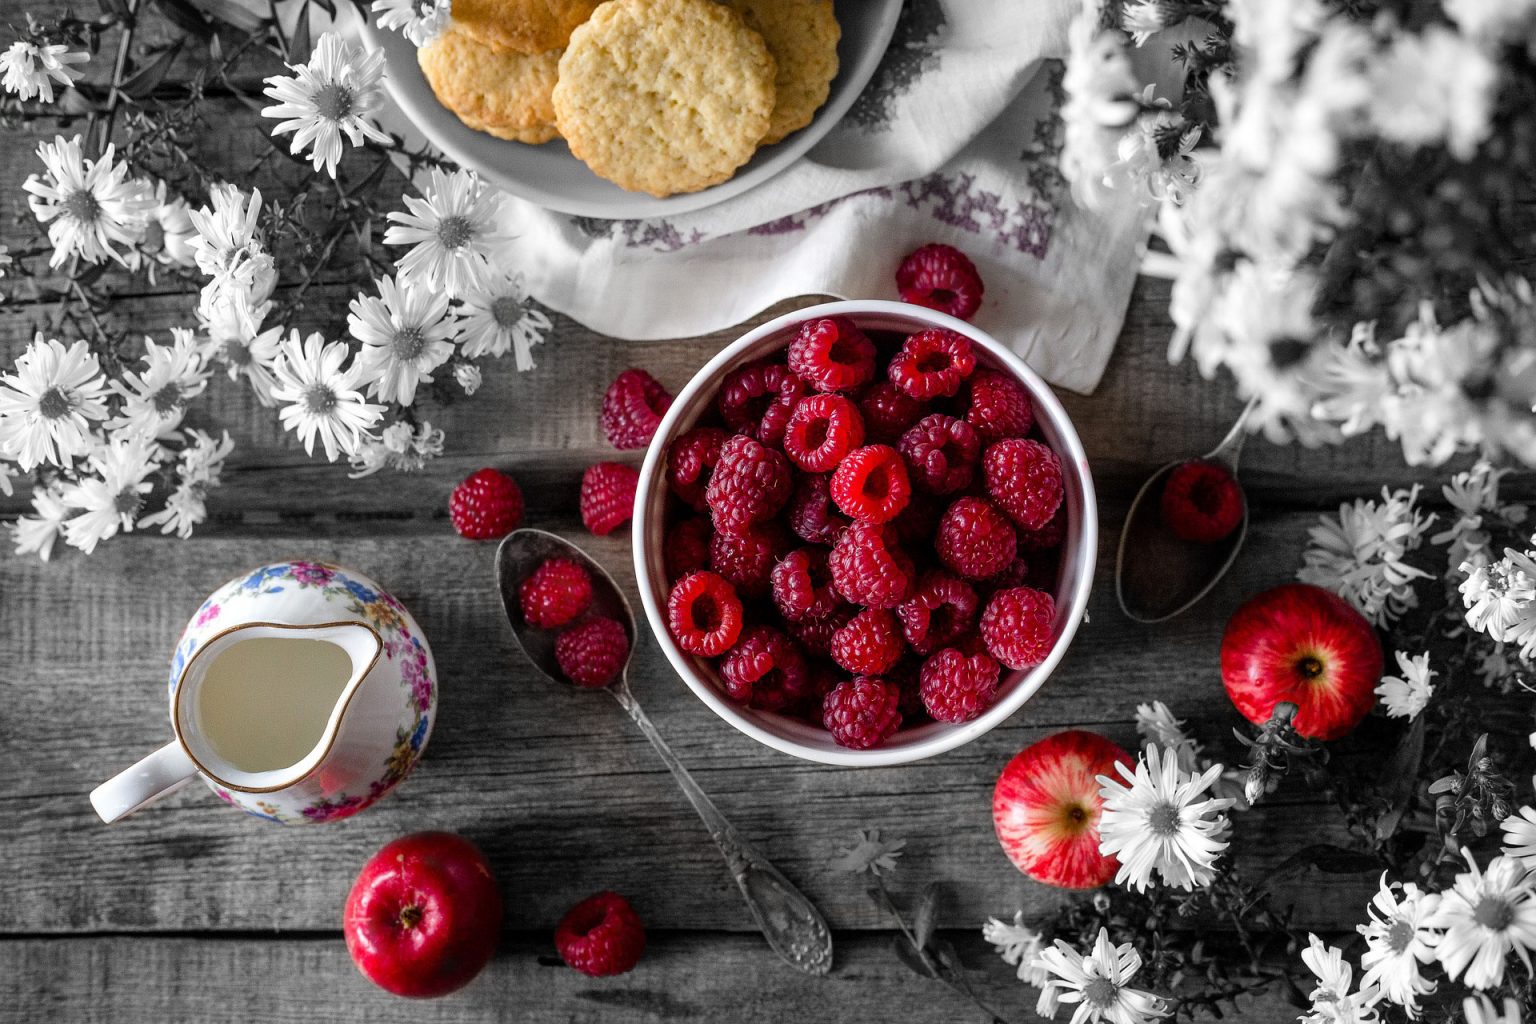
We will be revealing some of the color of the berries now. Select the layer mask thumbnail of the Hue/ Saturation layer.
The mask hides the original image underneath by painting over the black and white created by the Hue/ Saturation effect. In order to see through to the next layer we have to paint a selected area of the mask.
So, select the Brush Tool from the tool panel. Or you can use the short cut for brush tool by pressing B on the keyboard.
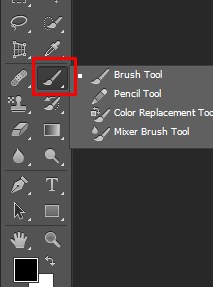
Choose a Soft brush and start revealing the colored areas. Make sure you are painting on the Layer mask rather than on the actual image layer. You can change the brush size by using the bracket keys [ and ] to adjust your brush tool while painting over the mask. Use black as the foreground color and paint over the image to erase the background. To see what going on over the mask alone, press Alt for window or option for Mac. On doing so you can see where exactly the mask is being applied. To go to the normal view press Alt or option again.
At this stage pay attention to the foreground color with which the brush will be used. If the brush is selected to white it will reveal layer through the mask. If the color is set to black then it will hide the layer with the mask. To set the Foreground and background to default press D. A useful shortcut to switch between black and white is X.

Start painting with the brush tool where you want to color to appear. Here is the final work.
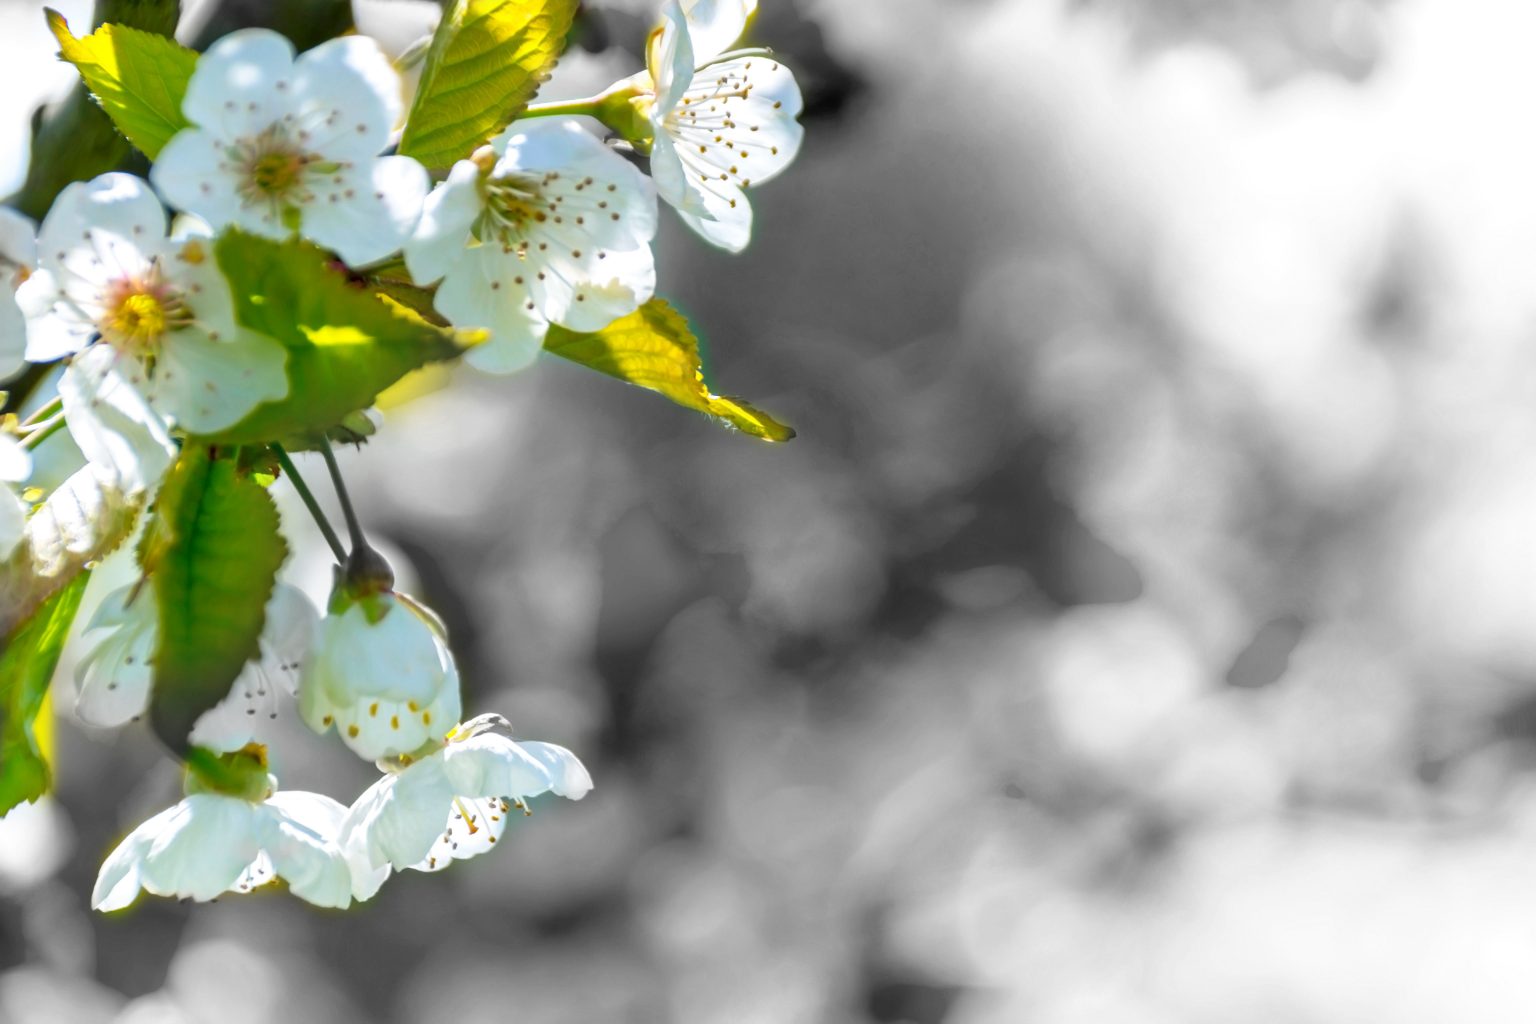
Here is another example for you.
Hope now you have an overall and concise understanding of what Layer Mask is and how it works. We will come with few more uses of Layer mask next week. Don’t forget to read it to sharpen your knowledge.
Related Articles:
A Complete Beginner’s Guide to Masking in Photoshop
Photoshop Layers and Layer Masking for Beginners

Here, you will learn on how to create splatter effects from an image in Photoshop. I hope it will help you both the beginner level of students in a great deal. Photo Courtesy – https://designquickpoint.wordpress.com/ At … Continue reading How to Create Abstract Lighting and Shapes in Photoshop
Read MoreIn this tutorial, you will learn on ‘how to compositing and selecting hair in Photoshop.’ I believe that it would be very helpful for both beginner and advanced level of students in Photoshop. Photo Courtesy … Continue reading How to Compositing and Selecting Hair in Photoshop
Read More