Photoshop Clipping Mask Tutorial
Clipping mask is when you take out any image and you use it to fill the shape of an object. It’s like cutting a piece of paper and then adds something on it. To make it simple we will be placing an image inside text with the help of Photoshop.Photoshop masks let you show or hide parts of a picture. There are so many different uses of clipping mask. You can use it for promotional purpose as you might have seen in Britain Got Talent.

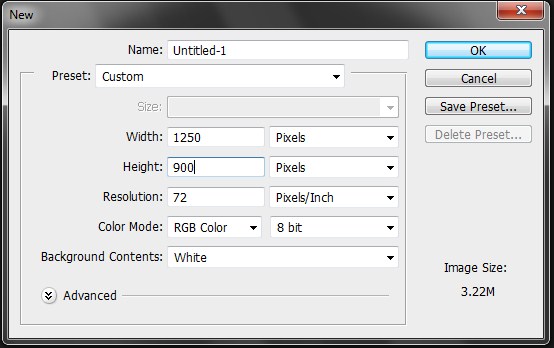
First of all, get your text to the new document. We will create a new document first. To do so, select File then New and adjust the size to your need and then press OK.
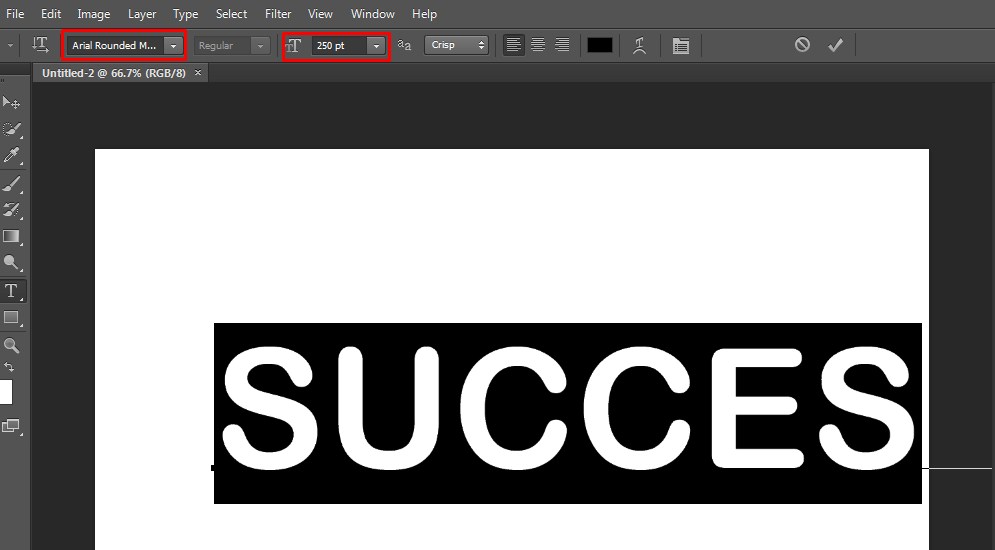
Next select the Text tool from tools bar or press T on your keyboard to select it.

I will type in the word Success. As you will see the font size is a really small. I’m going to set the size of my text to 250 points in the options bar.
Now since our goal is to place an image within the text, generally fonts with thick letters will work best. The reason is that if your letters are really thin then you’re not going to see a lot of your image. So, the thickness of the font really works in our favor. I’ll choose something simple; I am going to choose Arial Bold. Well, now we’ve got a huge word and we’ve got it nice and bold.
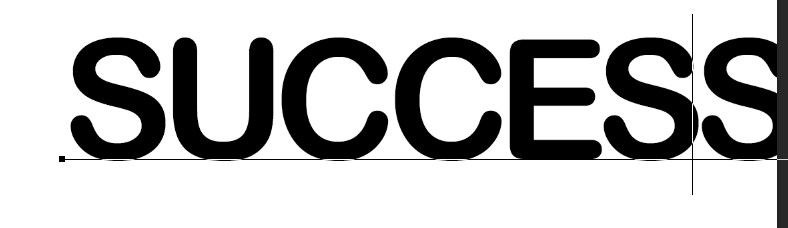
Change the spacing between letters aka Kerning
Next you want to adjust the spacing between your letters. I think there’s too much space between the letters. To fix that with your type tool still selected click between two of the letters that you want to adjust. In this case the S and the u. Then to adjust the spacing between the letters press and hold the Alt key on your keyboard or the option key on a Mac and use the left arrow key to move the letters closer together. If you press the right arrow key the spacing move farther apart. Now this is called kerning where we adjust the space between letters. use the left arrow key just to bring the letters closer together then release the Alt key or option on a Mac Next press the right arrow key on the keyboard to move to the next set of letters again press and hold the Alt key or option on a Mac and use the left arrow key to bring those letters closer together. Release alt or option and press the right arrow key to move over to the next set of letters and then do the same thing again with the two letters on the end. That looks good now from the previous. At this point click the checkmark in the options bar. When you have your type exactly how you want it it’s time to add your image.
Re-position the text by using the move tool then select the text to move it down at the center of the frame.
Create Clipping Mask:
Now, what I want to do is make a clipping mask for which I will use an image. I’m going to use the image to fill in the text. So, rather than having a text with just plain colored I want to have an image inside the text. Don’t worry, this is really easy to achieve in Photoshop.
You’ve got endless possibilities of words and images that you can put together. But it is a good idea to select an image that will complement your text. Open your image in Photoshop that you want to place inside your text. Open the image in Photoshop. As it is in a different document so we’re going to use our move tool to transport it. We’re going to click and drag image document to the text document.
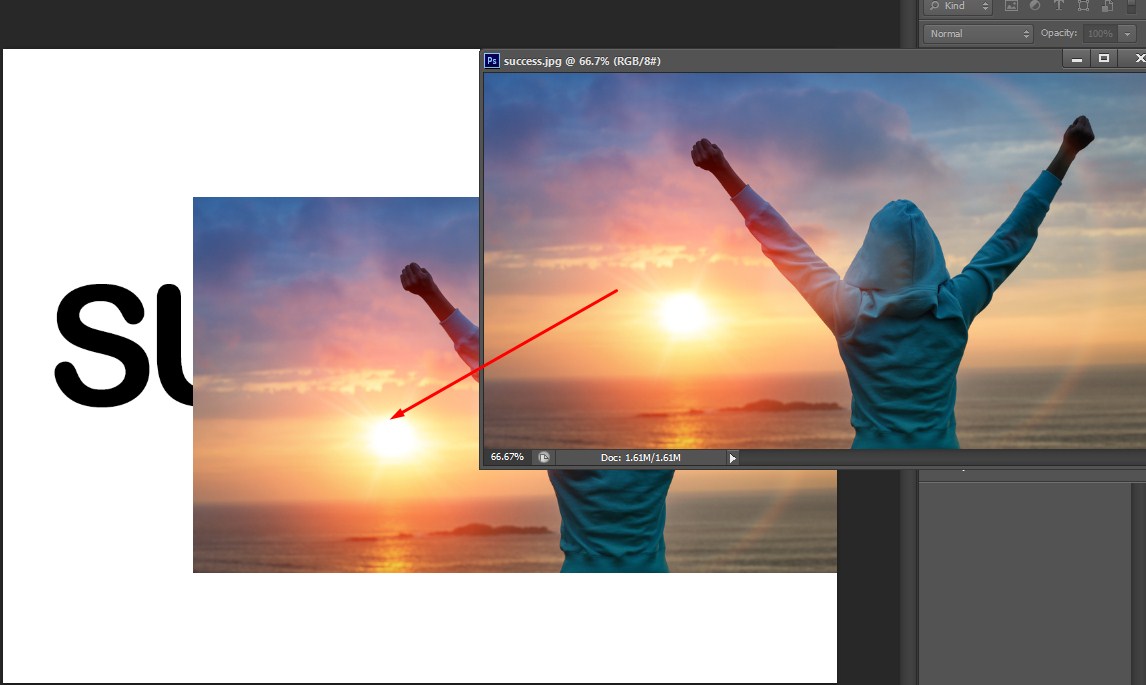
So just click and drag the image document and place it over the image document. Next thing you have to do is resize the image to fit the text. Press Ctrl + T to select the image, then to resize the image proportionally press Shift + Alt and drag the image to fit the size. If you are happy with the position of the image press enter. Once it is placed, right click on the layer panel and choose to Create Clipping Mask option.
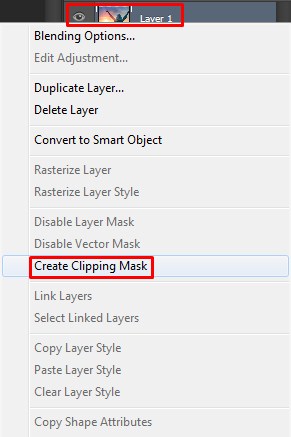
You do that and boom, this happens

This is going to make it only visible exactly where our text is and that’s how clipping masks work. You can simply drag the image around to fit the position as you like.
At this stage, if you want, you can go back to the text layer and change the settings individually. For example, if you want to change your font style or font size you can do that and the image is going to stay in the same place because they’re not really affecting each other.
Adding Drop Shadow:
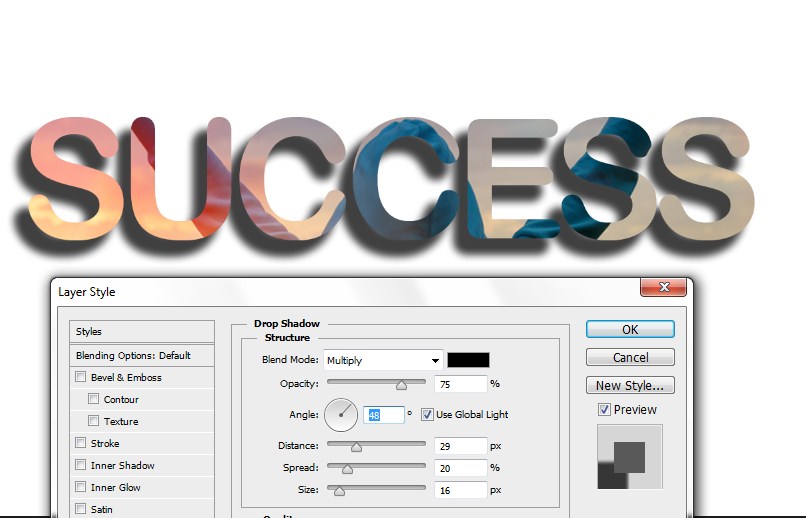
Last thing we will do is add a drop shadow to the letters. Select the text layer then click on the Layer- Layer Style and choose Drop Shadow from the list.
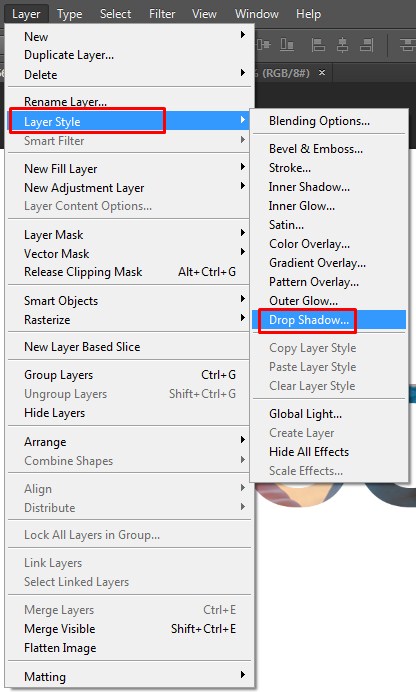
This opens the drop shadow options.
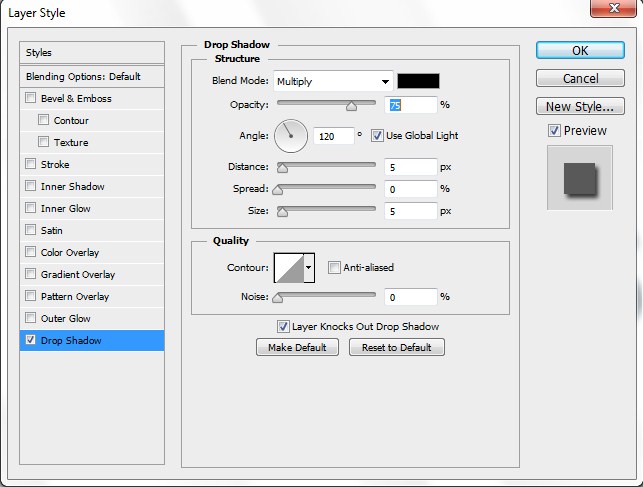
The easiest way to adjust the drop shadow is to simply click and drag inside your image and watch what happens. The shadow moves as you drag your mouse and you can see the angle and distance values changing as you drag. Simply move the shadow into position where you think it looks good and then darken up the shadow by increasing the opacity to around 50%. Finally to soften the edges of the shadow increase the size value then click OK to close out of the layer style dialog box.
So at this point the effect is pretty much complete we’ve added the image inside the text we’ve added a drop shadow to the text. Here’s another example for you.

To sum up just follow these key steps to put an image in your text.
First create a new document and type whatever text you want, use a nice bold font, that way you have a lot of area for your image to show up.
Next you want to adjust the spacing between your letters. You can do so by clicking between your letters and holding Alt or Option and using the left and right arrow keys. You can adjust the spacing for every single letter.
When you have it exactly the way you want it it’s time to add your image. Open your new image and use your move tool to get it onto the same document as the text.
Then right click on that layer go down to create clipping mask and it’s going to show up only where your text is visible. Finally, finish it off with a drop shadow.
Hope you like the tutorial. Please do share your experience with us.
Related Article: