Photoshop Text Shadow Tutorial
Today we will see how to apply shadows on the background of the text within Photoshop.First of all, get your text to the new document. Select File then New and adjust the size to your need and then press OK.

Next select the Text from tools bar and select portions of the area. First thing first, you want to apply the shadow, in our case it is “Clipping Path Service” in your case it could be your name. For convenient write Clipping path Service and apply a font that you like. We have selected the font Tahoma.

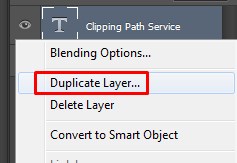
You can change the font color to black or any other color you choose to have at this stage. By using the move tool then select the text to move it down at the middle. In your layer panels duplicate the text layer to apply a shadow to it, to do so you need to right click and duplicate the layer. Once you do that you need to rename that layer let’s just say CPS Copy and then click on OK.
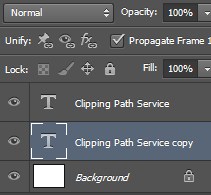
Now click on that layer and hold down and drag that layer below your original layer.
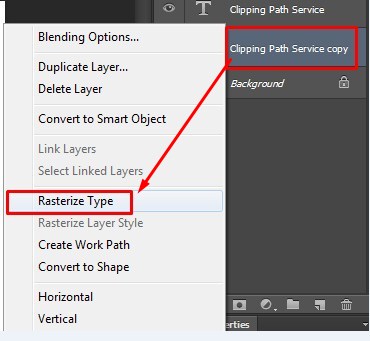
Following that you need to right click on that copy layer and make sure it is Rasterized.
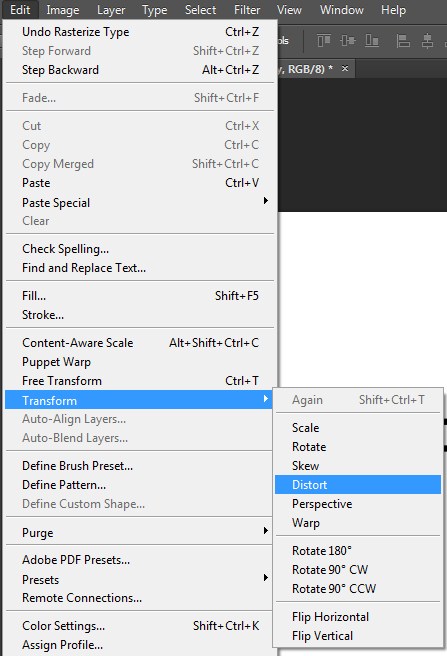
Once you have done that the next thing that you want to do is transform this rasterize layer to be able to distort it. Make sure you have your copy layer selected then you need to Go to Edit> Transform> Distort
This will allow you to able to click on any edge of that layer which is the copy layer and you can distort that layer by moving it around or wrapping it around. Now you can have any form of shadow. Let’s Imagine you have the light coming in from the left corner.
Try dragging each point to create all types of different shadows to your project! Be Creative. Let your imagination fly. For explanatory purpose, push both the top side to a bit inside. Do not be afraid to mess with all of the different corners.
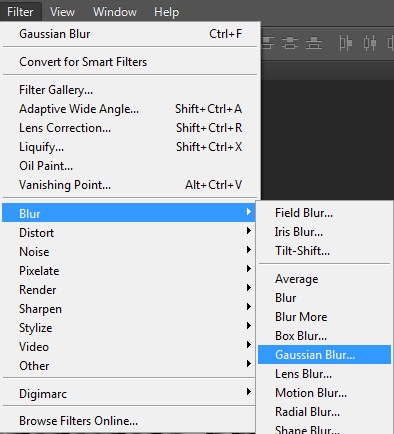
Then you come to Filter> Blur> and Gaussian Blur and increase the value of the radius by little.
Set the radius around 3 to 4.5 as anything above or below it really does not work. So click OK.
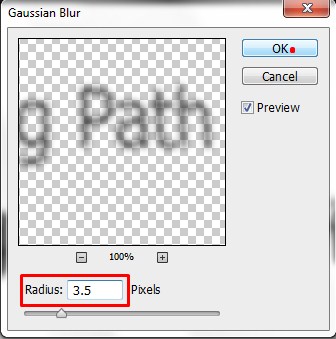
You already have notice the appearance of the nice shadow behind the text.

The last thing you want to do is to reduce the opacity by dragging the slider to the left to change the appearance of the shadow a bit lighter.
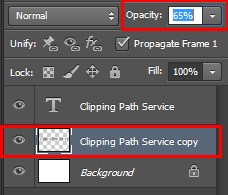

You will see a nice faded shadow effect on your text.
At this stage, or at the beginning of the tutorial you can change the color of the font. Go over to the Clipping Path Service copy change the color of the shadow cut of the layer there and then go to the original text layer and make sure you change that to the same shade or color or else it will look a little weird. So this is how you give shadow to your text to the images that will really make a different in your project.
Related Articles:
Using Text To Shadow Itself In Photoshop
Create a Long Shadow Text Effect in Photoshop Using Layer Styles
Here, you will learn on how to create soft dreamy effect with photo edit in Photoshop. I hope it will help you both beginner and advanced level of students in a great deal. Photo Courtesy … Continue reading How to Create Soft Dreamy Effect in Photoshop
Read MorePhoto retouching is widely and commonly used in fashion industry. Retouching is used mostly concentrating on mainly the fashion industry and the models along with popular celebrities across the whole world. Fashion retouch Hence, by … Continue reading Basic of ‘Fashion Retouching’
Read More