How to Create Soft Dreamy Effect in Photoshop
Here, you will learn on how to create soft dreamy effect with photo edit in Photoshop. I hope it will help you both beginner and advanced level of students in a great deal.
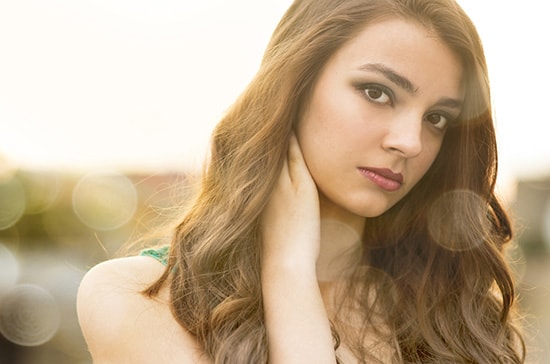
Photo Courtesy – imgarcade.com
At first, open an image which will be the background layer. Duplicate the background layer. Change the blending mode to ‘soft light’ now. Afterwards, go to Filter> Blur> Gaussian Blur from above toolbar. Change the Radius to 9-10 pixels. Create a new fill or adjustment layer now. Then select ‘gradient.’ Select the first gradient option. Keep the first slider white and select a nice color for the second slider. You can change the color by selecting the color option. Change the blending mode to ‘screen. ’ If it is too bright then you can reduce the level of opacity which will suit best for your image. Hot Ctrl + Shift + N to create a new layer. Select ‘brush tool.’ Use the first brush size and re-size the brush. It will add orbs. Use both big brush and small brush. When finished, go to Filter> Blur> Gaussian Blur from above toolbar. Radius 10 will do the job this time. Duplicate the background copy. This will make the effect more vibrant. Change the ‘gradient fill’ opacity if needed. This will sum up the whole process.
I hope that it will help you and from now on, hopefully you will follow this procedure more often in Photoshop and be an expert in this field in the future.
Here, you will learn on how to create pixel explosion effects in Photoshop. I hope it will help you both the beginner level of students in a great deal. Photo Courtesy – http://stylishwebdesigner.com/ At first, open … Continue reading How to Create Pixel Explosion Effects in Photoshop
Read More
Here, you will learn on how to apply a texture to a selection in Photoshop. I hope it will help you both the beginner and advanced level of students in a great deal. Open the … Continue reading How to Apply a Texture to a Selection in Photoshop
Read More