How to Create Pixel Explosion Effects in Photoshop
Here, you will learn on how to create pixel explosion effects in Photoshop. I hope it will help you both the beginner level of students in a great deal.
![]()
Photo Courtesy – http://stylishwebdesigner.com/
At first, open an image which will be the background layer. Use ‘Quick Selection Tool’ to select the photo subject. Make sure that ‘add a selection’ is checked. Set the tool to ‘Subtract from Selection’ to remove unwanted selection. Right-click and select ‘Layer-via Copy.’ Select the background and then select ‘Rectangular Marquee Tool.’ Create a selection around a person. Right-click on the selection and choose fill. Make sure that ‘content aware’ is selected. Now, duplicate the layer 1. Select layer 1 again and select ‘Rectangular Marquee Tool.’ Right-click and select ‘Free Transform.’ Drag edges to increase size. This part determines the size of the effect. Add a mask while layer 1 is selected. Foreground color should be black. Select the ‘Paint Bucket Tool’ and fill in the white layer mask. Now, select layer 1 copy and then add a mask. Select ‘Paint Brush Tool.’ Now, click on ‘Brush Preset Picker.’ Select ‘square brushes’ from brush options. Choose a brush size that of around 18-20. Now, choose ‘Toggle the Brush Panel.’ Make some adjustments there that are necessary. Now, start creating the effect. You can drag the brush or create individual pixels. Try to use different brush size. Now, select layer 1 mask. Change the foreground color to white. This will sum up the whole process.
I hope that it will help you and from now on, hopefully you will follow this procedure more often in Photoshop and be an expert in this field in the future.
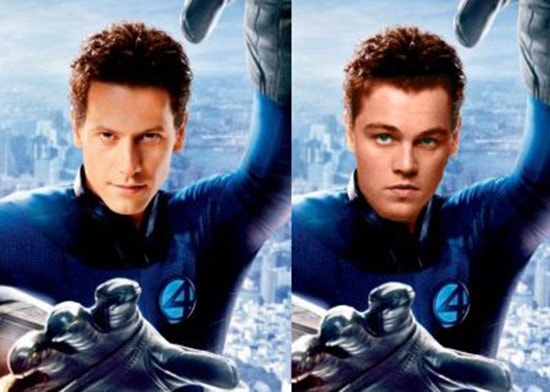
Here, you will learn on how to replace face in Photoshop. I hope it will help you both the beginner and advanced level of students in a great deal. Photo Courtesy – https://www.fiverr.com/ You will need … Continue reading How to Replace Face in Photoshop
Read More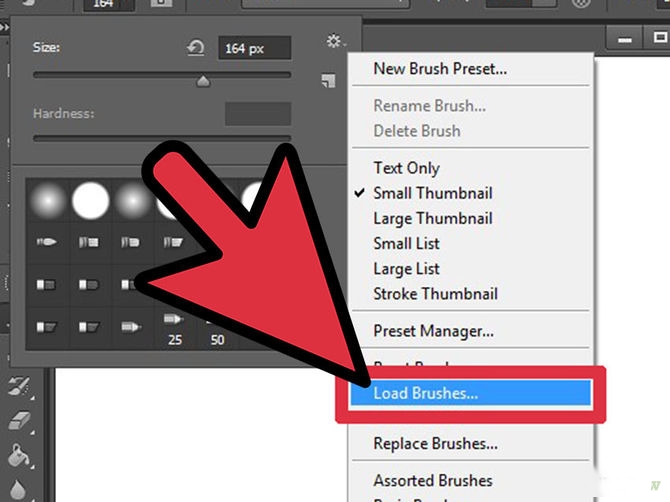
Here, you will learn on how to install Photoshop brushes in CS5. I hope it will help you both the beginner and advanced level of students in a great deal. If the brushes are in … Continue reading How to Install Photoshop Brushes in CS5
Read More