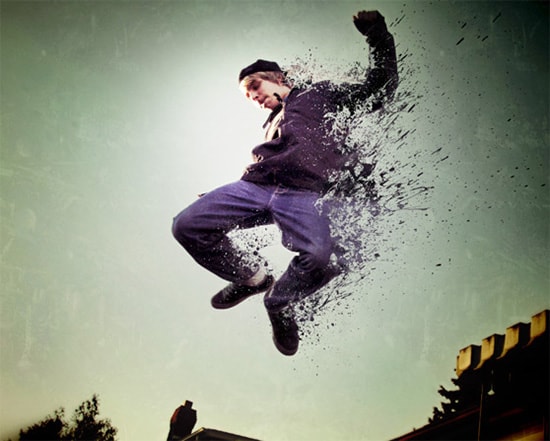
How to Create Splatter Effects from Photo in Photoshop
Here, you will learn on how to create splatter effects from an image in Photoshop. I hope it will help you both the beginner level of students in a great deal.
At first, open an image which will be the background layer. Use ‘Quick Selection Tool’ to select the photo subject. Hit Ctrl + J twice to make a new layer. Rename those two layers by your choice. Supposedly, layer 1 is renamed as original and layer 1 copy is renamed as liquify. Close the eyes of these two layers. Make a copy of background layer and click Ctrl and one of these two layers. Go to Select> Modify> Expand from the above toolbar. Expand it by your choice which will suit your image. Go to Edit> Fill from the top of the toolbar and make sure content-aware is selected in the use column. Hit Ctrl + D to delete the selection. If it does not hide the image properly, select the lasso tool and select those portions of an image. Again go to Edit> Fill from the above toolbar and make sure content-aware is selected in the use column. In order to remove the selection, press Ctrl + D. Go to Filter> Blur> Radial Blur from the toolbar above. Make sure that the amount is around 20, method is selected as zoom and it is of best quality. Make the ‘liquify’ layer visible and select that layer.
Photo Courtesy – http://www.onextrapixel.com/
Go to Filter> Liquify and choose ‘forward warp tool.’ Increase or enlarge the size of the image. Click on the layer mask button below next to the liquefy layer. Invert it by hitting Ctrl + I. Make the ‘liquify’ layer visible and active that layer. Click on the layer mask button below next to the liquefy layer. Invert the foreground or background color by clicking the x button from the keyboard. Select the brush tool and select the size that says splatter 2. Click on the gear icon and select ‘Large Thumbnail.’ Use the different sizes of splatter brushes and put it on the image. When done, select the layer mask of the Liquify layer and change the color of the foreground color to white. Make a copy of liquify layer and click on the original liquify layer to make it active. Go to Filter> Blur> Radial Blur from the toolbar above. Make sure that the amount is around 20, method is selected as zoom and it is of best quality just alike before. This gives some radial energy to the splatter. This will sum up the whole process.
I hope that it will help you and from now on, hopefully you will follow this procedure more often in Photoshop and be an expert in this field in the future.
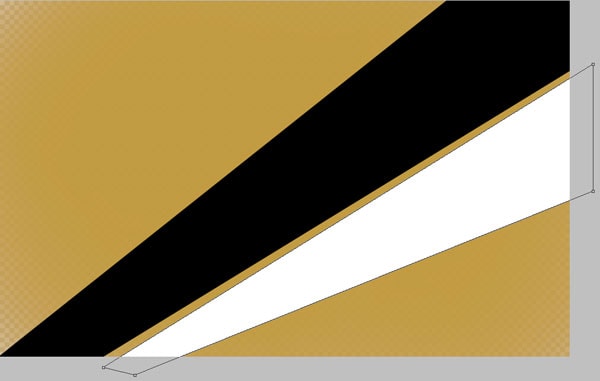
In this tutorial, you will learn on you how to create a colorful abstract vector background in Photoshop using gradients, brushes and Curves adjustment layer. Start working by creating a new document in Adobe Photoshop CS5 with the size 1920 … Continue reading How to Create a Colorful Abstract Vector Background using Photoshop
Read More
Here, you will be learning on how to create a beautiful ‘Marble Text Effect’ using Adobe Photoshop. To create a marble text, you will need a nice looking Marble texture. At first, create a new document having width 600 px … Continue reading How to Create Marble Text Effect in Photoshop
Read More