How to Create a Smoke Fading Effect in Photoshop
Here, you will learn on how to create a smoke fading effect using Photoshop. Hopefully, it will help both beginner and advanced level of students in a great deal.
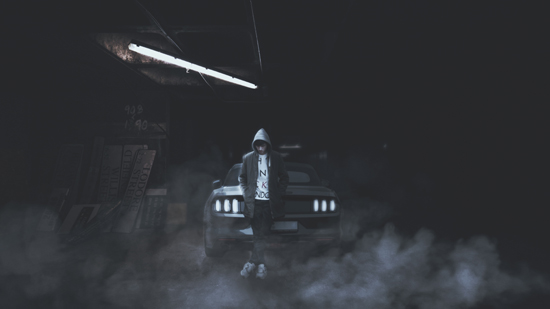
First of all, open the image of a person that you want to work with. Then, create a document according to your image size. After that, use Gradient tool for foreground and background color. Start a linear gradient from the bottom-left. Afterwards, create a new layer on top of the Background. Set the foreground and background color next. Go to Filter> Render> Clouds. Set the blending mode of this layer to Color Dodge. Use Soft Eraser tool of size 300px and remove some parts of the clouds. Crop your model out with Pen tool and place it close to the clouds on the left. Then, duplicate the model layer and use the Rectangular Marquee tool to select the right half of the duplicated model. Go to Edit> Free Transform and stretch the half of person’s face to the right. Use Soft Eraser tool of size 300px, fade off the right part of the stretched image. Go to Filter> Distort> Wave and make some adjustments.
Select Repeat Edge Pixels under Undefined Areas. Hide the wavy model for the time being and create a new layer on top of it. Paint a large smoke on the new layer and position it near to the face. On the same layer, paint in more smoke of various shapes and sizes. Ctrl + left click on the smoke layer to load selection on its luminosity. Unhide the wavy model and apply a layer mask on it with the selection. Delete the smoke layer once the layer mask is created. Next, create a new layer above the original model. Use Smoke Brushes to paint in large smokes on the face of the model on the new layer. Ctrl + left click on the new smoke layer to load selection on its glow. Select the original model layer and apply a layer mask on it with the selection. Delete the smoke layer once the layer mask is created. Right-click on the original model layer and choose Blending Options. Activate Outer Glow and set the color, change mode to Color Dodge and size to 5px. You can see a nice glowing border around the edge of the face blending with the clouds at the background. Lastly, create a new Levels Adjustment Layer at the top and set the value of the key. Create another Hue/Saturation Adjustment Layer above the Levels. Make some adjustments if required. You can paint the eyes white to achieve a more mystery feel.
That sums up the whole process. In this way, you can photo edit and create this awesome effect. Hope that helps!
Here, you will learn on how to use puppet warp in Photoshop. I hope it will help you the beginner level of students in a great deal. Photo Courtesy – http://webdesignerwall.com/ At first, open an image … Continue reading How to Use Puppet Warp in Photoshop
Read More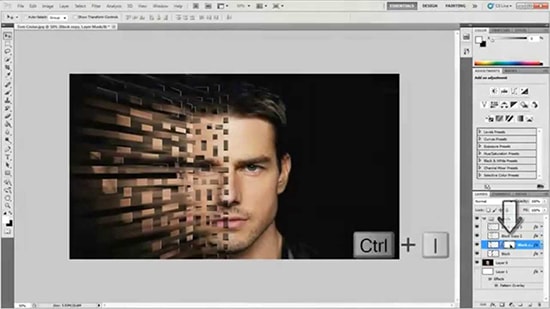
Here, you will learn on how to create a dispersion effect in Photoshop with photo edit option. I hope it will help you both the beginner level and advanced level of students in a great … Continue reading How to Create a Dispersion Effect in Photoshop
Read More