Usage of ‘Clone Stamp Tool’ in Photoshop
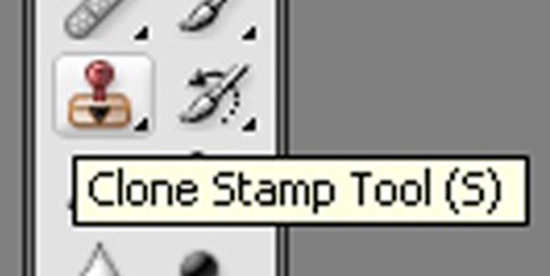
In this tutorial, you will get to know about the tool that is used for many purposes and one of the most important tools in Photoshop coined as the ‘clone stamp tool.’ When you click on it, you will also see that ‘S’ is written beside the clone stamp tool which tells you that it is also a shortcut form of the clone stamp tool. There is a tool named ‘Type tool’ in Photoshop. When you click on that type tool, if you click ‘S,’ it will automatically take you to clone stamp tool. I hope that it will be very helpful for all and especially for the beginners.

Photo Courtesy – http://graphicdesign.about.com/
You can use the clone stamp tool to take a sample of an image which you can then clone into another image or into another selection of the same image. Each stroke of the tool paints on more of the sample pixels that you select. In order to use this tool, at first selected from the tool box that looks like a stamp and select clone stamp tool. After that, go to the options bar and set your desired brush options obviously. Then, you hold down the ALT key that is there on your keyboard and give it a click so that you can select an area that you want to use as the reference point for the pixels that you want to copy it to other location. One advantage that people will get who have been using CS4 and CS5 is that they can see the preview of it. You can take another image to do the same. Thus, you will use the clone stamp tool.

