How to Create a Comic Style Effect Photo in Photoshop
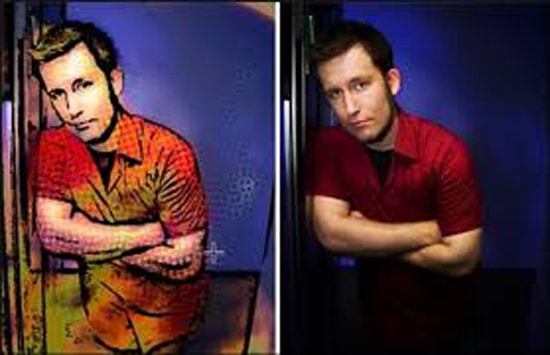
Here, you will learn on how to create a comic style effect in Photoshop. Hopefully, this will help the beginner level of students in a great way possible.
Photo Courtesy – Comic Style Effect
At first, open an image that you want to work on. Now, adjust the levels by going to Image> Adjustments> Levels. Go to Filters> Artistic> Film Grain. Adjust the settings in Grain, Highlight area and intensity. Duplicate the photo layer and with the new layer selected, go to Filter> Pixelate> Color Halftone. Set the settings depending on your image. If the image looks too bright, change the blending mode to ‘Darken.’ Let’s get some text areas on the image to add some captions. Add a rectangle in the top left and bottom right. Make them different colors and use the blending options to give a black stroke around the outside. Now, create a new layer above the others to give the image a hand drawn style border. Then with this layer selected, use the rectangle marquee tool to select around the outside of the image but inside the white border. Next go to edit> stroke and set the width, color and location. After that, click OK. Deselect the selection by holding Ctrl+D. Then, go to Filter> Blur> Blur More. Next, go to Filter> Distort> Ripple and make some adjustments necessary. Sharpen the stroke by going to Filter> Sharpen More.
That sums up the whole process. In this way, you can photo edit and create this trendy effect. Hope that helps!
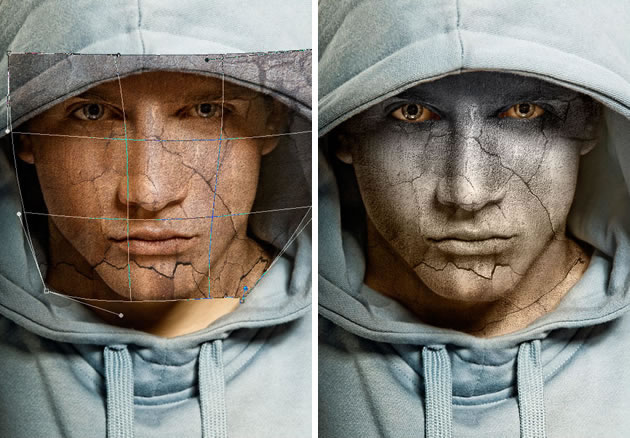
Here, you will learn how to photo edit and turn a portrait into a sculpture in Photoshop. This will help the both beginner and advanced level of students in a great details. At first, open … Continue reading How to Turn a Portrait into a Sculpture in Photoshop
Read More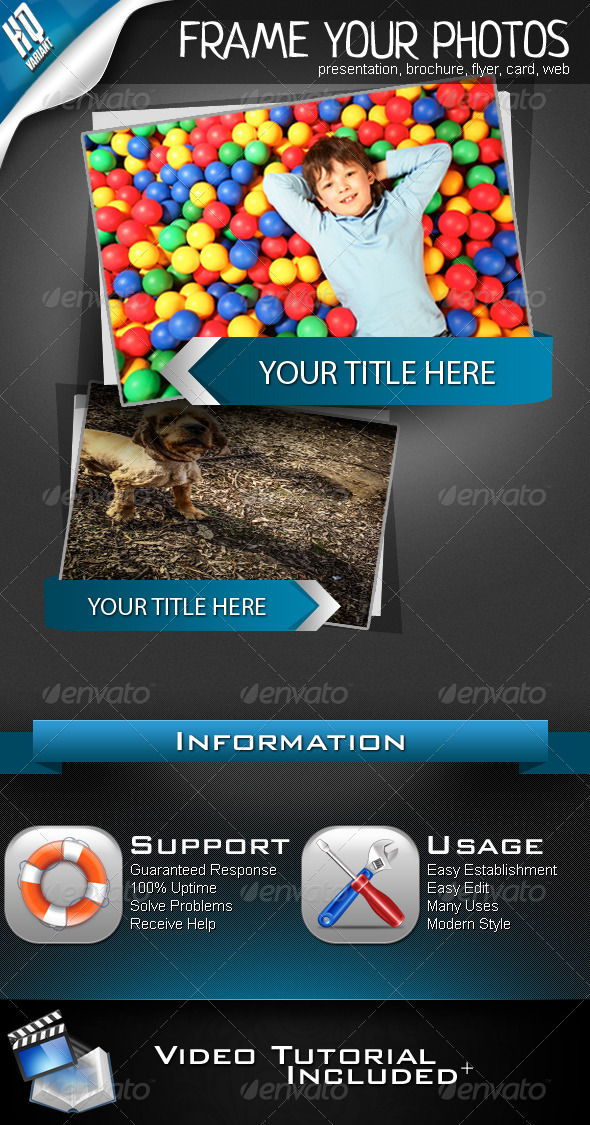
Photo album is something that everyone loves. It is a storage where you can store the photos of anybody or anything. It is a collection of photographs generally in a book. The usage of photo albums can not be … Continue reading Basic of ‘Photo Album Templates’
Read More