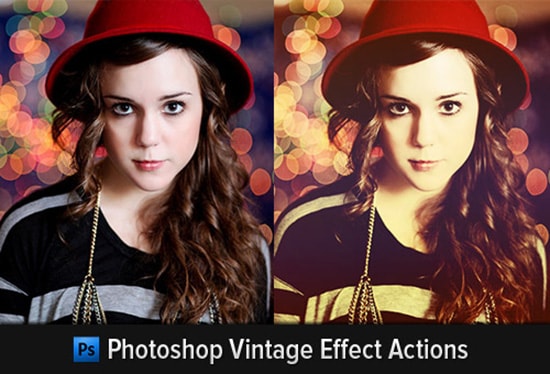
How to Create Vintage Retro Effect on an Image in Photoshop
Here, you will learn on how to create vintage retro effect with some photo edit on an image in Photoshop. I hope it will help you both the beginner and advanced level of students in a great deal.
Photo Courtesy – http://www.instantshift.com/
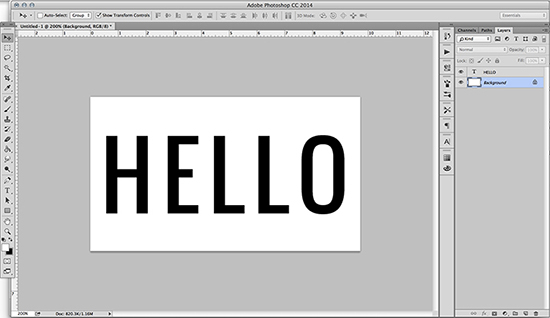
At first, select a background image under a background layer. Duplicate the layer. Change the layer mode from ‘Normal’ to ‘Soft Light.’ Change the adjustment layer to ‘Solid Color.’ In the solid color, press ‘070142.’ After that, in the layer menu select ‘Exclusion.’ Change the adjustment layer to ‘Levels.’ Make some adjustments that you think is necessary for the image. Change the adjustment layer to ‘Solid Color’ again and in the solid color, press ‘de9b82.’ After that, change the layer mode from ‘Normal’ to ‘Soft Light.’ Decrease the opacity to 75%. Change the adjustment layer to ‘Solid Color’ again and in the solid color, press ‘fed1eb’ this time. ’ After that, change the layer mode from ‘Normal’ to ‘Soft Light’ again and decrease the opacity to 50%. For the last time, change the adjustment layer to ‘Solid Color’ again and in the solid color, press ‘070044.’ Now, go back to the background and duplicate the image. Drag it all the way to the top. Change the layer mode from ‘Normal’ to ‘Soft Light.’ That sums up the whole process.
I hope that it will help you and from now on, hopefully you will follow this procedure more often in Photoshop and be an expert in this field in the future.
Clipping masks can be extremely useful in the Illustrator workflow. Unfortunately, the way clipping masks get translated to print can be unexpected due to the fact that the vector programs used in production environments might … Continue reading How to Clipping Masks Effectively in Photoshop
Read MoreIn this tutorial, you will learn on how to blur a background. I hope, it will certainly help the beginner level of students of Photoshop. it is quite easy. You just need to be sharp … Continue reading How to Blur a Background in Photoshop
Read More