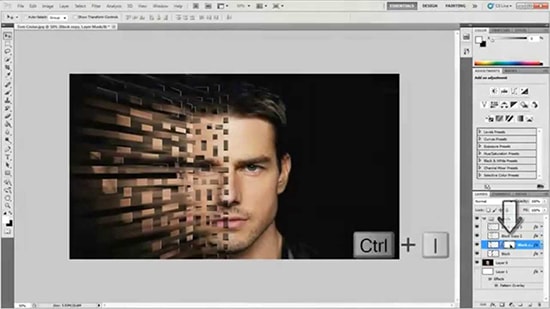
How to Create a Dispersion Effect in Photoshop
Here, you will learn on how to create a dispersion effect in Photoshop with photo edit option. I hope it will help you both the beginner level and advanced level of students in a great deal.
Photo Courtesy – http://webneel.com/
Firstly, select an image that you want to give a film look on it. Then, make a new layer where the background should be white. Duplicate the layer twice where the image is visible. Keep the first copy under the source image. Regarding the second copy, press Ctrl + G and stretches out of proportion. This layer is going to be on top of the source image. Now, make a mask and hide the layer. So, select the ‘paint bucket tool’ and fill it with black. Do the same with other images also. Now, about source image, make a white mask and select the ‘brush tool’ and continue changing the brush, size of it and the angle all the time from the pre-sets. Go back to the first copy and switch the background from black to white. It will start showing the picture. Switch it to second copy and change the layer mask from black to white like the previous one.
I expect that it will help you and from now on, hopefully you will work on this effect and be an expert in this field in the future.
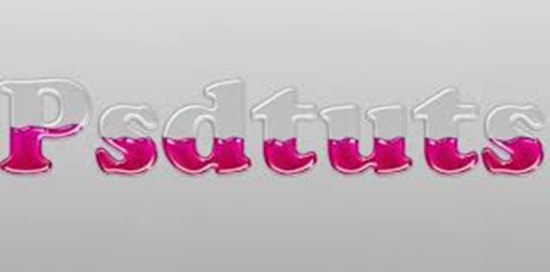
Here, you will learn on how to make glass effect in Photoshop. I hope it will help you both the beginner and advanced level of students in a great deal. Photo Courtesy – http://www.designyourway.net/ At first, … Continue reading How to Make Glass Effect in Photoshop
Read More Here, you will learn on how to create a dispersion effect in Photoshop with photo edit option. I hope it will help you both the beginner level and advanced level of students in a great … Continue reading How to Create a Dispersion Effect in Photoshop
Read More