
How to Make Glass Effect in Photoshop
Here, you will learn on how to make glass effect in Photoshop. I hope it will help you both the beginner and advanced level of students in a great deal.
Photo Courtesy – http://www.designyourway.net/
At first, open a document. Select File> New from above the toolbar to do it. Make the height to 100 pixels and then click OK. Draw a ‘Heart shape’ with color “#c00cf2.” After that, go in to edit> define pattern and save that as ‘Heart pattern.’ Now, take the text tool and write some words with black color, supposedly it is ‘Glass.’ Now, open the layer style window by double clicking on the text layer. Change the blending mode from ‘normal’ to ‘screen.’ Select ‘Drop shadow’ and the color should be black. Adjust other tools like distance, spread, size and opacity as required. Select ‘Inner shadow’ and ‘Outer shadow’ and select color as “#c00cf2.” Select ‘Inner glow’ and change the color to ‘white,’ blending mode to Linear Dodge.’ Select ‘Bevel and emboss’ and adjust other necessary tools. In that ‘Bevel and emboss,’ set the ‘Contour’ range to 100% and ‘Texture’ to ‘Heart texture’ and adjust the settings. Select ‘Pattern Overlay’ and also select ‘Heart pattern’ there with adjusting the settings necessary. That sums up the whole process.
I hope that it will help you and from now on, hopefully you will follow this procedure more often in Photoshop and be an expert in this field in the future.
As much as we all want to feel beautiful in photographs, for most photographers, the goal is to make a subject look as beautiful as she would on her very best day. It is tempting … Continue reading Full Portrait Retouching in Lightroom
Read More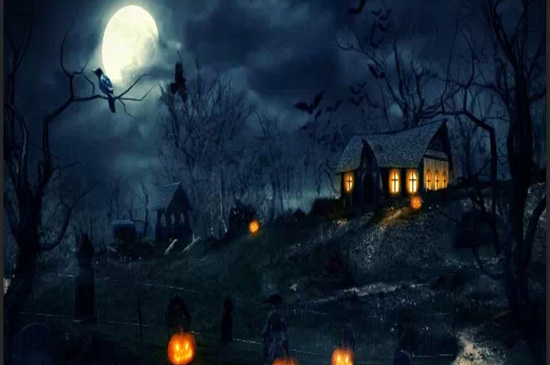
In this tutorial, you will learn how to create a dark Halloween photo manipulation effect using Photoshop. You will learn how to combine different stocks, create a dark and creepy atmosphere and work with lighting effect. For … Continue reading How to Create Dark Halloween Photo Manipulation Effect using Photoshop
Read More