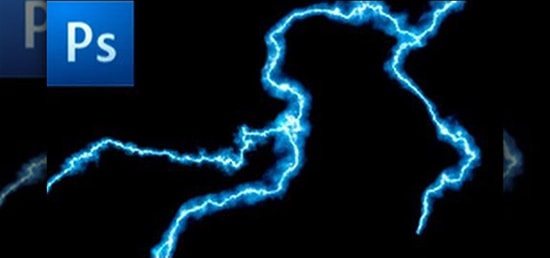
How to Make Lightning Effect in Photoshop
Here, you will learn on how to make lightning effect in Photoshop. I hope it will help you both the beginner and advanced level of students in a great deal.
Photo Courtesy – http://photoshop-tutorials.wonderhowto.com/
At first, go to the gradient tool and select colors. Make sure you have black on the left side and white on the right side selected. Hold Shift key and drag it across like a straight gradient. Then, go to Filter> Render> Difference Clouds from the above toolbar. Now, go to Image> Adjustments> Invert from the above toolbar. Again go to Image> Adjustments> this time select Levels from the above toolbar. Make necessary adjustments there and make it as much black as possible sideways. Once more go to Image> Adjustments> this time select Hue/Saturation from the above toolbar. Make some adjustments there as well to get the desired lightning color. Create new layer after that and put it down the bottom of layer 1. Click Alt + Delete to fill the layer with black. Remove unnecessary parts of lighting in the layer with the proper brush size. Make sure that you are on the right layer in order to do it. That will do that very nicely. If you want to make another lightning layer, create another new layer and follow the same procedure as shown above. Adjust it with the previous one and that will sum it up the whole process.
I hope that it will help you and from now on, hopefully you will follow this procedure more often in Photoshop and be an expert in this field in the future.

This is a tutorial where one will know about how to create a T-shirt design in Adobe Photoshop CS6. You need either a plain T-shirt on its own or a model wearing a plain T-shirt. So, at … Continue reading Creating a T-shirt Design in Photoshop
Read More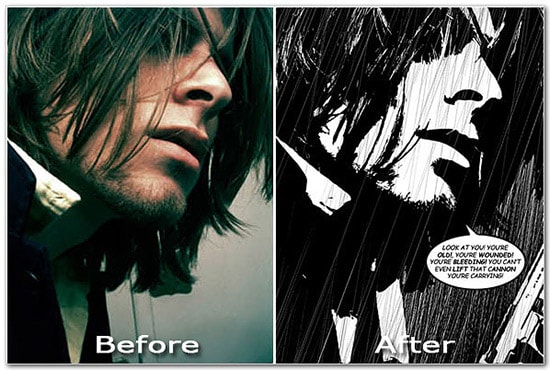
Here, you will learn on how you can create a sin city effect with some photo edit in Photoshop. I hope it will help you both the beginner and advanced level of students in a … Continue reading How to Create a Sin City Effect in Photoshop
Read More