How to Create a Snow Effect in Photoshop
Here, you will learn on how to create a snow effect in Photoshop. I hope it will help you both the beginner level and advanced level of students in a great deal.
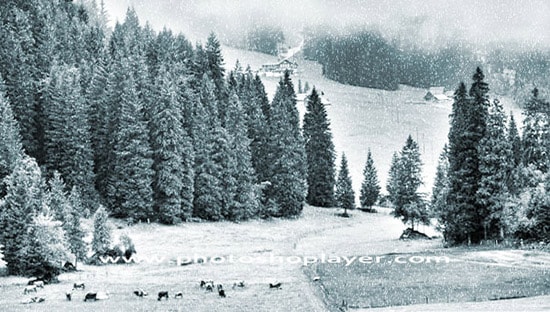
Photo Courtesy – http://www.photoshoplayer.com/
First of all, select an image in order to make a snow effect. Now, create a new layer. Fill the new layer with black and then press OK. Go to Filter> Pixelate> Mezzotint and then OK from the above toolbar. Make sure that you select the type as ‘Coarse Dots.’ Again go to Image> Adjustments> Levels and make the adjustments that you feel is needed to be done. The layer should be ‘Normal’ and choose ‘Screen.’ That is the whole process. However, if you want to keep a good depth, you need to create a new layer. Create new fill or adjustment layer that of a ‘Solid Color.’ Fill the new layer with black. Go to Filter> Pixelate> Mezzotint and then OK from the above toolbar. Again go to Image> Adjustments> Levels and make the adjustments. Now, go to Filter> Pixelate> Crystallize and increase the cell size up to 12-15 which should be good. The layer should be ‘Normal’ and choose ‘Screen.’ Go to Filter> Blur> Motion Blur and the distance should be around 18-20 pixels. After clicking OK, it will end the proceedings.
I hope that it will help you and from now on, hopefully you will make more and more snow effect pictures like this and be an expert in this field in the future.
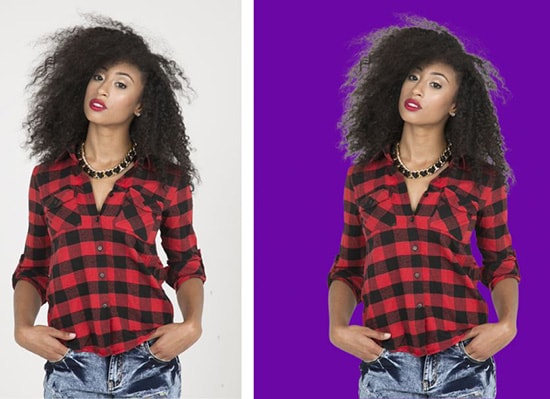
Here, you will learn on how to remove background from hair images using Photoshop. Hopefully, this will help you in a great deal. Trying to remove all this hair can be a nightmare. Using the background eraser … Continue reading How to Remove Background From Hair Images using Photoshop
Read More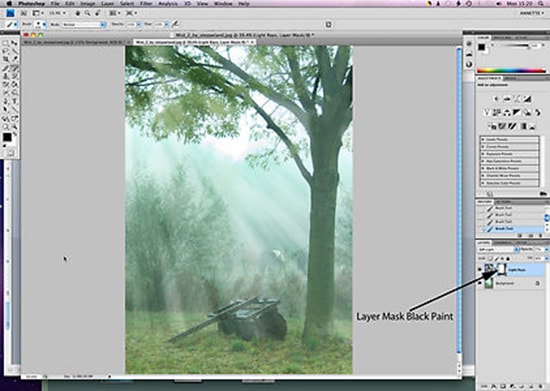
Here, you will learn on how to create beams of light coming out from the sky in Photoshop. I hope it will help you both the beginner and advanced level of students in a great … Continue reading How to Create Beams of Light from Nothing in Photoshop
Read More