How to Create Rainy Background Effects in Photoshop
Here, you will learn on how to create rain effects in Photoshop. I hope it will help you both the beginner and advanced level of students in a great deal.
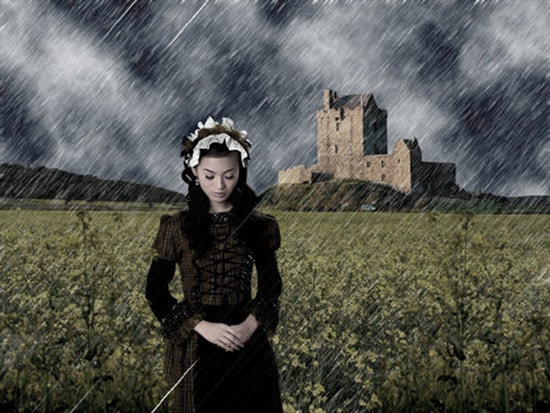
Photo Courtesy – http://www.hongkiat.com/
At first, select an image that you want to work with under a layer. Select a brush that is soft and that of 21 pixels. Make sure the brush is selected all the way in this process which one can find in the window toolbar from the above. Select the ‘brush tip shape,’ make the necessary adjustments that are required. Make a new layer after that. Go to the color panel and select bluish gray color. Now, tap on the left or right corner and hold shift key and select the bottom again. Continue to do that until you are fully satisfied with it. Now, duplicate the layer. Change the blending mode from normal to overlay on the first layer where the rain is there. On the second layer, change the blending mode from normal to soft light. It will blend with the photo. Basically you change the blending mode on how strong you want the rain to look like in the image. That sums up the whole process.
I hope that it will help you and from now on, hopefully you will create more and more rain effects like this and be an expert in this field in the future.