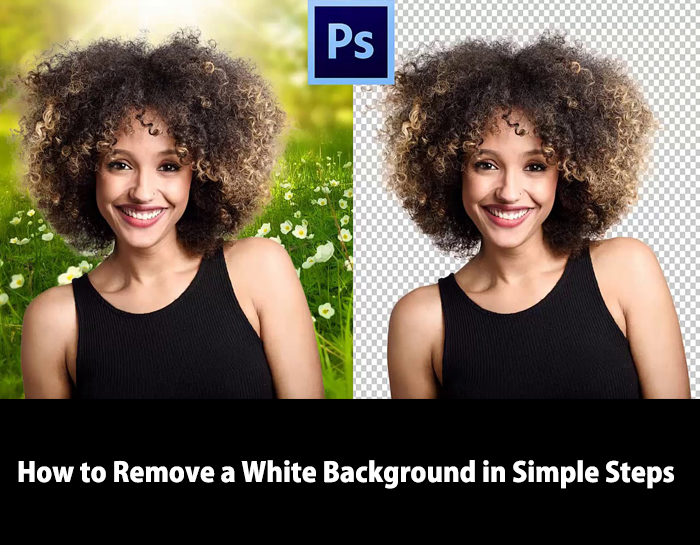
How to Remove a White Background in Simple Steps
There will be numerous reasons for which you need to have a transparent background. For instance the image will look lively in some other background or color. Today we will look into ways on how you can do it in simple way.
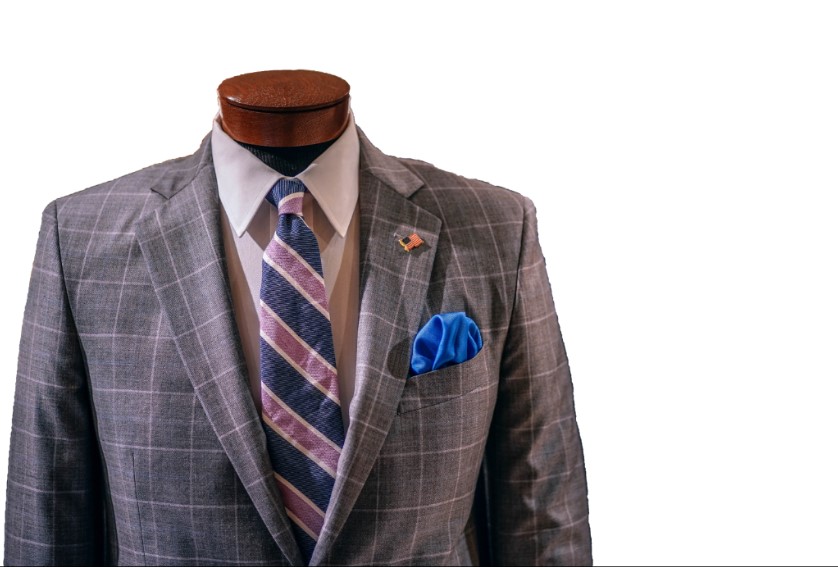
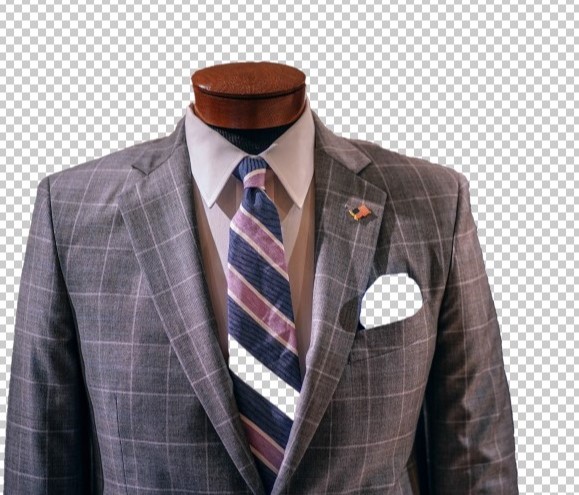
Let’s say we have this image, we have the mannequin on this white background and we will get rid of this. Now there are number of ways to do this. We will be doing it very quickly by pressing W key to select the Quick selection Tool and drag around the image.
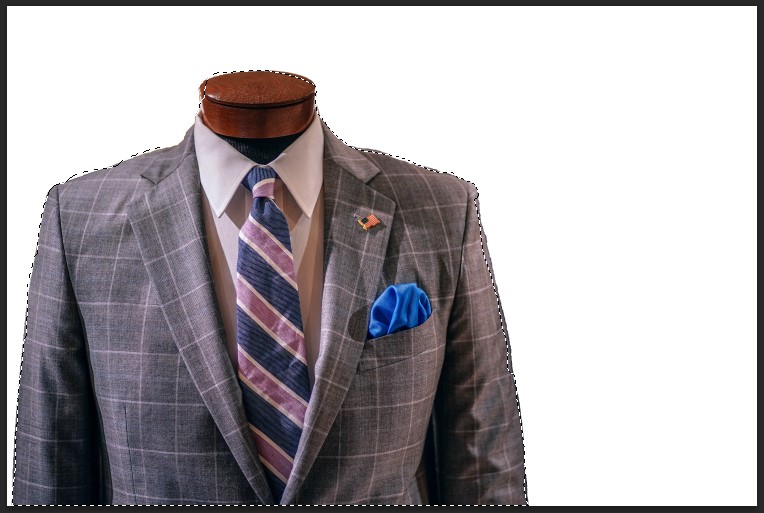
Now this quick selection is not going to be perfect. We would take a look at how we can use this imperfect selection in order to create a mask, we can then modified further.
Well, now that we have a selection we will go ahead and click on the Add layer mask icon.
The following image will appear.
If instead of the above image the wrong stuff got selected, mean the mannequin is in zigzag pattern and the background is white simply press Cmd + I for Mac Ctrl + I for PC or click on Image> Adjustment> the Invert button so that you have the correct area selected.
Now at this juncture I say you know what I think our image looks pretty good yet it’s really hard to tell. So, choose Select > Refine Mask or press the shortcut Alt+ Ctrl+ R for PC.

Go ahead and navigate the Refine Mask window. We will check our work against Black, this will give us a clear picture of our selection.
If you have any problem regarding removing part of the background then you can easily figure that out here. So far we have selected a fair selection.
Notice that when you select Refine Mask you can also modified the edges to soften those up a little bit. Play around the Radius, Smooth, Feather, Contrast, shift Edge etc. Fine, after we find a sweet balance, we decided as it is looking fine, click OK.
But what if there were spots which you needed to work on further? Let’s say for example, Lets say I missed out this two spots,
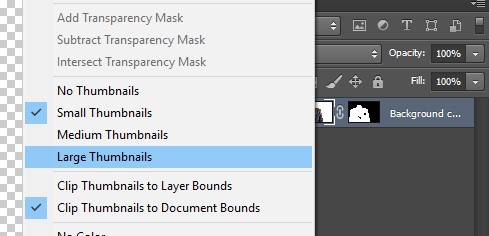
Click on the image icon. If that icons looks kind of small right click on the mouse in the layers palette to change this to large thumbnail.
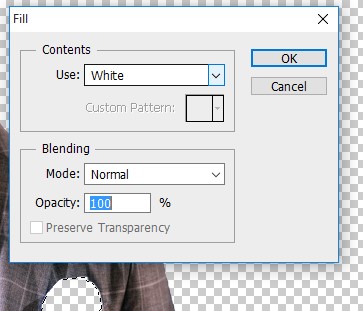
Quickly select the miss out portion with Quick Selection Tool, shortcut W, to fill that with white click on the mask. One way to fill that area or any other area which might need attention like this is to select Edit> Fill and with the following window under Use: select White so then it will bring back that area. In case there are white areas to fill in select Edit > Fill and then Black.
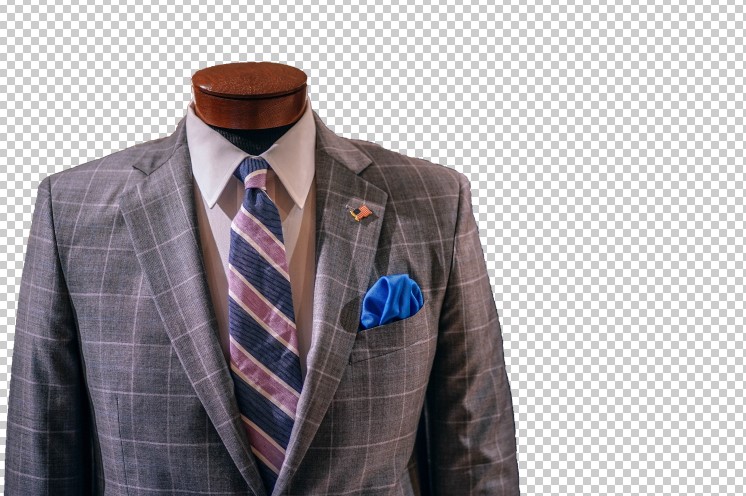
So this is how we have extracted this image from its background. This is all about this tutorial. Hope you enjoyed it.
Wrinkle Removing:
However, did you notice the wrinkle on the suit is killing the tone of the image. No one will be willing to pay for this one after seeing this in this state. Make it look elegant with wrinkle free.
Along with background remove service clippingpathservice.com offer the solution to correct these issues for you. Simply check the sample here and you make your decision to take our service. We offer free Trial for you. See you next time.
Related articles:
How to Quickly and Easily Remove a Background in Photoshop
How to Remove a White Background in 4 Steps
How to Remove Almost Any Image From a White Background In Two Quick Steps

Here, you will learn on how to make electric text effect in Photoshop. I hope it will help you both the beginner and advanced level of students in a great deal. Photo Courtesy – http://www.webdesign.org/ … Continue reading How to Make Electric Text Effect in Photoshop
Read MoreHere, you will learn on how to create pixel explosion effects in Photoshop. I hope it will help you both the beginner level of students in a great deal. Photo Courtesy – http://stylishwebdesigner.com/ At first, open … Continue reading How to Create Pixel Explosion Effects in Photoshop
Read More