Creating And Modifying Directional Shadows
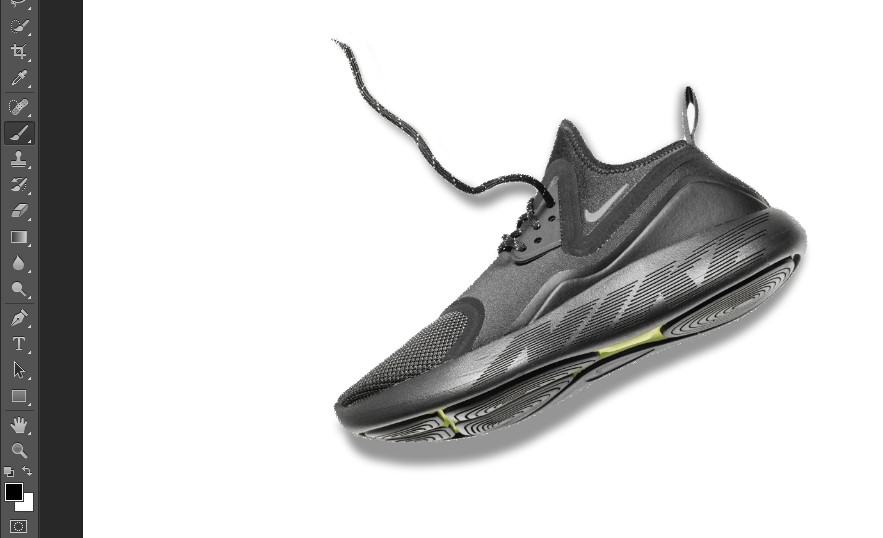
In this post we have seen how to create a drop shadow. We will carry on where we left off earlier. This time we create drop shadow in another way, go ahead and turn off the eye icon for originals drop shadow.
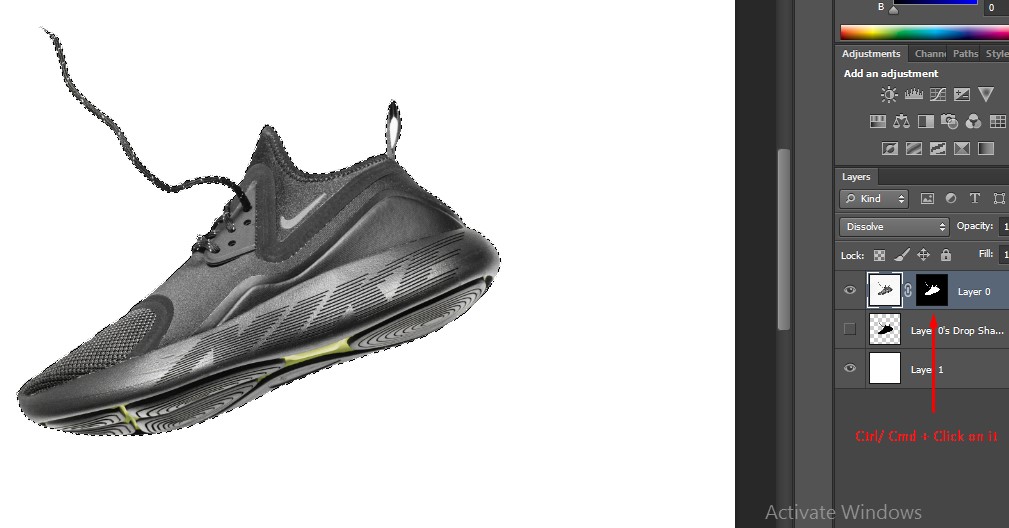
As you have noticed, on the above layer we have created a really good mask from our selection. And now we will take advantages of this mask. Hold on the Cmd key on the Mac and Ctrl key on a PC and click on that mask icon. When you do that it loads up mask as a selection.
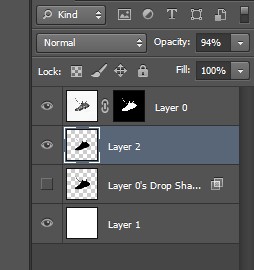
Now that you have a selection of the shoe, create a new layer in them to fill that new layer with black. Click on the new layer icon so you have a layer above.
In order to fill this layer with black it’s Opt + delete on a Mac and Alt + backspace on a PC. You will have the shape of the shoe on a new layer filled with black.
Now let’s deselect this by pressing Cmd + D on Mac and Ctrl + D on PC. We will now want to soften the edges of the selection. To do so navigate to Filter > Blur and then choose Gaussian Blur and this works really well.
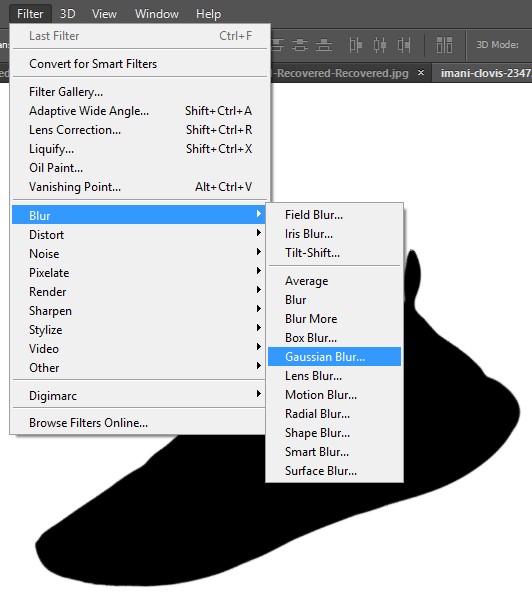
Increase the radius value quite a bit to softening out the edges. Next thing we will do is to lower the opacity a bit. So go and grab the slider and then lower it.
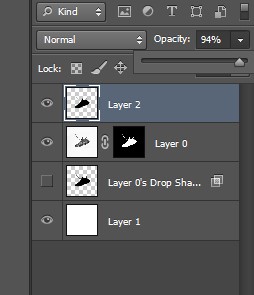
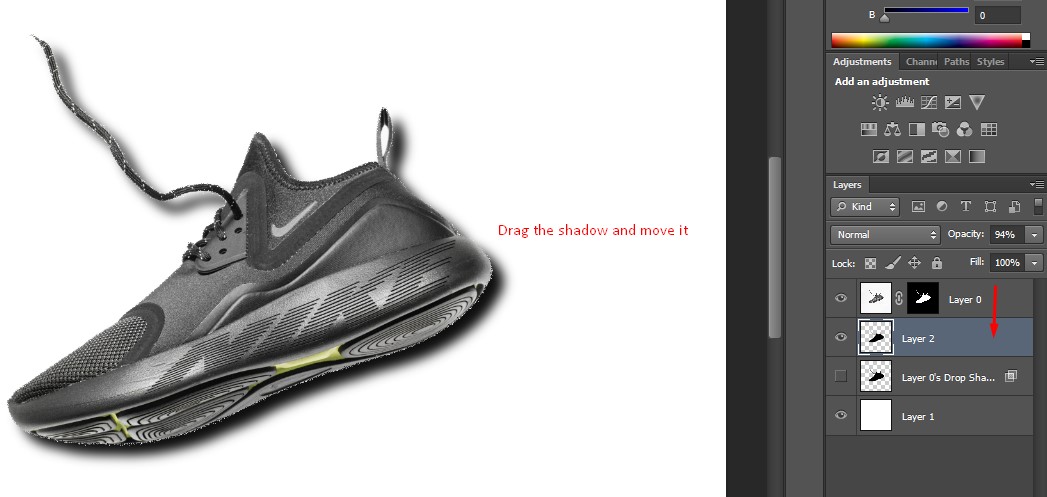
So bring the layer down underneath and then you can offset it. Take the move tool and click and drag it off to the side.
We have used two techniques so far. There are some images were a certain technique will work better than another so you need to know how to do both techniques.
Moving along, we can control the edge of the drop shadow and in a number of different ways.
So as you can see now we have these two different drop shadows. Well do we need two, actually no. Go ahead and click on that layer that we just created and press the delete key to get rid of it. Now we will not get confuse.
So far we have talked about drop shadow let’s go ahead and talk about how we can modify it.
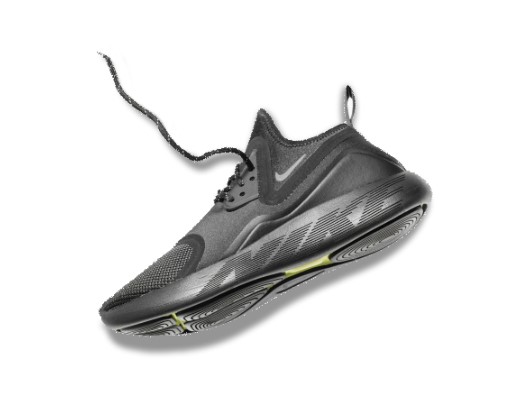
Click in the Layer 0’s Drop Shadow layer and hold on the shadow and move it around for checking purpose.
Then press Cmd +T for Mac and Ctrl + T to your PC to activate the free transform Tool. Now when you modify this particular shadow press Cmd on Mac and Ctrl for PC and then grab the corner points, what’s actually happening is it’s give you the ability to kind of flatten out the shadow little bit. In other word change in shape of the shadow takes place. Just modify the shadow and find a nice sweet spot for the shadow and then press enter or return.
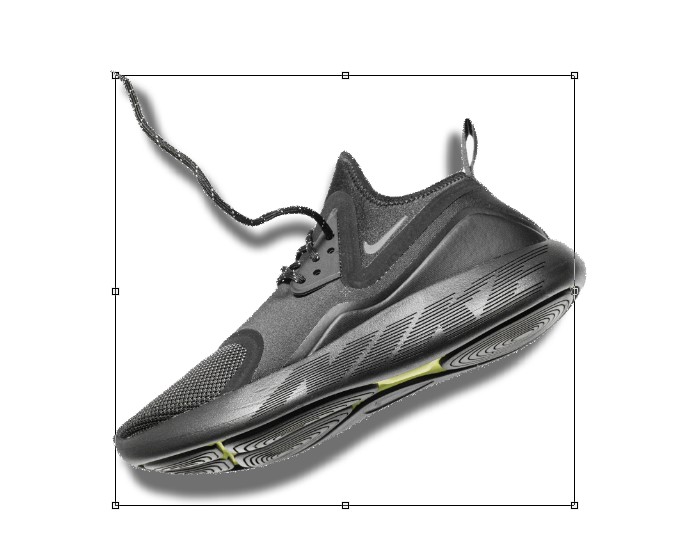
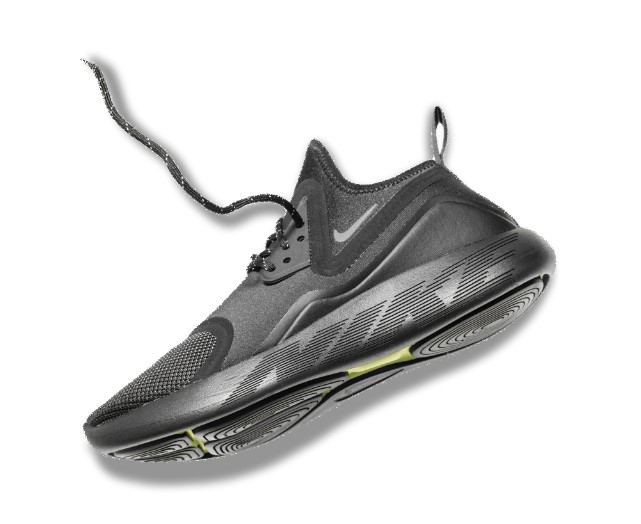
You can continue the process of adjusting the shadow by repeating Cmd +T for Mac and Ctrl + T to your PC. Once satisfied, press enter or return. We now have the drop shadow in the background. Do lower the opacity and then blur it out by selecting Filter> Blur> Gaussian Blur. Diffuse the shadow little bit by reducing the Radius value and click OK to apply that.
One thing that you will be noticing is that how the shadow is traveling over the lace. On the one side it doesn’t look so good. So you need to free transform this a little bit more.Repeat Cmd +T for Mac and Ctrl + T to your PC adjust the shadow and press enter/return.
Now as I modify that again I just struck by how I like most side of the shadow not near the laces. Free Transformation just didn’t work and sometimes it happens, no big deal!
We will click the Add Layer Mask icon grab your paint brush and paint with black. We will just paint the excess shadow away. Well so far so good we modify the shadow rotate the image we are on our way.
Useful Tips: To work on the shadow follow this steps:
To blur the shadow select Filter > Blur > Gaussian Blur
To make the shadow more diffuse lower the opacity
Original by Unsplash/ CC BY and edited by Clippingpathservice
Hope you have enjoyed today’s tutorial with us. Try on your own and let us know about your results. Remember, our expert team of designers is always here to do bulk amount of work for you. To get the best and professional shadow for your product we welcome you to try our free trial. Contact us here. We make your online experience a pleasant one.
Related Articles:
How To Make Realistic Shadows in Photoshop [Trick You Probably Don’t Know]
Photoshop Tutorial: How to Create a Realistic Drop Shadow
As much as we all want to feel beautiful in photographs, for most photographers, the goal is to make a subject look as beautiful as she would on her very best day. It is tempting … Continue reading Full Portrait Retouching in Lightroom
Read More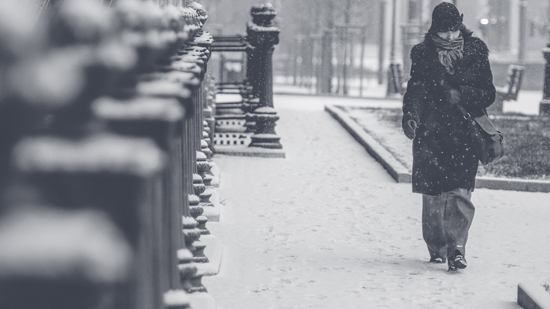
This tutorial is about how to create softly falling snow in Photoshop. Hopefully, this will help the basic level of students in a great deal as it is about basic techniques of creating this effect. … Continue reading How to Create Realistic Snowfalls in Photoshop
Read More