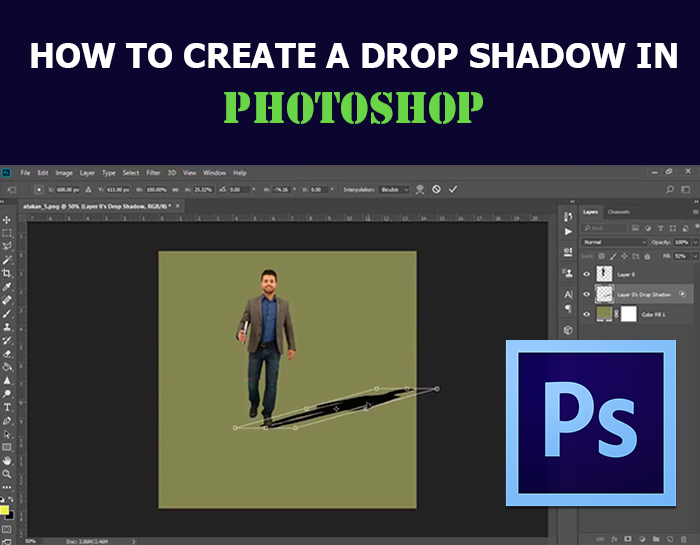
How to Create a Drop Shadow in Photoshop
Today we will learn, how we can add shadows to an object. One of the first things that we want to do with the image is to take a look at how we can extract the glass from its backgrounds.
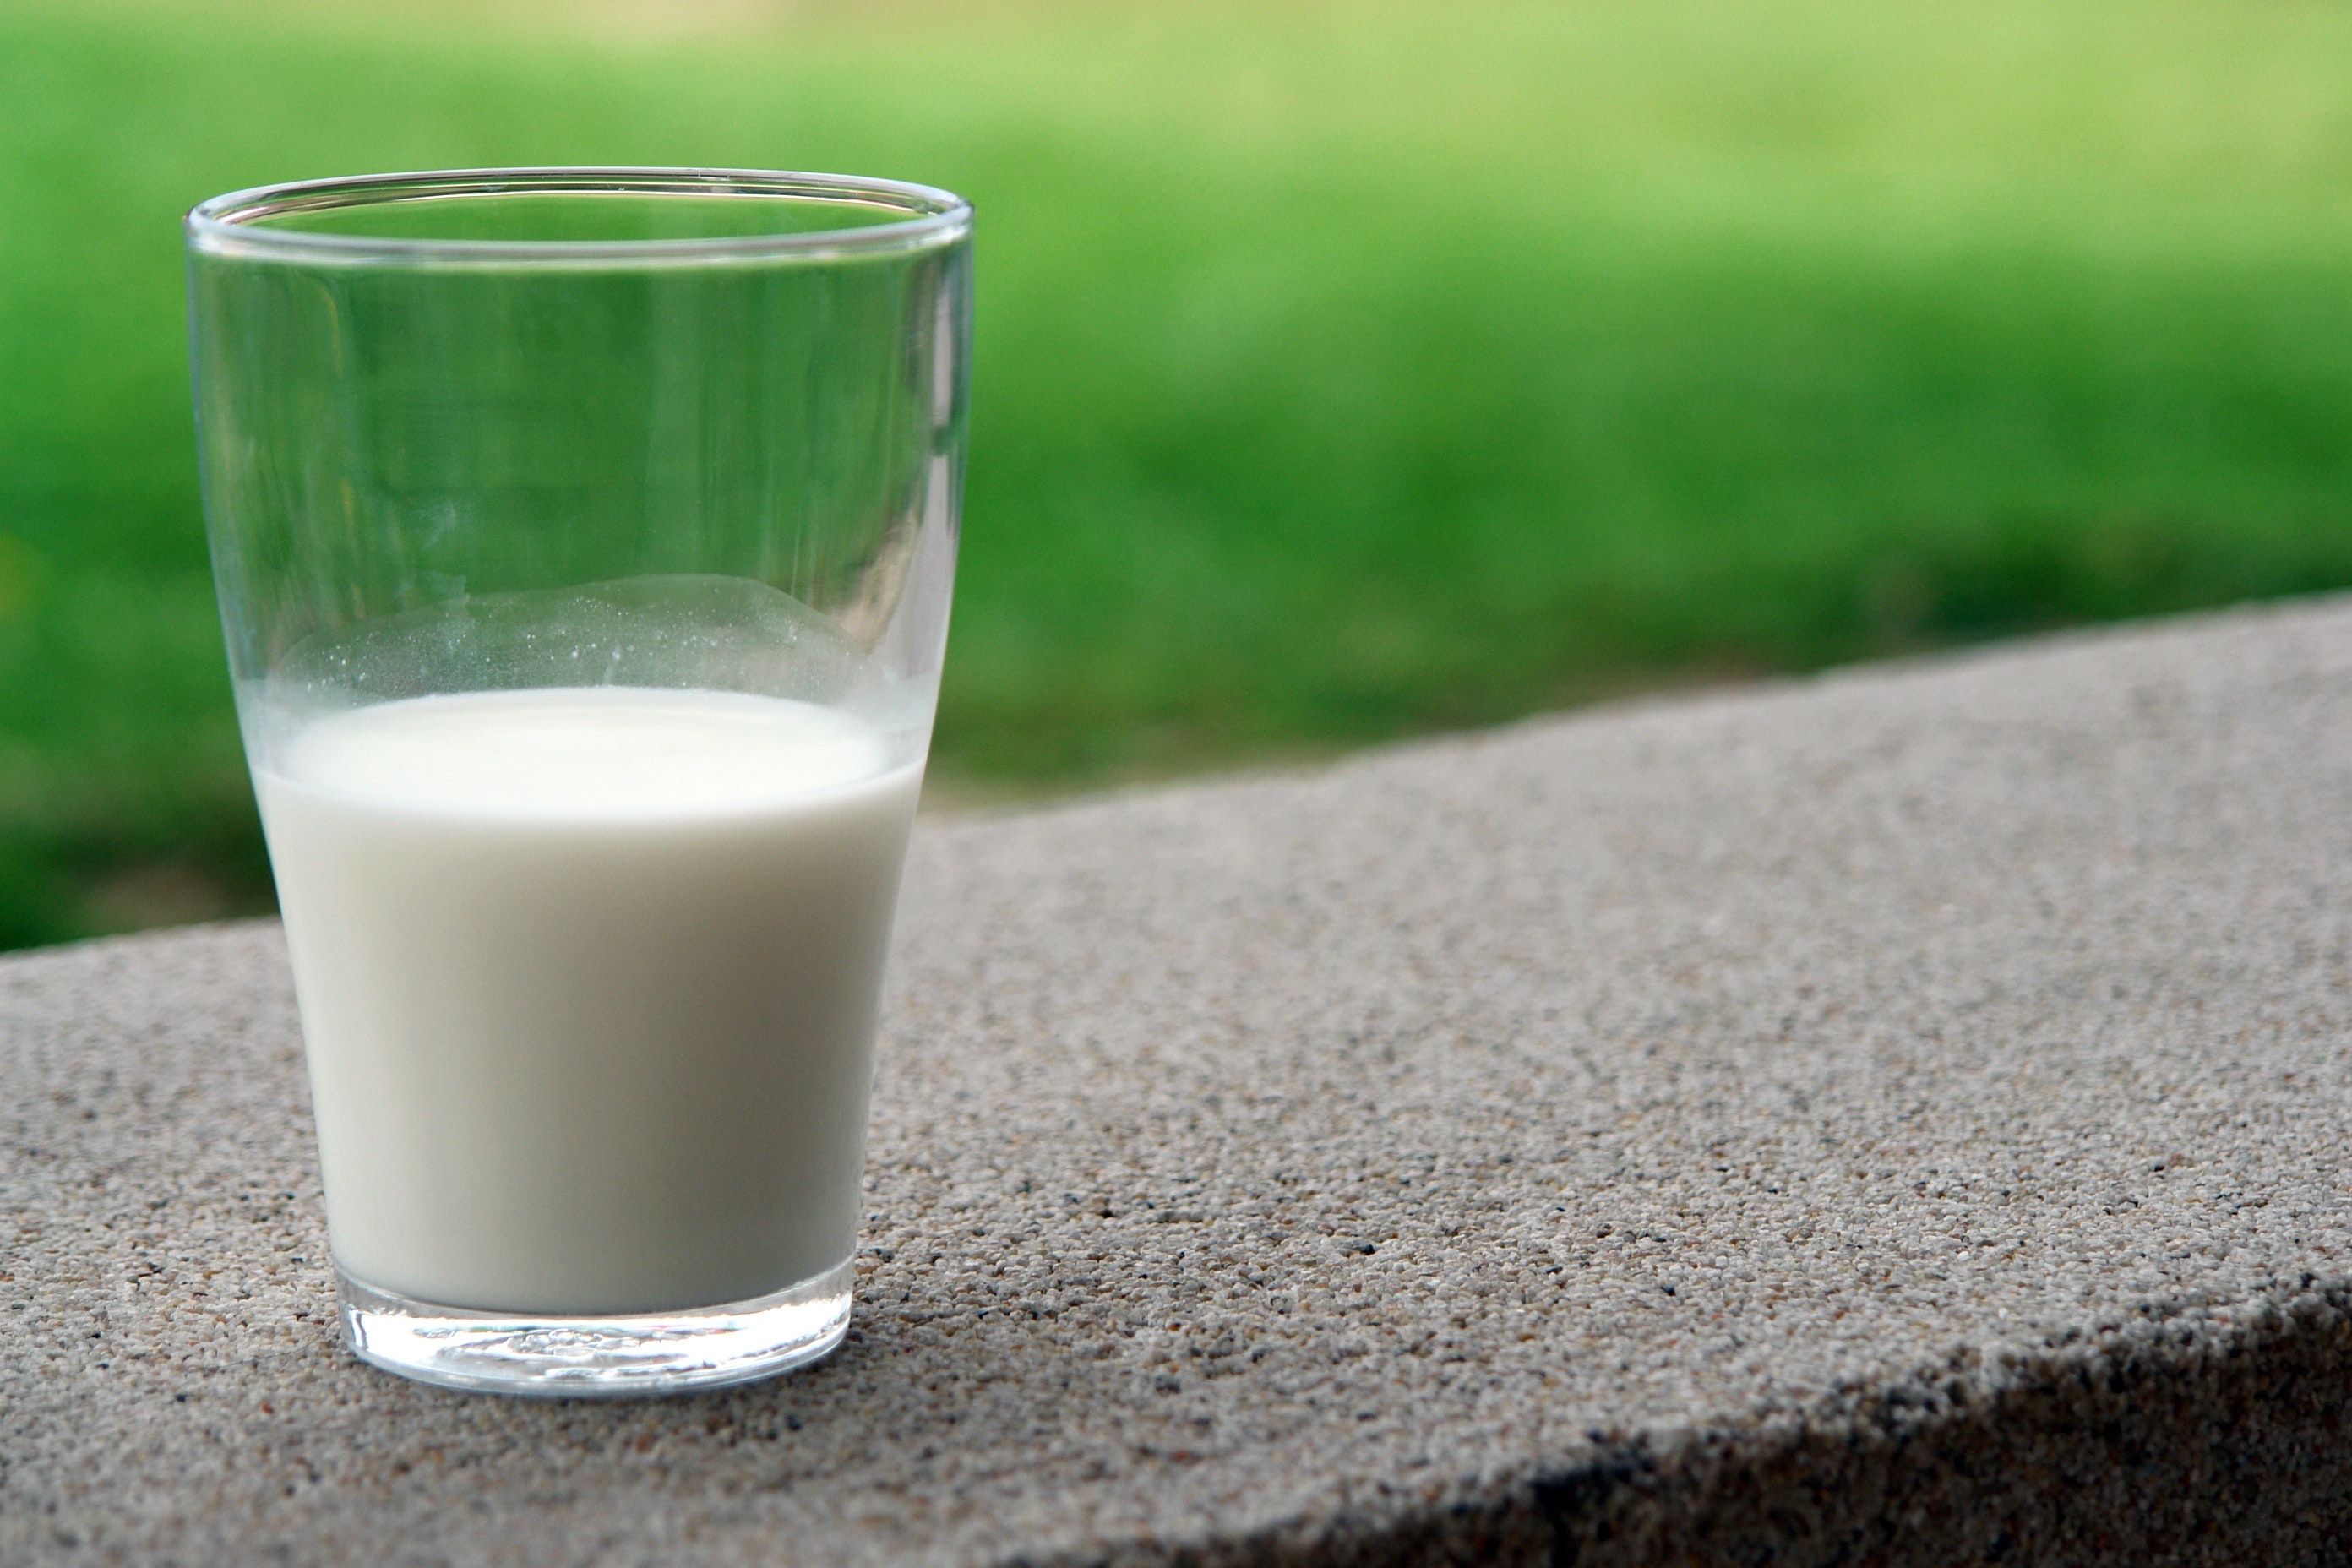
Original image by Pexels
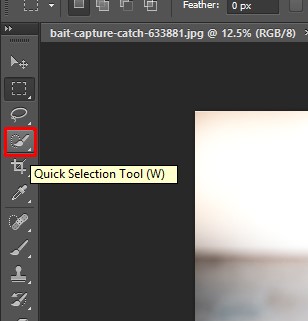
As for the purpose of this tutorial we want to remove the background of the image. To do so you go ahead and select the Quick Selection Tool, you can do that by pressing the W key or by clicking on the tool in the tools panel.
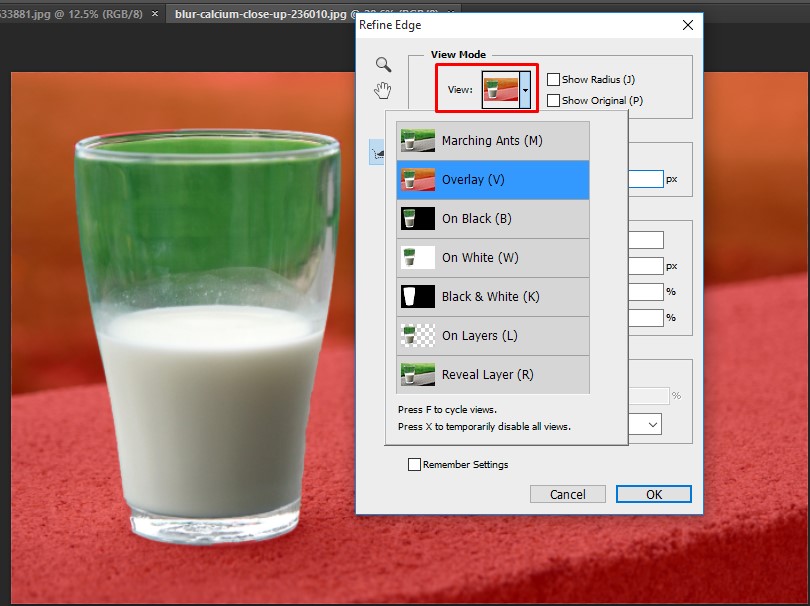
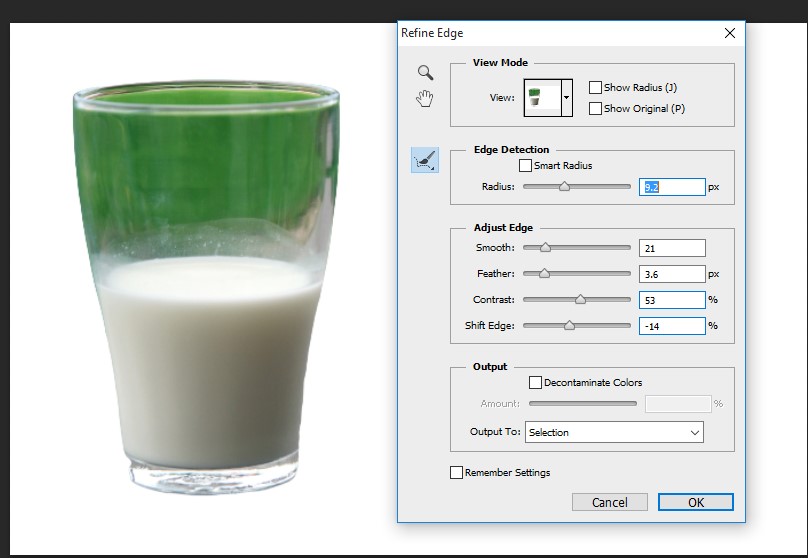
Now go ahead and paint or drag across the entirety of the glass. As this is relatively easy, we will have a pretty good selection. In order to modify or refine the selection there are two ways to do it. Firstly, you could go ahead and click Refine Edge, that would open up the refine edge dialogue box.

In the new dialogue box you have the option to view the image in different mode. For example, you can view the image with a red background it’s called overlays. The red will show you what you will be able to mask away or remove. Notice in our case white background works pretty nice. So we will stick to it.
Now, all that you will do is to modify the controls on refine edge. So when you expand the sliders you can see you have too much of the background, so go ahead and contract the slider’s value and bring that back. Feather will soften the edge, the Smoothness is how soft or hard that edges get. Try to find a balance spot, Contrast will also help you boost up the edge of the glass a bit. As soon as it looks good you are done with it. Just modify the Radius control to suit the requirement. Finally, click OK to apply the modifications.
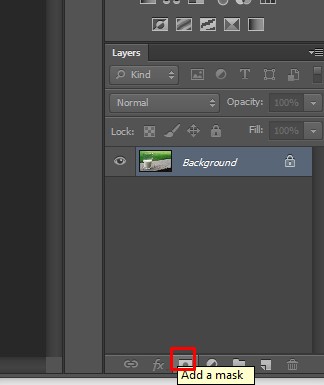
Now that we have a pretty good selection move forward and click on the Add Layer Mask icon to our background or original layer.
As I mentioned before you can actually continually modify the edge. You can do that once you have created a mask by going to mask that edge. We have the same refine edge controls which is just called Refine Mass controls.
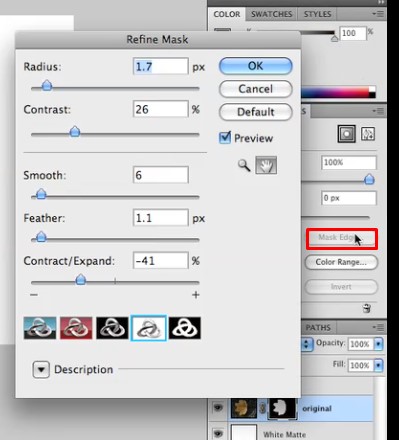
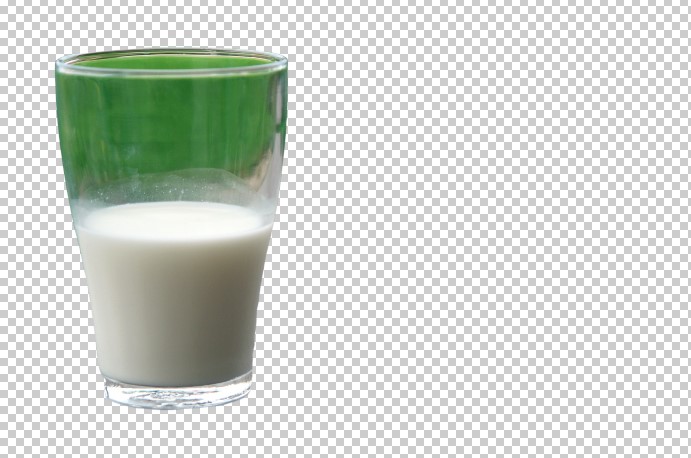
As you can see that you can Contract or Expand the sliders of your liking. Once the selection looks nice to your eyes, click OK. We’ve now successfully remove the glass from its background. Yes, there is some green shadowy portion left on the top but that will not have any downside to our work.
I don’t really want to see the transparent background and want to see the glass on a white background. So what we will do next is to show you a few helpful shortcuts that will help you create a new layer and then fill that layer with a solid color.
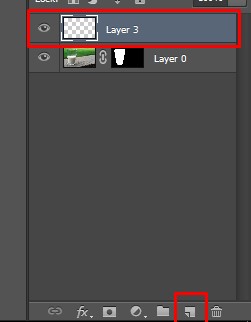
Well, for starters we know that we can click on the New Layer icon yet when we do that it creates a layer above. So we will delete that layer as that’s not what you want.
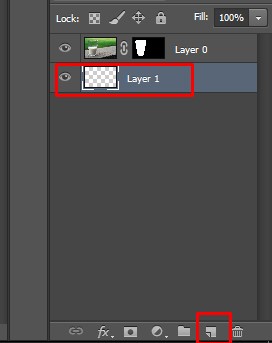
We want a layer underneath. Here’s a great shortcut you are going to have in your bag of tricks. Hold down the Cmd + click for Mac and Ctrl + click for a PC, then clicks on the New Layer icon that creates a new layer underneath the layer that you are currently on.
To have a layer underneath a current Layer:
Cmd + click on the New Layer icon
Ctrl + click on the New Layer icon
Well, the next steps can be to fill this layer with white. Now you could of course go to Edit and then choose fill. But wait there is a shortcut for it too. The shortcut that we are going to use comes by pressing Cmd on a Mac Ctrl on PC and then delete on the Mac or backspace on PC.So you have to press Cmd + delete on the Mac and Ctrl + Backspace to fill the background with white.
Shortcut to fill the Layer with White
Cmd + Delete on Mac
Ctrl + Backspace on PC
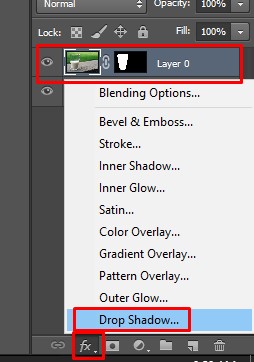
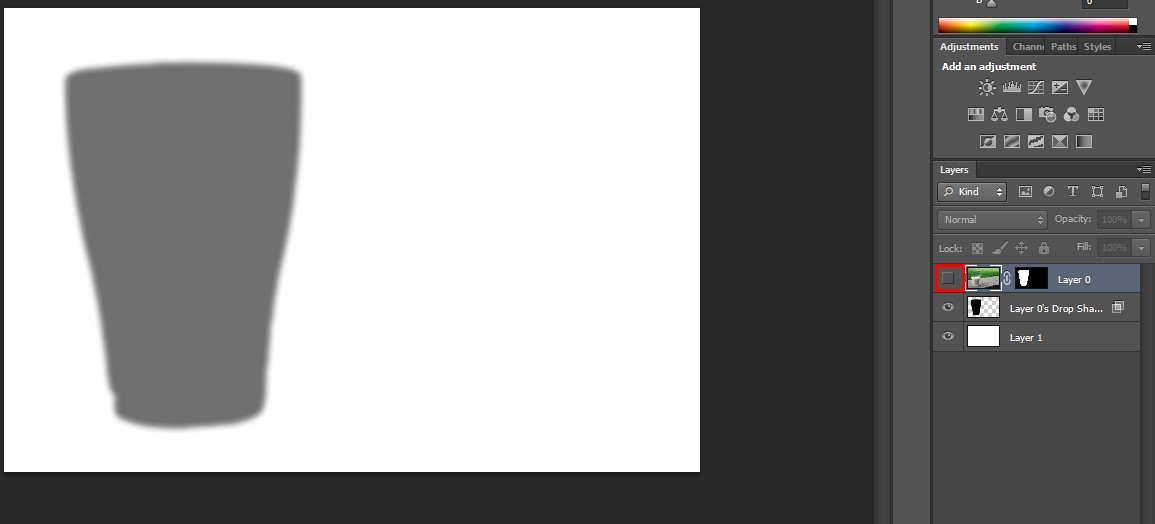
So far so good, we now know how to have the glass on a solid white background. We are ready to create a shadow. There are a couple different techniques we can use to create a shadow. Let us consider the first technique. We will go ahead and select or target the original layer and then we will go to our layer style facts and choose Drop Shadow.
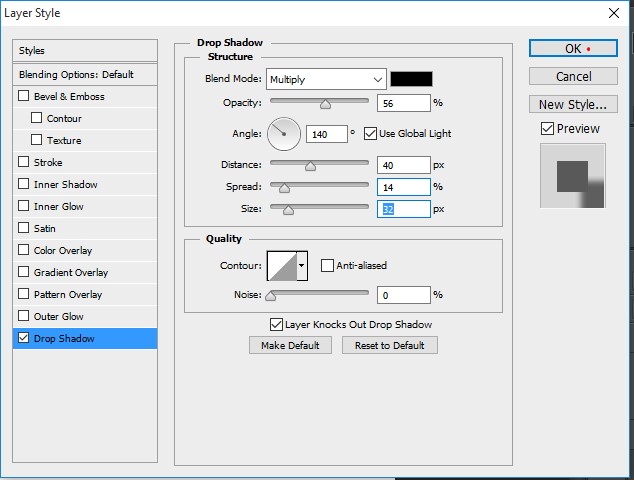
We will create a drop shadow to modify its edge and its opacity to get a nice shadow near the glass and click OK.
We will then remove that layer style fx from this layer by navigating to Layer>Layer style and then Create Layer.
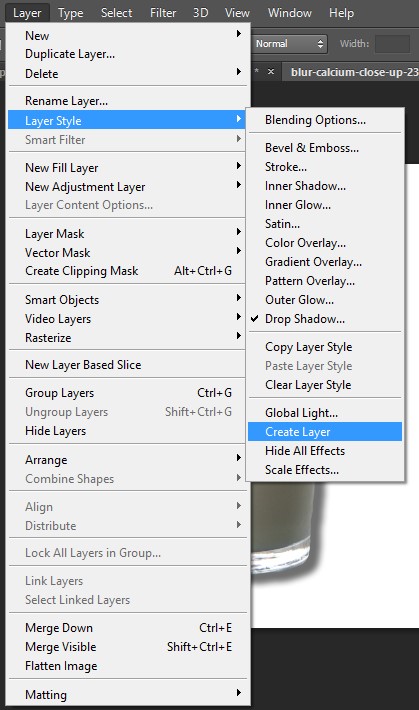
We can also put that Layer Style effect on its own layer. For that we will click OK to apply that and now here you can see if you turn off the top layer you have that drop shadow on its own layer.
It takes practice to create a realistic shadow. We have shown you an example. In clippingpathservice.com we do it professionally with expert editor. Excessive drop shadow can make your image unrealistic. We help you make the right drop shadow for your product. Shadow makes your products look more real as it add depth, and ultimately help you drive sales. Visit us to know more.
In our next article we will look another way to add and modify shadow in order to create a pretty interesting effect.
Related Articles:
Here, you will learn on how to create a dispersion effect in Photoshop with photo edit option. I hope it will help you both the beginner level and advanced level of students in a great … Continue reading How to Create a Dispersion Effect in Photoshop
Read MoreIn this tutorial, you will get to know about the tool that is used for many purposes and one of the most important tools in Photoshop coined as the ‘gradient tool.’ When you click on … Continue reading Usage of Gradient tool in Photoshop
Read More