Usage of Gradient tool in Photoshop
In this tutorial, you will get to know about the tool that is used for many purposes and one of the most important tools in Photoshop coined as the ‘gradient tool.’ When you click on it, you will also see that ‘G’ is written beside the gradient tool which tells you that it is also a shortcut form of the gradient tool. There is a tool named ‘Type tool’ in Photoshop. When you click on that type tool, if you click ‘G,’ it will automatically take you to gradient tool. I hope that it will be very helpful for all and for the beginners especially.
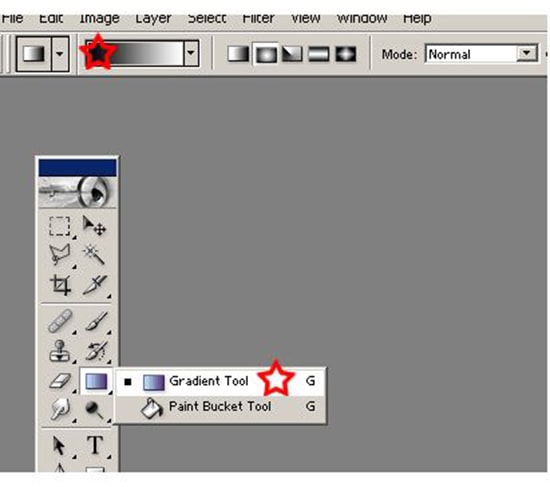
Photo Courtesy – http://www.tutorial.hu/
The Gradient tool allows you to specify a gradient of color. Using it is fairly easy, you simply choose the gradient tool from the toolbox click on the canvas and drag out an area to fill with the gradient. Gradient is basically going for one color to another in a smooth transition. To fill part of the image, select the desired area. Otherwise, the gradient fill is applied to the entire active layer. Select the Gradient tool. If the tool is not visible, hold down the Paint Bucket tool. In the options bar, choose a fill from the wide gradient sample. Click the triangle next to the sample to pick a preset gradient fill. Click inside the sample to view the Gradient Editor. Select a preset gradient fill, or create a new gradient fill. Select an option to determine how the starting point where the mouse is pressed and ending point where the mouse is released affect gradient appearance. Linear gradient means shades from the starting point to the ending point in a straight line. Then, in the options bar we have to Specify a blending mode and opacity for the paint. We have to reverse the order of colors in the gradient fill, select Reverse. We also have to create a smoother blend with less banding, select Dither and we have to use a transparency mask for the gradient fill, select Transparency. Position the pointer in the image where you want to set the starting point of the gradient, and drag to define the ending point. To constrain the line angle to a multiple of 45°, hold down Shift as you drag. That will complete the whole process.
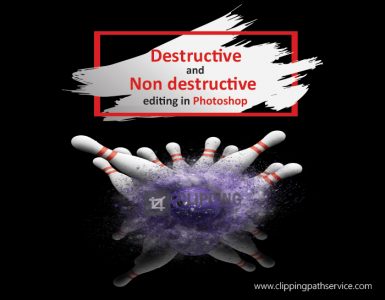
Today we are going to talk about destructive vs nondestructive editing in Photoshop. It is hugely important topic to understand but fortunately it’s also simple. A destructive verse nondestructive edit simply means either you are … Continue reading Destructive and Non-destructive Editing in Photoshop
Read More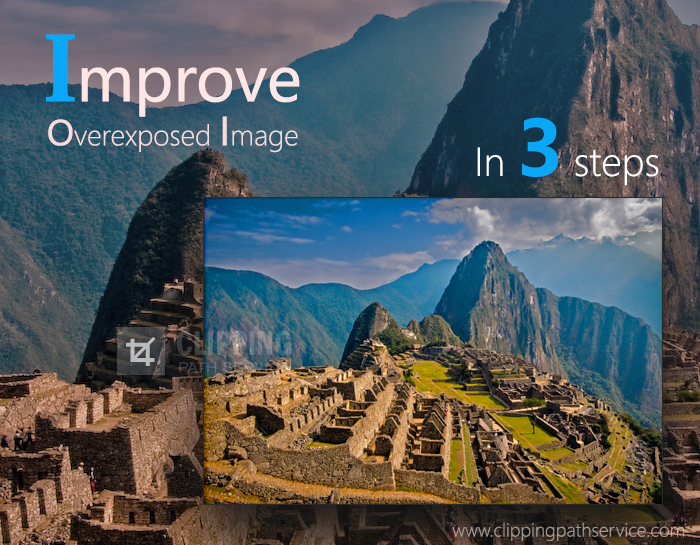
Overexposed is explained by Vangie Beal “as in traditional photography, overexposure is a term used to describe the process of exposing film to too much light, which results in the photograph being too bright. In … Continue reading AN OVEREXPOSED PHOTO: Improve in three steps
Read More