Usage of ‘Refine Edge Tool’ in Photoshop
In this tutorial, you will get to know about the tool that is used for many purposes and one of the most important tools in Photoshop coined as the ‘refine edge tool.’ I hope that it will be very helpful for all and for the beginners especially.
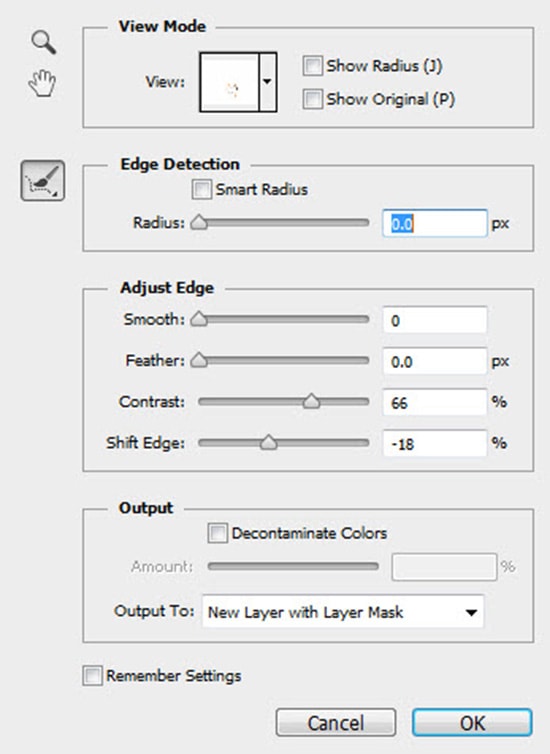
Photo Courtesy – http://www.webdesign.org/
At first, let’s make a selection of an image. After selecting an image, go to the tool named refined edge button. There, you have found a lot of options. Initially, you click the view drop down button you can go ahead and see the image with different background. It is actually a very nice way to see the image with different background colors and decide which one of those will be fit for you and the audience as well. Then what you will do is to be able to edge detection and you want to define that. Next, select smart radius tool and command. What does that is that it adjusts the edge detection in your image. You can do these adjustments by manually. There are also some tools that you can use to adjust like smooth, feather, contrast, shift edge command. If you have a background that is very similar color, you can use the decontaminate colors command to remove the fringe areas of the selection. So, overall, refine edge tool is a nice way to be able to get to the selection you have already made and a bit more adjustments may need to get what you actually want. After your desired selection been made, you just click OK button to confirm it. Lastly, this refine edge tool is a great way to be able to tighten up your selection and also you will be able to get the details that you want or select the information that you need.
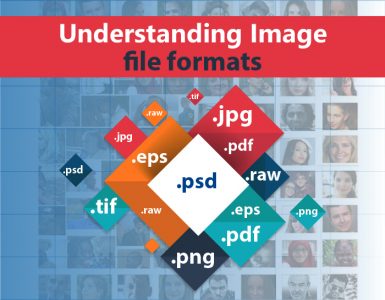
There are a variety of different file formats that you might run into while you’re using Photoshop. We will be discussing some of the important format in this article. So let’s talk about the first … Continue reading Understanding Image file formats
Read More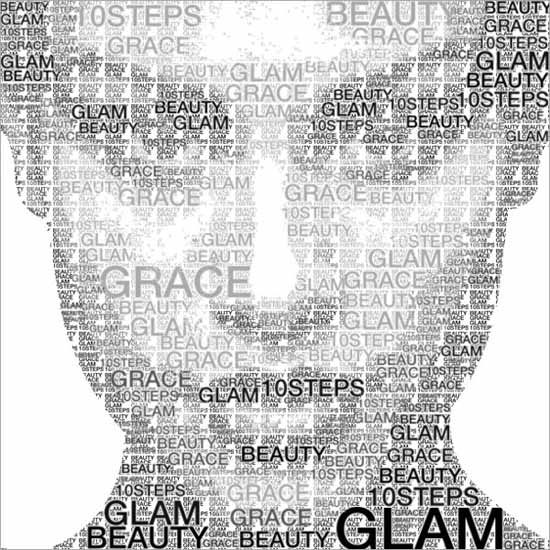
In this tutorial, we will learn how to create a text portrait effect in Photoshop. Like we added a transparent text to an image, we’ll now give the illusion that the picture shown is being created by a … Continue reading How to Create a Text Portrait Effect in Photoshop
Read More