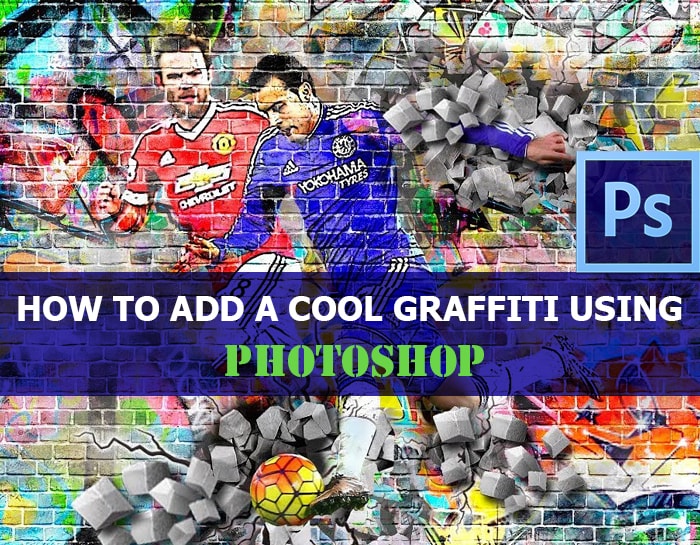
How to add a cool Graffiti using Photoshop
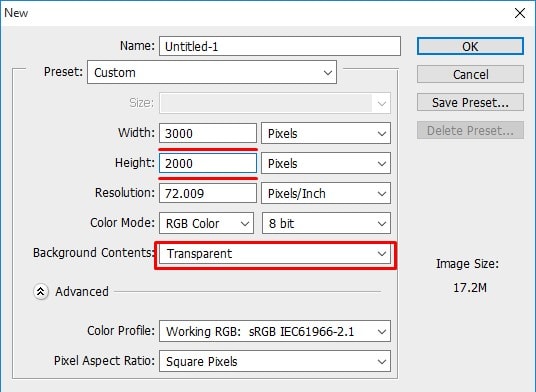
Today we will learn how we can use the Vanishing Point Filter. It is actually quite fascinating what we can do this filter. Before we move forward we need to set up the stage before we can jump to add a graffiti using this filter. OK, first open a new document in Photoshop, set up the Height, Width and the Background contents.

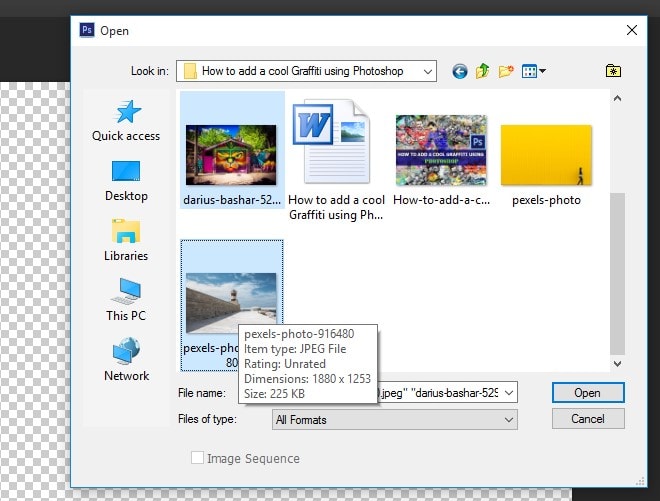
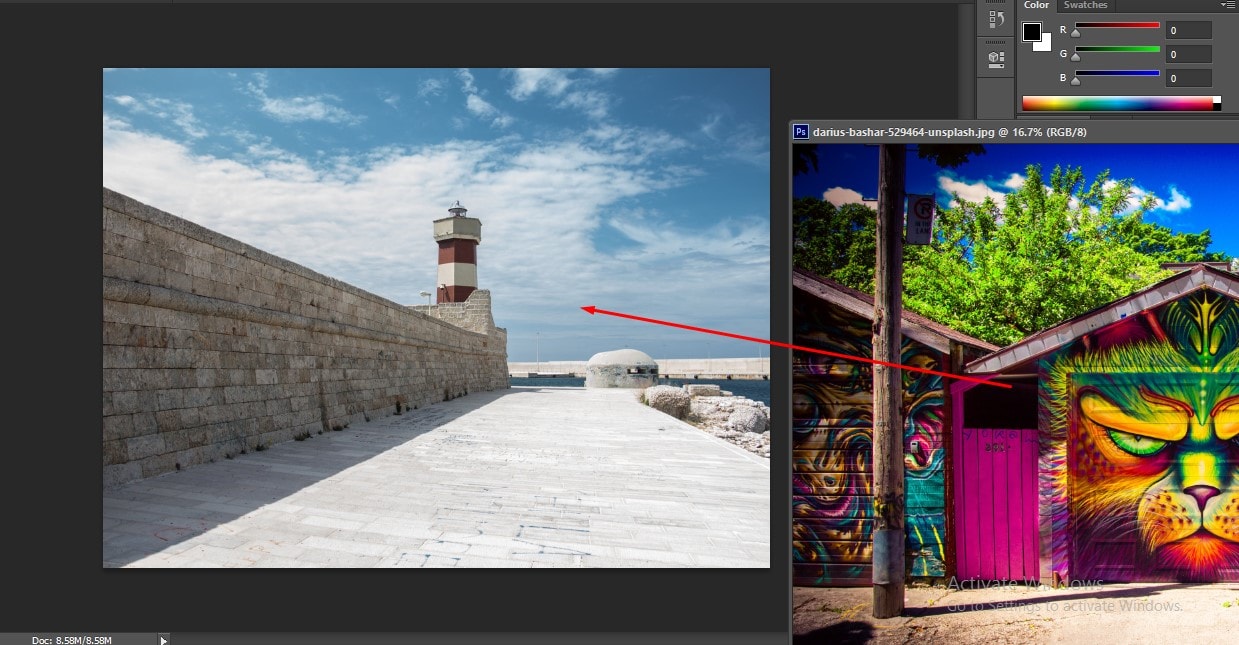
Then Open up the images you want to work with in Photoshop.
Select the Move tool and drag the image to the transparent canvas one by one.
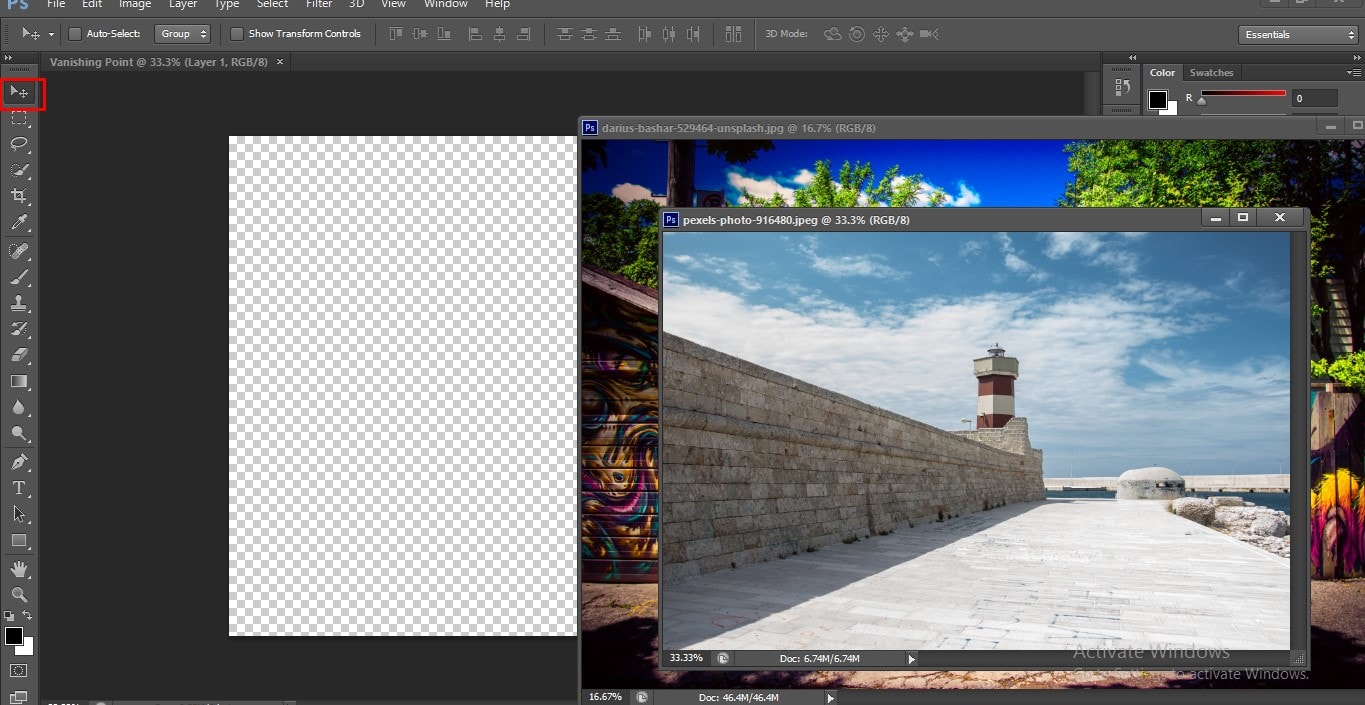
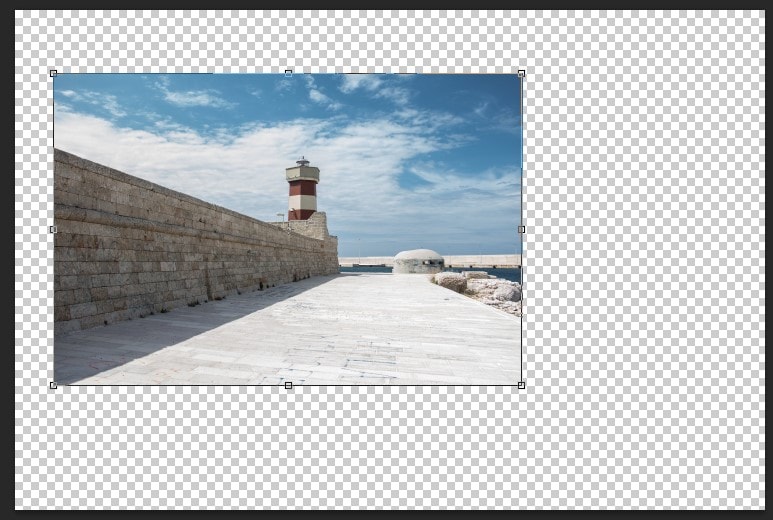
To fill up the canvass press Ctrl + T and adjust the height and width of the image. Do the same with both the images.
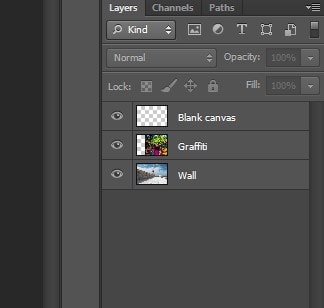
Once you drag the images close the window panels. For our convenient we will rename the layer panel.
We are all set; we will now add the graffiti to the wall. But add this to the wall how could we do that, how can I add it to the wall that we would have a correct perspective and how can we blend into that wall.
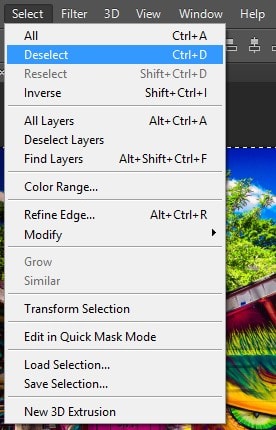
Here is what we are going to do. Press Cmd + A on Mac and Ctrl + A in Windows, then press Cmd + C or Ctrl + C for copy on a Mac or in Windows. So again we selected that layer and then we copied the information from that layer. Let’s now Deselect our selection.
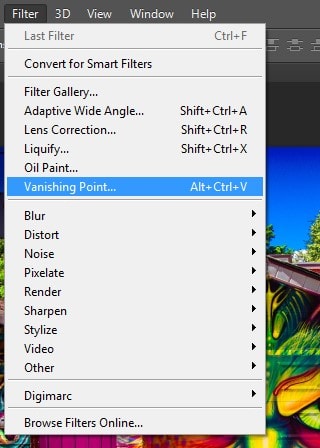
Turn off the Graffiti layer and select the Blank canvas layer. Now we’ve copied the graffiti but we haven’t pasted it anywhere yet and I emphasize yet. All right here’s what we are going to do. We will select Vanishing Point.
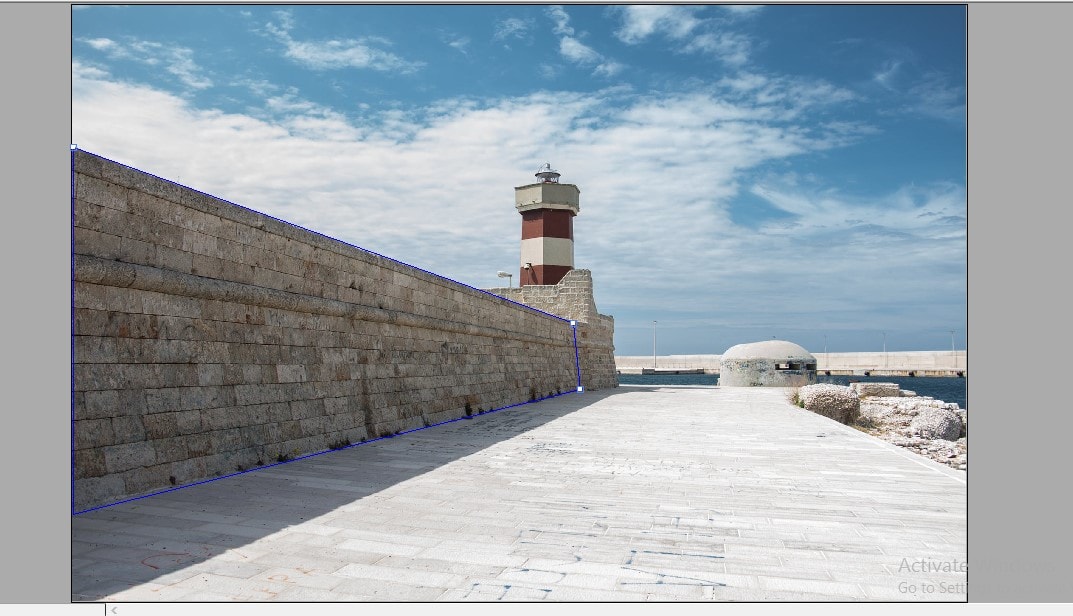
In the new window we will go out and set a point on one of the lines of the wall and then we will go all the way down to the right corner of one end and set another point. We will just follow the shape of the wall now. Follow the wall as close you can and once you are satisfied go ahead and click that to apply. However, you can modify your selection further if you need to; you can modify these points to your liking if it’s not been done properly in the first place.
The fun started to unfold on a Mac press Cmd + V or on Windows press Ctrl + V to paste into the vanishing point filter, the contents from that layer then click and drag and bring that into the shape that we’ve created. Now we can bring this graffiti along this wall here. We can put it in any number of positions we can also move the graffiti song to go ahead and move it up to get it to an interesting spot. Try to find part of the graffiti that you like to see on the wall. Click OK to apply that.
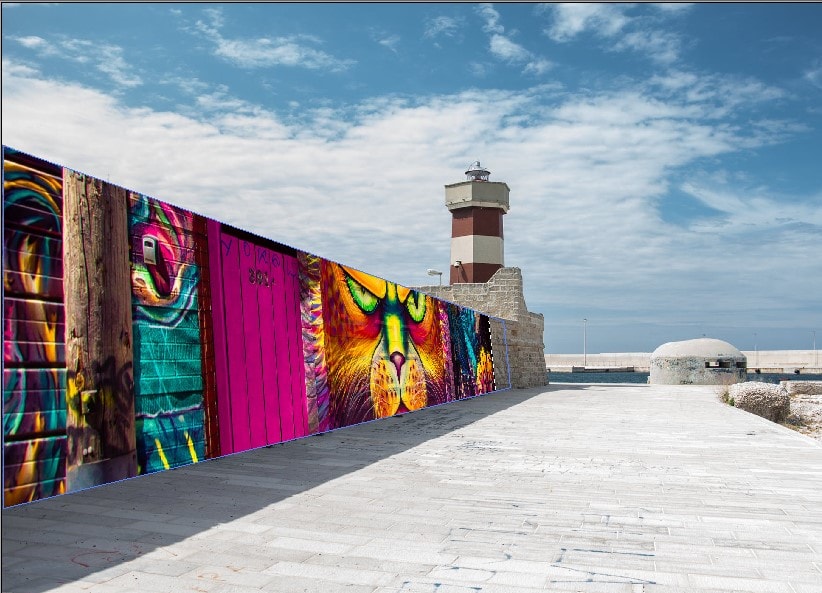
Now that we have the graffiti proportionally position on the wall we need to blend it. We will try one of our many blend modes like Overlay or like Soft Light. Go ahead and blend it to your liking. However, I like overlay for this.
You may want to modify the color and you may have noticed you have edges that you need to work on as well. You can change the edges by clicking on the Add a layer mask icon at the bottom right corner. Press B to select your brush tool. To make the brush really big press right bracket key ( ] ) and to make it smaller press the left bracket key ( [ ). Go ahead and just pull off the edge and remove it down. Click once holding the shift key click again. We want to diffuse the edges to remove any harshness.
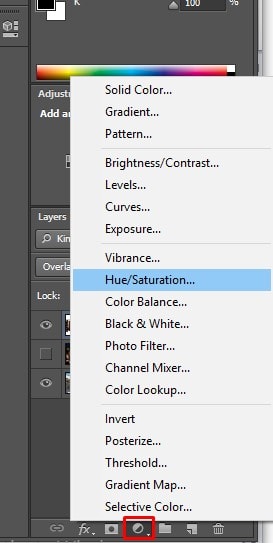
Ok now how can we change its color? Well what we could do is click on the Adjustment Layer icon, choose to Hue/Saturation for example then shift the overall hue.
If we play around with the hue slider then it affect the entire image.
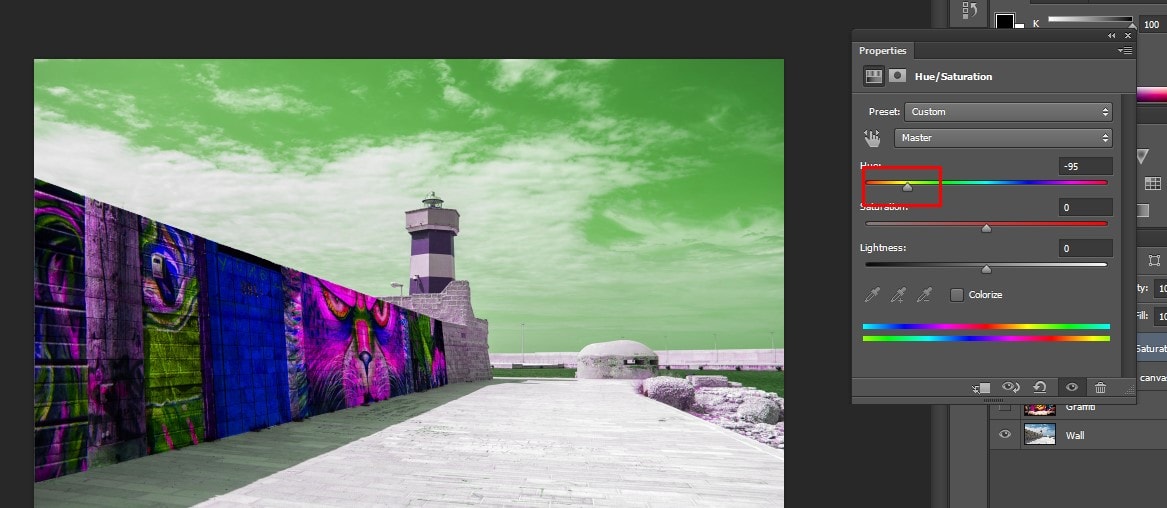
To affect the underlying image we can either hold down the option key on Mac or Alt on Windows, position the cursor between the two layers when we see the overlapping circles click. Now from here you can continually modify the hue and you can see that you have some different color combinations. You can control its overall saturation.
We are able to quickly and almost seamlessly connect these two photographs together in a really unique way by using that particular filter. So as you can imagine using this filter will open up a whole new range of possibilities in regards to combining multiple photographs.
Related Articles:
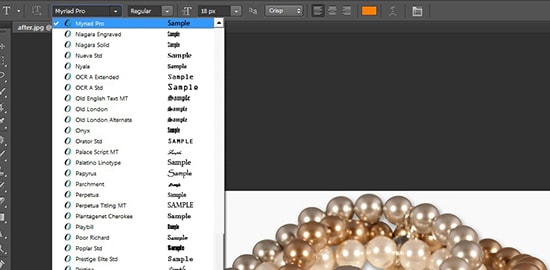
Here, you will learn how to install fonts in Photoshop on your computer running windows. There are a lot of websites that offer free font. You can choose any font for the test font. Hence, go … Continue reading How to Install Fonts in Photoshop
Read More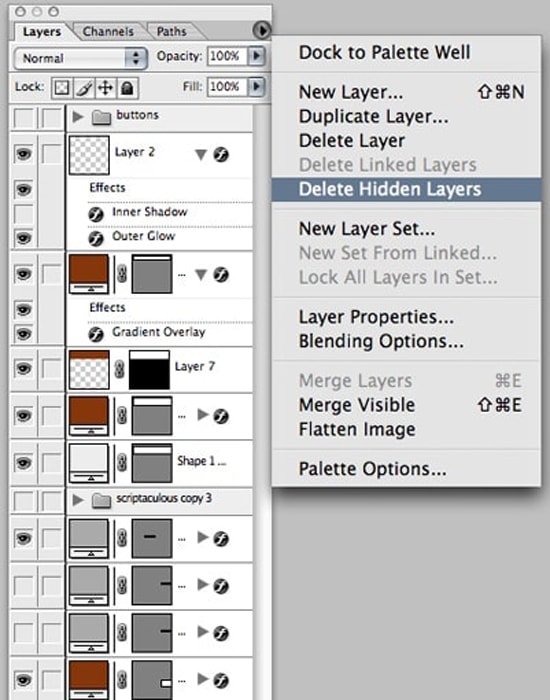
In this tutorial, you will get to learn on how to delete all hidden layers in Photoshop. Hopefully, this will help all the learners in a great deal. Photo Courtesy – Delete Hidden Layers When … Continue reading How to Delete All Hidden Layers in Adobe Photoshop
Read More