How to Create a Wood Texture in Photoshop
The most powerful tool to help you creating great textures in Photoshop is the filter feature. It is easy and with a few adjustments, you can create tons of different and unique textures. Double click the background layer so that it is unlocked and we can make modifications to it. Here, you will be guided on how to create a wood texture in Photoshop.
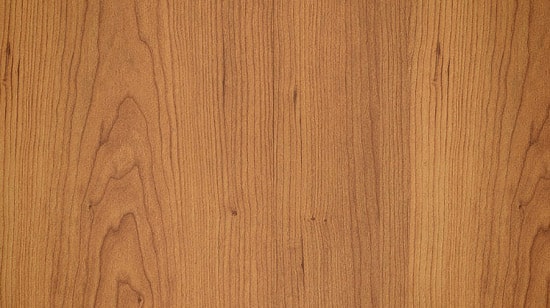
Photo Courtesy – Creating Wood Texture
After creating the texture, press D so that the foreground color and the background color will be reset to the default values, black and white. Choose Filter> Render> Clouds. From the menu, choose Filter> Blur> Motion Blur. We will use an angle of 90 degrees and for the distance, the biggest possible value which is 999 pixels. Now, put some color. Afterwards, you need to select image> Adjustments> Hue/Saturation and make necessary adjustments required. In the dialog box, make sure that you set the check box Colorize to active. The texture already looks way better than before, but still it is not what we imagine as wood texture. In this step, we will give our wood texture a more natural look. From the Filter menu, open Liquify. Try to get rid of the straight lines that the motion blur filter created in the beginning.
Now, open the Filter Gallery from the Filter Menu. Select the Filter that you think will be suitable for you found in the group Texture. Make some adjustment and it will sum up the whole process.

Hello Everyone! Today in this article we’ll learn about how you can resize lots of images fast in Photoshop. In my case, I have twelve images that are way too big for my needs. Most … Continue reading Resize multiple images quickly in Photoshop
Read MoreIn this tutorial, you will learn on ‘How to make a person disappear’ on Photoshop. I believe that it would be very helpful for both beginner and advanced level of students in Photoshop. At first, … Continue reading How to ‘Make a Person Disappear’ on Photoshop
Read More