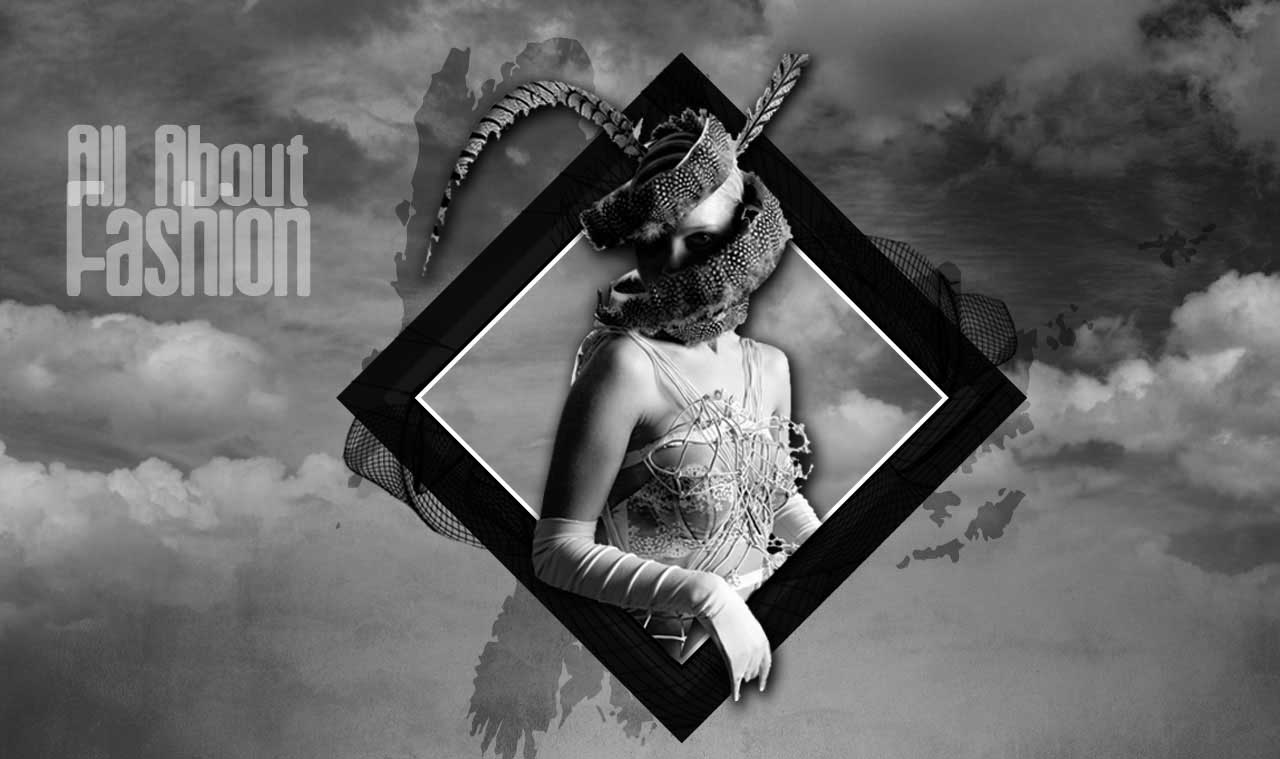
How to Create a Fashion Poster in Photoshop
Today you will learn how to create a fashion poster in Photoshop. The techniques that will cover here include creating a collage of photos and applying simple layer adjustment. You will need an image of a person and a watercolor image which will be used for background.
At first, open a document and set the document size to 8.5 by 11 inches. Copy and paste your image onto the canvas and place it towards the center. Copy and paste the more rounded watercolor image onto the canvas. Set the layer to Lighten and bring down the opacity to 80%. Position the watercolor texture around the person’s head. On a new layer, use the ‘Brush tool’ to paint the white color over any parts of the original reference that still show through. Then, apply free transform to re-size and set the layer to Lighten. Now, paste the watercolor splatter onto the canvas. Duplicate the layer and re-size the one which is slightly larger. Adjust the opacity of both to around 25%. Clean up the area with the eraser tool.
Add a new Adjustment Layer for Levels. Set the settings which will be the best for your image. Use the ‘Rectangle Tool’ to create two long light blue rectangles across the paint splatter. Adjust the opacity to 70% to let the splatter show through a little. Use the ‘Lasso Tool’ to create long diagonal stripes and fill them with different colors. Keep the colors in the general blue range, set the layer to ‘Hard Light’ and bring down the opacity to 90%. Now is the time to add text to the poster. After selecting the font size, right-click and select ‘Blending Options’ to add a ‘Drop Shadow’ with both the Distance and the Size set to 5 pixels. Copy and paste the original round watercolor reference and set it to Darken. Position it towards the bottom left side to anchor the composition. Use the Brush Tool to lightly paint a soft red color on the left side of the poster for even more balance. Lastly, add another Levels layer. Make adjustments on the Shadows, the Midtones and the Highlights as well as bringing down the opacity of 40%.
That’s the whole process. In this way, you can photo edit and create this trendy poster. Hope that helps. Good luck creating your own!
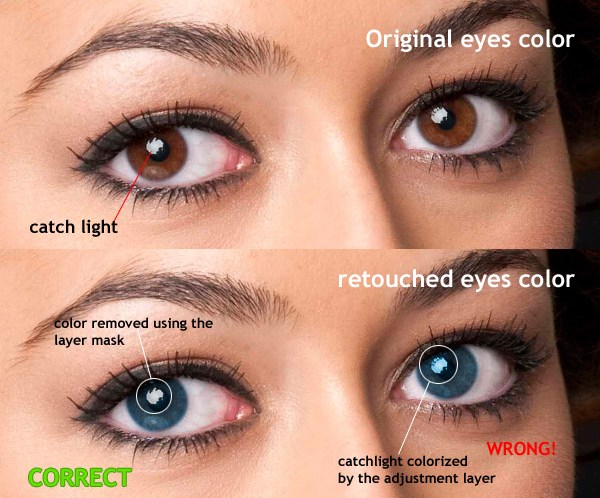
Retouching is something that is very subjective and I am still feeling out learning the process. As you do photo retouch, if you are not dissatisfied with the ‘Light room,’ then you should continue do … Continue reading About Blue Eye Retouching in Photoshop
Read MoreIn hair masking, bad mask is considered as the worst of all. when it’s blurred or hidden by a complex background or hazy foreground, it makes pretty much impossible to get an accurate mask at … Continue reading How to Remove a Filthy ‘Hair Mask’ in Photoshop
Read More