How to Create Reflections in Photoshop Elements
In this tutorial, you will learn about how to create the reflections in Photoshop. I hope it will help the beginner level as well as the advanced level of students in Photoshop in a great deal.
Choose your desired image and open it in Photoshop. Suppose that you want the image to be the width of 6 and height of 4 pixels. When you put it, the resolution will come as it requires to be. A new file will come up and you need to choose the background that will suit the most. Let’s make it bright and bold with the use of red color in the upper layer of a background and black on the lower part. Fill the background layer with that with the use of a reflective gradient tool. Click on that towards the bottom and then drag that one up for a 4-6 inch. What it does is that it runs the range from the foreground to the background. Then, the background is set up.

Photo Courtesy – https://www.youtube.com/watch?v=IfrGk8SB5Q8
Next, we will have to create a new layer. Set both background layer as black color. Then we will use the marquee tool and make sure that the feather is on 0. We want to go side to side kind of shape. Make sure that you create a new layer though and work on the basis of that. Come back to the filter and use black to fill the shape you created. Use CTRL + T which is the transformation tool. Hold Shift key and drag it low down to get the initial look of reflection. make sure that we have got 2nd layer selected. Now, we go to Filter>Blur>Gaussian Blur chronologically and set the radius as of your choice. That will sum up the whole process.
Hopefully it will help you to go far beyond what you think you can do with the use of Photoshop.
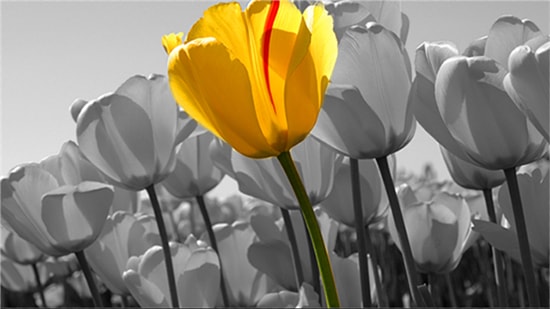
Here, you will learn on how to how to do color splash in Photoshop. I hope it will help you both the beginner and advanced level of students in a great deal. Photo Courtesy – http://working-with-photoshop.blogspot.com/ … Continue reading How to Do Color Splash in Photoshop
Read More
Here, you will learn on how to create glitter text effects in Photoshop. Hopefully, it will help both beginner and advanced level of students in a great deal. Create a new document, and adjust depending of image … Continue reading How to Create Glitter Text Effects in Photoshop
Read More