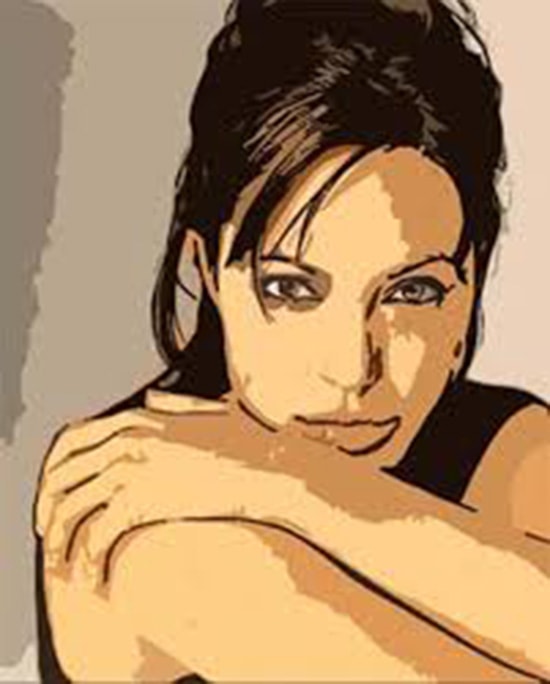
How to Create Cartoon Effect in Photoshop
Here, you will learn on how to create cartoon effect with photo edit in Photoshop. I hope it will help you both the beginner and advanced level of students in a great deal.
Photo Courtesy – http://www.psd-dude.com/
At first, select a background image under a layer. Create a clipping path now. After creating clipping path of every part of the face and body in different layers, posterize it by going Image> Adjustments> Posterize. Increase the posterize effect to get good effects. Create 2 copies of Background. Select ‘Background Copy 2’ and go to Filter> Artistic> Dry Brush. Select your desired effect and make some adjustments that are necessary for your image. Change the layer mode from ‘Normal’ to ‘Soft Light.’ Increase the opacity of the image. Select the color of ‘Gradient Editor’ to make it look like a cartoon effect. That sums up the whole process.
I hope that it will help you and from now on, hopefully you will follow this procedure more often in Photoshop and be an expert in this field in the future.
Here, you will learn on how to make star diffusion effect in Photoshop. I hope it will help you both the beginner and advanced level of students in a great deal. Open the image on … Continue reading How to Create Star Diffusion Effect in Photoshop
Read More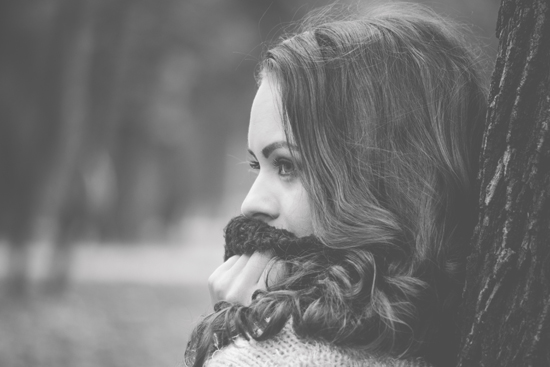
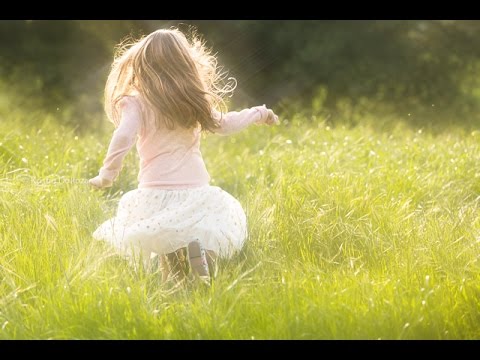
Here, you will learn on how to create dreamy portraits in Photoshop. Hopefully, it will help the beginner and advanced level of students in a great deal. First of all, open the image that you want … Continue reading How to Create Dreamy Portraits using Photoshop
Read More