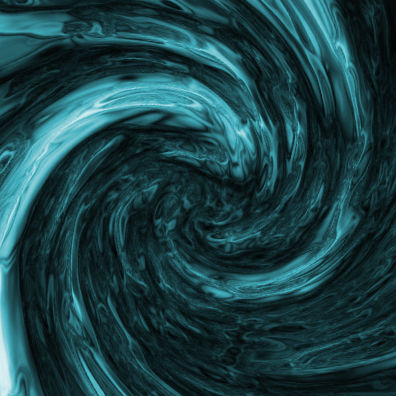
How to Make Realistic Blood Splatter in Photoshop
First of all, open up the document. For this purpose, you can start with a white canvas. Make sure the background layer is locked. Add a layer for your effect. Select your Brush Tool. Go into your brushes and start laying out your splatter effects. Now, let’s begin to add a bit of color. Go into your ‘Color Balance’ and make your brush layer +100 Red with your mid tones and shadows.
This will be your base color. Then, go into your curves and make your adjustments to see how your image looks best. You do not have to move the curves too much to get the desired effect rather just make it slight enough to show some detail. If you get your desired effect by now, you can stop here but if you want a ‘fresher’ look, go into your Brightness/Contrast to lighten up your blood splatters.
And there you have it. This should sum up the whole process. In this way, you can photo edit and make this realistic effect. Hope that helps! A quick and easy way to add some color into your blood brushes.
This tutorial, you will see how to create reflections in an image through Photoshop. I expect and really hope that it will work well and help the beginner level students of Photoshop. Photo Courtesy – http://www.photoshopessentials.com/ At first, … Continue reading How to Create Reflections in an Image through Photoshop
Read More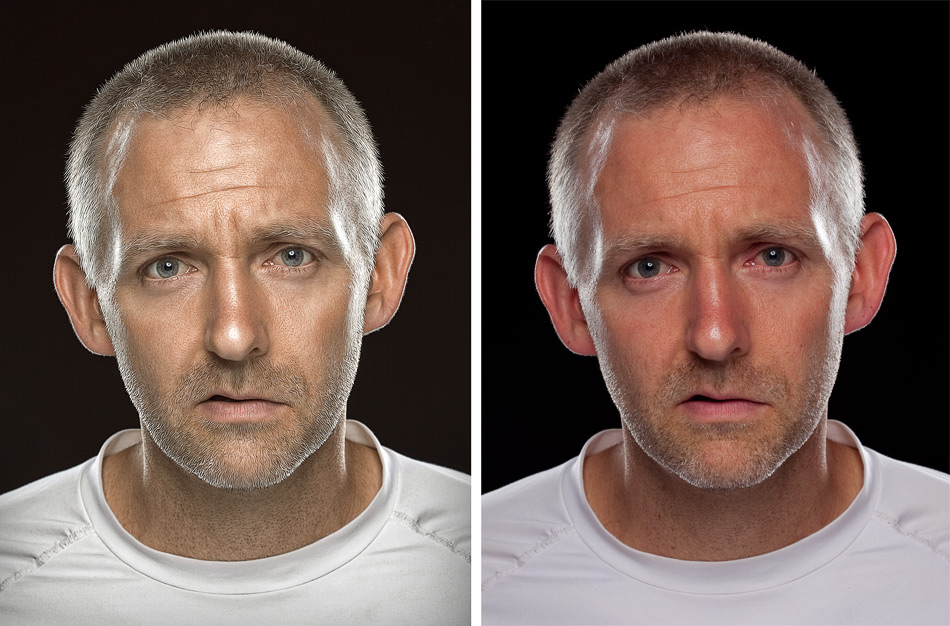
The usage of photo retouching through Photoshop is huge. It cannot be measured. With this Photoshop tool, one can do so many things. Here, in this article, you will see some angry look retouching images. … Continue reading Retouch of a Angry Face
Read More