How to Create Glitter Text Effects in Photoshop
Here, you will learn on how to create glitter text effects in Photoshop. Hopefully, it will help both beginner and advanced level of students in a great deal.
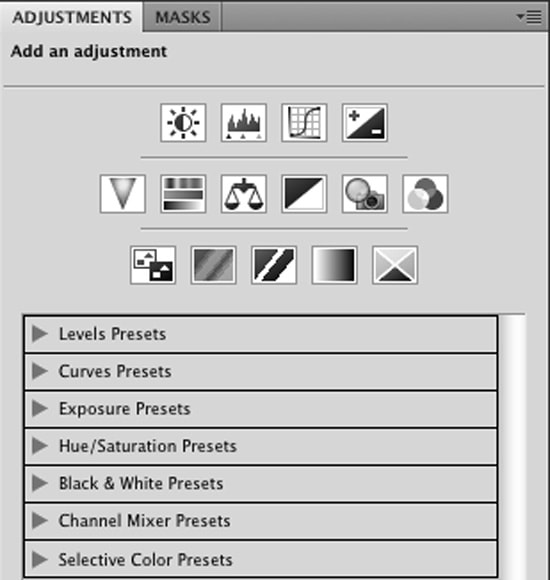
Create a new document, and adjust depending of image size and resolution. Fill first layer with the radial gradient. Make some adjustments on the settings. Type any sign you want with black color, in order to get better result use bold fonts. Rasterize text layer now. Adjust default background and foreground colors on the left side of Photoshop. Go to Filter > Texture > Stained Glass and make adjustments on settings. In order to load selection for the black cells, go to Select > Color Rang. Click with eyedropper to the black area and click OK. Then go to Select > Refine Edge. Try settings like on the image below. You should get visible only black pieces from the text layer. Apply some gray pattern to this layer. Go to Stained Glass filter again. Exchange background and foreground colors as black and white. Correct levels to increase sign contrast. Use similar settings to get result like on screen shots. Add Sparkles around the sign in a new layer. Set background and foreground colors download glitter brushes and use one of them to create glitter tiles around the sign. You may correct brush size to get better result. If you would like to add crease texture effect, apply Stained Glass filter to this layer as well.
Photo Courtesy – http://design.tutsplus.com/
Then merge the sparkles layer and “Shiny” sign layer. Duplicate merged layer. Make one of duplicates invisible. Convert second duplicate to the 3D Postcard. Duplicate 3D layer, and rasterize the duplicate. Make 3D layer invisible and apply layer style setting to the rasterized duplicate. To create reflection effect, make a new “Shiny” duplicate and place this layer below the gradient layer. Add Layer Mask to this layer and fill it with black and white gradient to make reflections visible only for the front plan and wash away the far area. Apply Fill to 0% and add drop shadow effect. Duplicate “Shiny” layer third time. Set Fill and Opacity 100%, apply Overlay Blending Mode to the layer. Place this layer above both previous duplicates. Make one more duplicate layer and fill to 0%, apply Bevel and Emboss effect. Create 5th duplicate of “Shiny” layer and apply Screen Blending Mode to this layer. Correct levels. by going to Image> Adjustments> Levels. To increase glow effect, duplicate previous levels corrected layer and apply Gaussian Blur filter to it. Use Screen Blending Mode for this layer as well. Return to the layer. Make it visible for a while. Add a new empty layer and make several white spots above the sign using large soft brush. Make plain “Shiny” layer invisible again and now convert white spots layers to the 3D post card. Use the same settings to set position exactly the same as “Shiny” 3D postcard. Apply Overlay Blending Mode to the spots layer.
You may add another one large blur glow spot. Use the same way as in the previous steps. Create regular large blurred spot and convert it to the 3D post card. Set the same position as for previous 3D layers. Apply Overlay Blending Mode effect. Create a new empty layer and take glitter brush again, set the size 8-10px and draw some falling glitter pieces. Apply Gaussian blur filter to 1px. Duplicate blurred glitter and go to Filter> Blur> Motion Blur. Make adjustments on settings and move this layer up a bit to combine the bottom tip of blurred strokes with the light dots from the previous layer. Draw new sharp glitter pieces in a new layer with the glitter brush but with the larger size 12-14px. Create a new layer above background layer. Fill it with the lines pattern. Go to Filter> Distort> Twirl. Convert this layer to the 3D postcard and apply the same position settings as for the “Shiny” sign and glow spots. Add layer mask to twirl background layer and fill it with black and white gradient to smooth far edge.
That sums up the process. In this way, you can photo edit and create this glittering effect. Hope that helps!
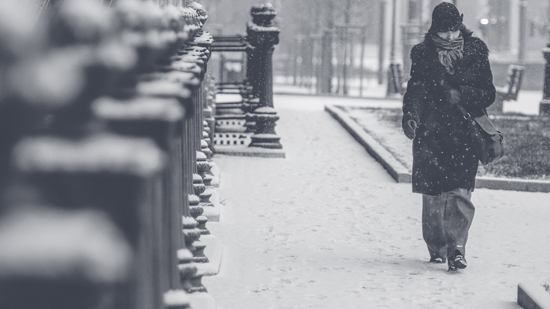
This tutorial is about how to create softly falling snow in Photoshop. Hopefully, this will help the basic level of students in a great deal as it is about basic techniques of creating this effect. … Continue reading How to Create Realistic Snowfalls in Photoshop
Read MoreIn this tutorial, you will learn about how to blend an image with photo edit in Photoshop. I hope it will help the beginner level as well as the advanced level of students in Photoshop … Continue reading How to Blend an Image in Photoshop
Read More