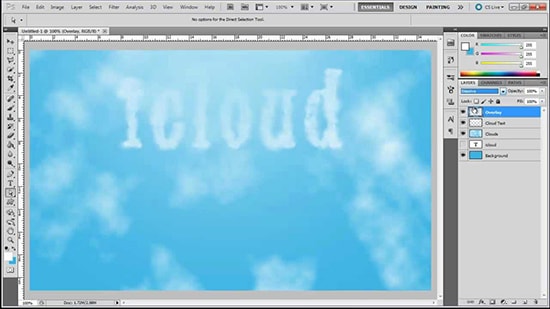
How to Create Custom Text Through Clouds in Photoshop
This tutorial is about custom text through the clouds using Photoshop. This will help both beginner and advanced level of students in a great way. Hopefully you all will like it.
Photo Courtesy – /http://www.pixelmator.com/
Firstly, open an image. You can open your own image but improvisation is needed. Now, select Horizontal Type Tool. Click on document and write something shortly. You can use any font you want. We will re-size the text in next steps. Press Ctrl and T together and transform the text. Click above on layer, layer style and select ‘Bevel and Emboss.’ Make adjustments on the settings. Click in ‘Gradient Overlay’ and again set the same settings without closing the window. Press OK when finished. Click on add layer mask. Select the ‘Brush Tool.’ Right click on the document and set similar settings again. Press D key and then X key to select the white color. Now, click slowly on the text where clouds are behind it to show them again. You do not have to be precise because the mistakes can be fixed lately. Mask tool is the best tool for that. If white color does not show up the clouds, then select black one with pressing the X key. Make some clouds visible again through the whole text layer. Press X key to change colors. Set much lower opacity for that tool. Now click slowly again to show up text again. Mask is using the black color to make visible layer behind and the white color is opposite action. That sums up the whole process.
I hope this tutorial has helped you get the idea about it and hopefully you can now do it with confidence on your own.
As retouching is an very important way of representing an image it catches everyone eyes easily..Models of different sector get priority over other, they are found in billboard, TV, magazine even in journal. As celebrities … Continue reading About “Model Retouching”
Read More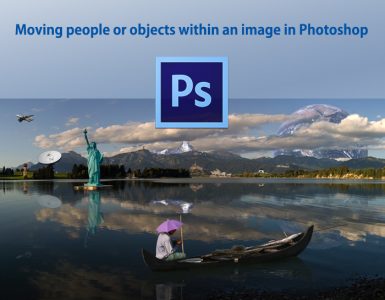
In this article we’ll use the following image and move the people around. This is going to be done through the content aware move tool, you can get it from your toolbox. It’s usually hidden … Continue reading Moving people or objects within an image in Photoshop
Read More