How to Create Beams of Light from Nothing in Photoshop
Here, you will learn on how to create beams of light coming out from the sky in Photoshop. I hope it will help you both the beginner and advanced level of students in a great deal.
Photo Courtesy – http://www.redbubble.com/
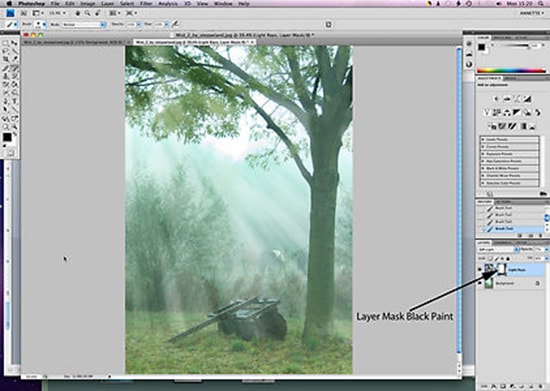
Open an image under a background. Create a new layer. With the use of ‘Clone Stamp Tool,’ remove the lights from the image. Create a new layer again. Close out the eye of layer 1 and use ‘Polygonal Lasso Tool’ to select an area where you want the light to come on from outside. Select curve adjustment layer and bring it up. Go to Filter> Blur> Gaussian Blur from the toolbar above. Grab the polygonal lasso tool again and do the same thing this time from inside. Go to Filter> Blur> Gaussian Blur from the above toolbar again. If you need the light, do the whole procedure once more. Merge all those curve layers onto a single layer. That sums up the whole process.
I hope that it will help you and from now on, hopefully you will create more and more beams of light coming out from the sky effects like this and be an expert in this field in the future.

Hello Everyone! Today in this article we’ll learn about how you can resize lots of images fast in Photoshop. In my case, I have twelve images that are way too big for my needs. Most … Continue reading Resize multiple images quickly in Photoshop
Read More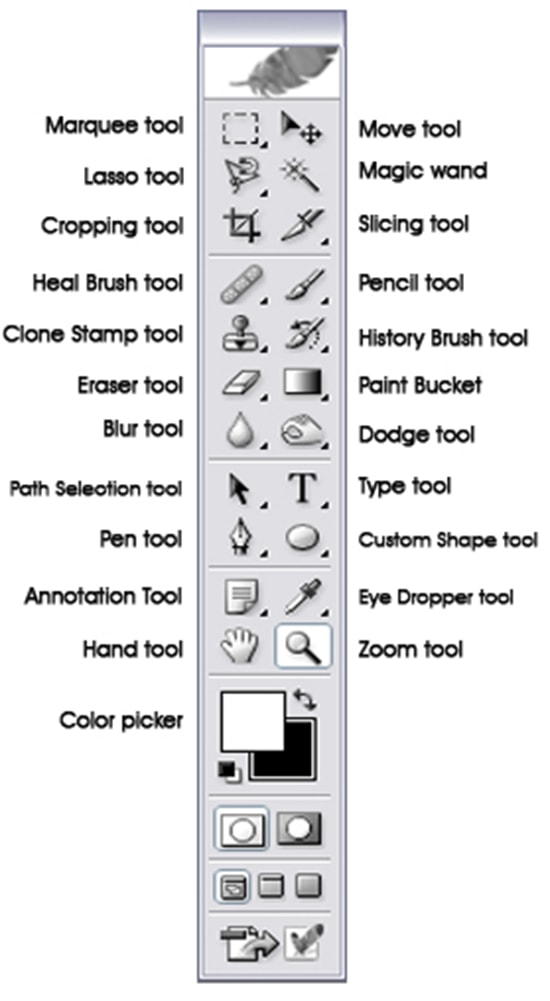
In this tutorial, we will give you a quick introduction to the Photoshop toolbar. You need to know these toolbar so that you know how to photo edit. All the tools in the toolbar have shortcuts … Continue reading Introducing Photoshop Toolbar
Read More