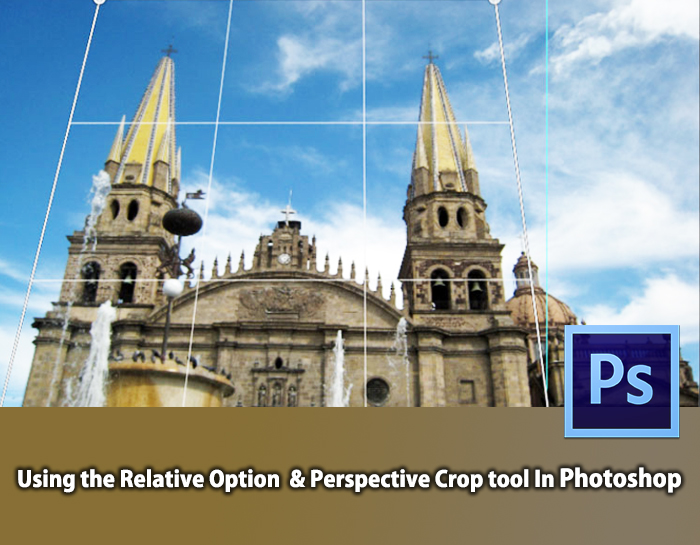
Using the Relative Option & Perspective Crop tool In Photoshop
When working in Photoshop you will see there will be time when you want to add a inch or two around your image. This is where Relative Option of Canvas Size comes in helpful. We will learn how to add spaces surrounding an image in this article.
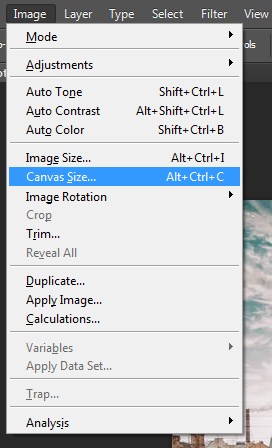
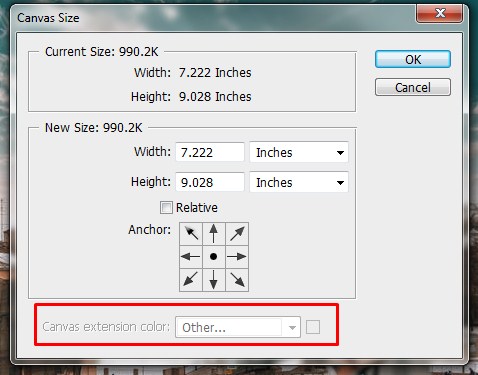
To add a space around an image we will choose Canvas Size from image menu.
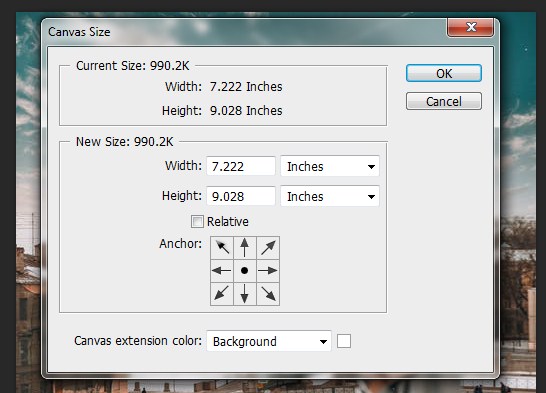
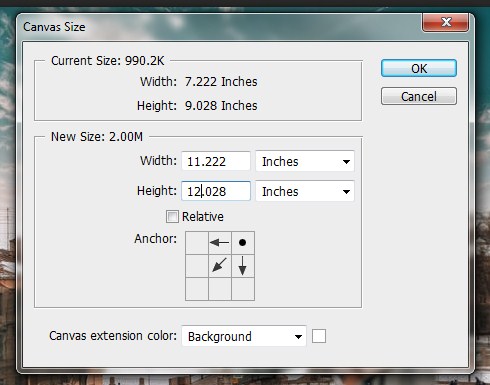
We want to add 2 inches to the left and 2 inches right hand side of the image. In result this will have 11 inches of width number. If we wanted to add 1 inch at the top but maybe 2 inches at the bottom and you need to change your height to 12.
Generally, Photoshop will set in the anchor point in the middle of the canvas. Of course you can change that by clicking in any of the grid squares.
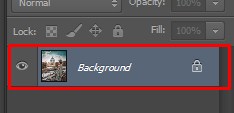
If you do this on a background layer which is what you have right now.
Photoshop has to fill this additional canvas with a color you choose, if you wanted to change it.
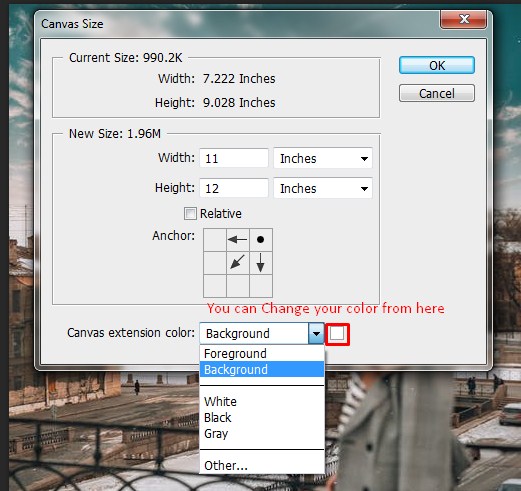
You can also select the color from the list. From the list when you select Other it would also take you to the color picker.

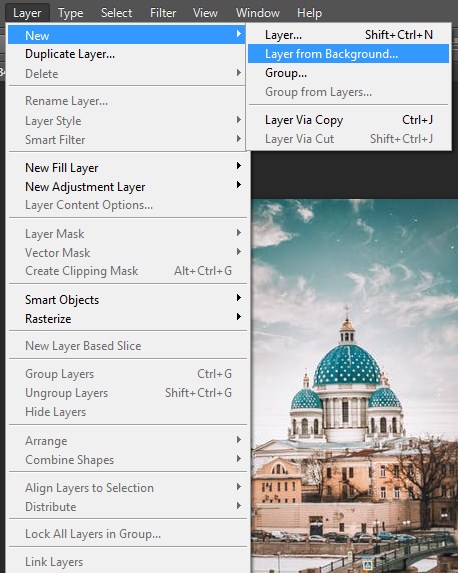
So a more flexible way to do this might be to cancel this option out and before using image size turn your background into a layer. Easiest way to do this is to choose Layer in the New Layer from Background.
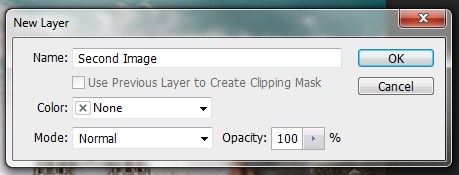
Rename the layer for easy navigation, let’s rename with the name second image. Click OK.
Now when you go to image and Canvas Size you can see that if you change your numeric values to 10 and 11 then you don’t have the option to pick a background color.
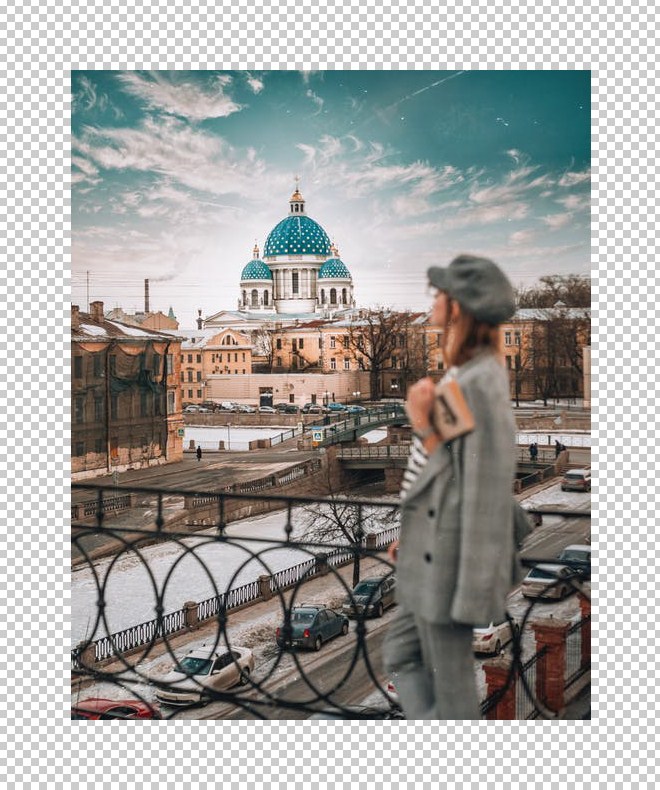
This is because Photoshop will automatically create transparency around the area. There’s another option in this dialog box, Relative, you can simply add a relative amount of space around your image by checking that on.
You can now change for example the width and height to 4″ x 4.” You have to be a little careful here because it’s relative, it’s going to add 1 inch on each side. So if you wanted to actually add 3 inches on each side you would need to change these values to 13. But I’m going to just add 1 inch so will leave it set at 9. When you click OK you can see that Photoshop has added an inch of transparency all the way around your image.
Using the Perspective Crop tool
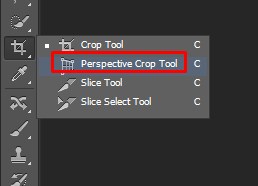
In Photoshop CS6 there’s a new crop tool called the Perspective Crop Tool which will allow you to not only correct the perspective of an image but also crop the image at the same time.
In order to select, click and hold on the crop tool and choose the perspective crop tool.
Then click and drag out your Marquis. If there’s something in your image that you know should be straight, for example, the phone in the man’s photo should be a little straighten at the end. So, I’m going to align the anchor points with the perspective of the object that I’m trying to straighten.
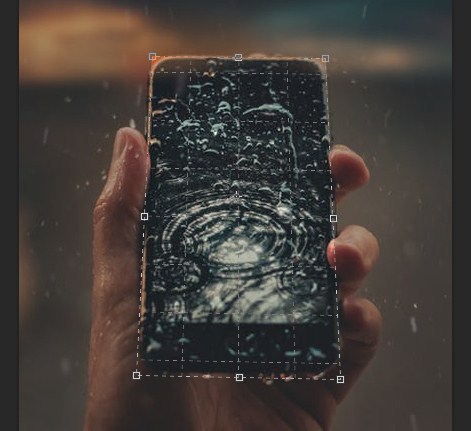
Just use the anchor points as a guide after you are done defining the perspective that you want to create. You can always move the crop either by clicking inside the crop to reposition the entire crop or you can use any of the anchor points along the edges.
You don’t want to use the ones in the corners because that’ll change the perspective,
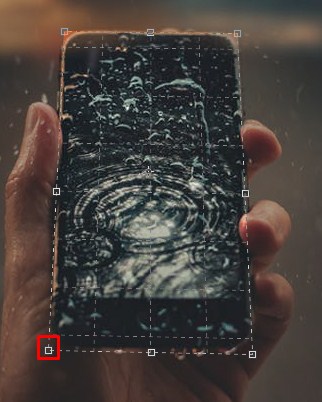
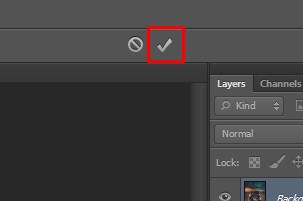
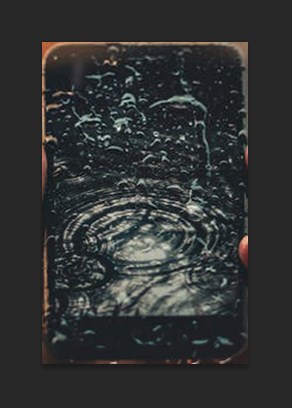
but along the edges you can move these. Maybe you want to include a little bit of the background within the image. you might not want to include quite as much at the left to include the hand. When you click the check mark or tap the enter button you can see that not only you have crop the image but you straighten the perspective.
If we use the Command or Control + Z we can see the undo and the redo and we can see how we’ve corrected the perspective of the image.
Related Articles:
What Is Perspective Crop Tool In Photoshop And How To Use It?
Using the Perspective Crop Tool in Photoshop
Today we will learn, how we can add shadows to an object. One of the first things that we want to do with the image is to take a look at how we can extract … Continue reading How to Create a Drop Shadow in Photoshop
Read More
Here, you will learn on how to create flare effects in Photoshop. I hope it will help you both the beginner and advanced level of students in a great deal. Create a new document. Click … Continue reading How to Create Flare Effects in Photoshop
Read More