
How to Disguise a Face into Money in Photoshop
This tutorial is all about how to disguise a face onto money using Photoshop. Hopefully, it will help beginner level of students in a great deal.
Firstly, open the image that you want to work with. Create a layer mask to erase the person’s face. Add a new shape layer and using the Ellipse Tool, draw an oval shape covering the area with the head. Set Fill to 0 to adjust shape. Now with the Pen Tool, draw a path. Next, create a Layer Mask by going to Layer> Layer Mask> Reveal All on the money layer. Then, Ctrl + Click on first shape layer to load selection. Press D to set Black/White as your background/foreground colors. Click on the layer mask of the money layer and Alt + Backspace to fill selection. Now Ctrl + Click on the other shape layer to load the selection of the part that you wanted to keep. Select white as your foreground color and select the layer mask of the money layer by clicking on it.
Fill selection by using the Alt + Backspace. Afterwards, choose an image to insert. Go to Image> Mode> Grayscale. Then select Image> Mode> Bitmap. After that, choose Halftone screen, keeping the resolution the same as the original image. Then choose your Frequency, 0 degrees and “Line” as Shape. Now go to Image> Mode> Grayscale and set Size Ratio. Now using the Magic Wand Tool, select a black point. Then copy and come back to the money image. Create a new layer, fill with white and set as background. Still on the new layer, press Ctrl + V to paste. Put the photo in the center. Next, go to Image> Adjustment> Hue/Saturation and make some adjustments. Add a new layer between the white background and the photo. Then select the Clone Stamp Tool and choose a soft brush about 100 px. To use this Tool, you need to Alt + Click to set a source cloning point. Choose a point to the left of the face where there is an open space of paper. Then start to paint around the face in the photo.
That sums up the whole process. In this way, you can photo edit and create this creative effect. Hope that helps!
This tutorial is about how to transform a photo into a portrait with words using Adobe Photoshop CS6. I hope it will help you both the beginner and advanced level of students in a great deal. At first, … Continue reading How to Transform a Photo into a Portrait with Words using Photoshop
Read More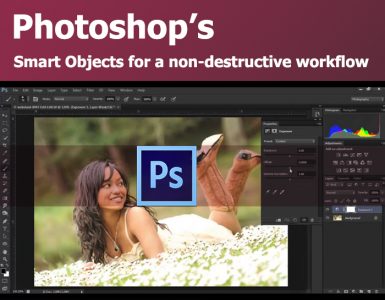
Smart objects are special type of layers. They can be resized, rotated back and forth without ever losing quality on the way. That is already a huge advantage but there are so many other reasons … Continue reading Photoshop’s Smart Objects for a non-destructive workflow
Read More