How to Transform a Photo into a Portrait with Words using Photoshop
This tutorial is about how to transform a photo into a portrait with words using Adobe Photoshop CS6. I hope it will help you both the beginner and advanced level of students in a great deal.
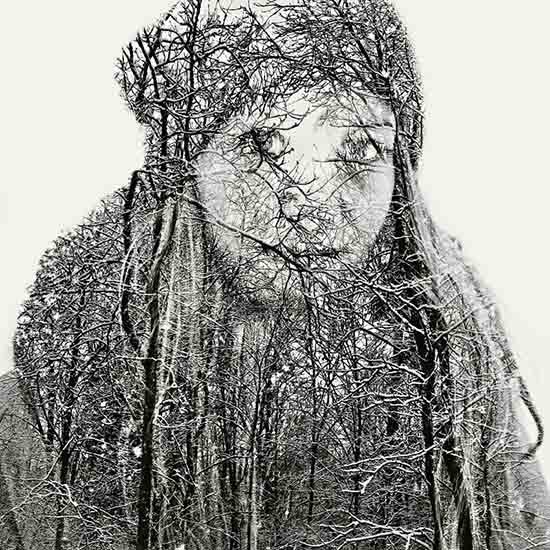
At first, open an image that you would like to use. For coring images, de-saturate it by clicking Ctrl + Shift + U. Make a displacement map of your subject in order to wrap the text around the shape of the face. Click the icon at the upper right of the layers panel and click ‘duplicate layer.’ Click ‘new’ and name it as ‘displacement.’ Go to Filter> Blur> Gaussian Blur. Select the pixels size of the radius depending on your image. Save it as PSD file on your PC. Now, isolate the face from the rest of the image. We need to make a selection around it to do that. Select the small size pencil tool with 100% hardness. The foreground and background color should be black and white. Click the ‘Quick Mask’ icon and draw a quick mask. Draw around the face and shoulders so that there are no gaps in the line. Open your ‘Paint Bucket Tool’ and make sure ‘Contiguous’ is checked. Make sure the entire canvas fills with the quick mask. Convert the quick mask into a selection by pressing ‘Q’ and invert it by clicking Ctrl + Shift + I. To refine the selection around the hair, go to select and ‘Refine Edge.’ Make necessary adjustments there. Select the output as a ‘New Layer with Layer Mask.’ Now, we have a new layer with a layer mask made from the selection.
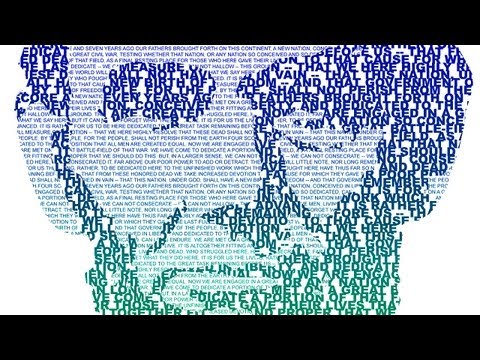
Ctrl + Click on the new layer icon and fill the empty layer with black. Press Alt+ Delete since black is the foreground color. Now, it is time to create the text on the text portrait. The chosen text should be highlighted and click Ctrl + C to copy it. Paste it to a website called “wordle.net” for this. Make the adjustments there which you think is best for you. After selecting the design, take a screenshot of it with full window. Go to File> New and click OK and paste the screenshot there. Open your ‘Rectangular Marquee Tool’ and drag a selection over the inside of the black background. Make sure you do not cut off any of your text. Invert it with selection and fill it with black. Then deselect it by clicking Ctrl + D. Click the channels tab Open the layers panel and Click the new layer icon to make a new layer. Fill the selection with white and deselect it. To get your white text onto your subject, press ‘v’ to select the move tool and drag it up onto the tab of your subject. Without releasing your mouse, drag it onto the face and release. Double click on the thumbnail of your text design to open its layer style window. Make some adjustments there. It should end the whole process.
I hope that it will help you and from now on, hopefully you will follow this procedure more often in Photoshop and be an expert in this field in the future.
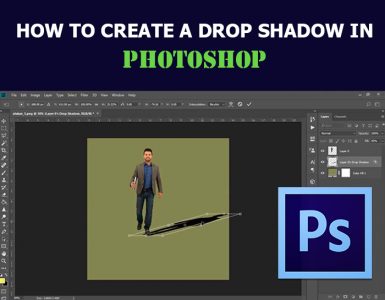
Today we will learn, how we can add shadows to an object. One of the first things that we want to do with the image is to take a look at how we can extract … Continue reading How to Create a Drop Shadow in Photoshop
Read More
Here, you will learn on how to make electric text effect in Photoshop. I hope it will help you both the beginner and advanced level of students in a great deal. Photo Courtesy – http://www.webdesign.org/ … Continue reading How to Make Electric Text Effect in Photoshop
Read More