How to Transform Someone into a Huge Chalk Drawing on a Brick Wall using Photoshop
This tutorial is about how to transform someone into a huge chalk drawing on a brick wall using Adobe Photoshop CS6. I hope it will help you both the beginner and advanced level of students in a great deal.
You need to have an image of a brick as one of the images and another image is that of a person to do this. Firstly, open an image of a person that you want to make into a chalk drawing. Make a selection around your subject so that we can separate it from the background. Select the magic wand tool and make sure ‘Contiguous’ is checked. Click outside of the subject. To include areas within the selection, go to those areas and press and hold shift as you click on them. After selection, invert it by clicking Ctrl + Shift+I. Press Ctrl + J to cut the subject from its background and copy it to its own layer. We will convert it into a smart object so that we can add filters non-destructively as well change the subject if we want to without redoing all the effects. Hide the background and click the icon at the upper right of the layers panel. Click ‘Convert to Smart Object.’ If your image has a lot of shadows, you can brighten them and bring out their detail by going to Image> Adjustments> Shadows/Highlights. Increase the shadows and click OK. Make sure the foreground and background color are selected as white and black. Press ‘D’ if they are not and invert it by clicking ‘X.’ Go to Filter>Filter Gallery. Open the sketch folder and click Photocopy. Make some adjustments there if required. Make a new layer below the active layer. Select Ctrl + click on the new layer icon. We will fill the empty layer with black and click Ctrl + Delete. Shift + Click on the top layer to add it to the highlight layers. Click the icon at the upper right corner and convert these layers into one Smart Object.
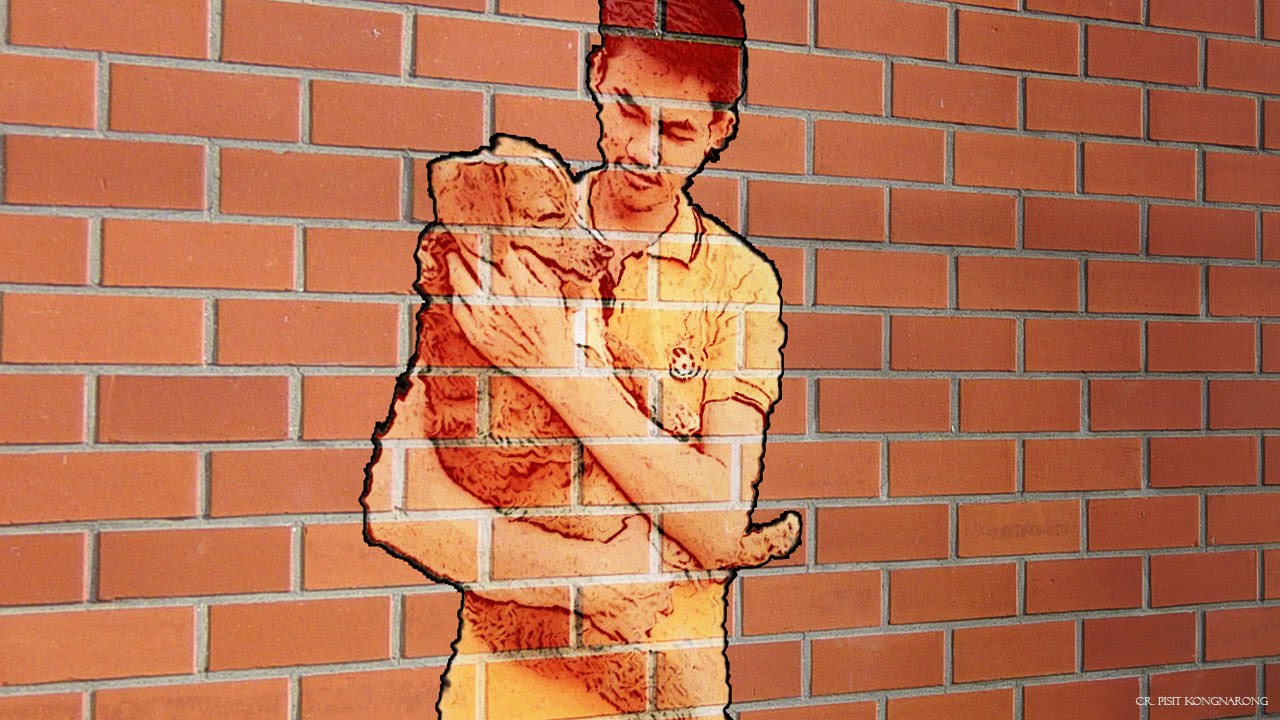
Press “V” to open your move tool and drag it up onto the tab of the brick background. Without releasing the mouse, press and hold shift as you drag it down onto the background. Now, release. Change the blending mode to Screen or Lighter Color. Open your transform tool by clicking Ctrl + T to make it larger or smaller. If you find some unwanted object in the drawing, click the layer mask icon to make a layer mask next to the active layer. Open your pencil tool and pencil picker. The hardness and opacity should be 100%. Carefully draw over those areas of your image that you would like to clean up. Now, add chalk like texture to the drawing. Go to Filter> Noise> Add Noise. Tick ‘Gaussian’ and drag the slider to an amount that looks good to you. Widen the chalk outline surrounding your object. Double click the smart object to open it. Click the ‘fx’ icon below and click ‘stroke.’ Click the color box and pick white. Make other necessary adjustments there if required. Lastly, close the smart object tab and save it. That should sum up the whole process.
I hope that it will help you and from now on, hopefully you will follow this procedure more often in Photoshop and be an expert in this field in the future.
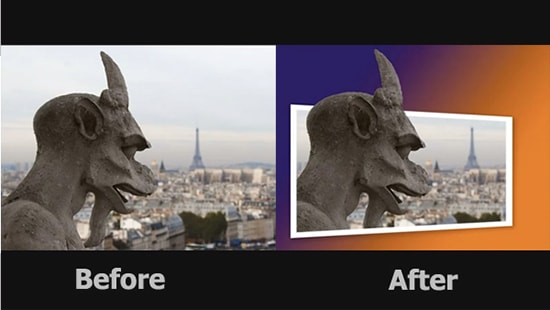
Here, you will learn on how to create out of bounds effects in Photoshop. I hope it will help you both the beginner and advanced level of students in a great deal. Photo Courtesy – http://blog.video2brain.com/ … Continue reading How to Create an Out of Bounds Effects in Photoshop
Read More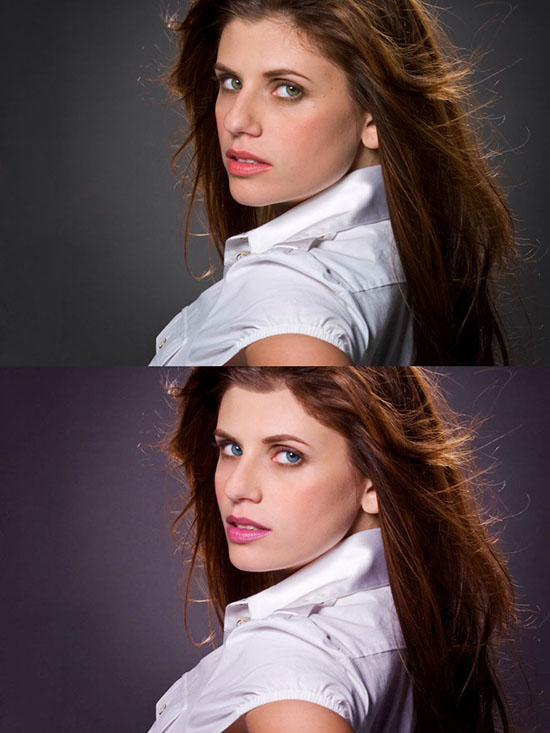
These are the fantastic examples of face and face-flow photo retouching. The person who retouch the photo has used different graphic tools to make the photo shinny and beautiful. You can feel the difference before … Continue reading About “Face-flow Retouching”
Read More