How to Create Photo Manipulation Rainy Effect in Photoshop
Here, you will learn on how to create photo manipulation rainy effect in Photoshop. I hope it will help you both the beginner and advanced level of students in a great deal.
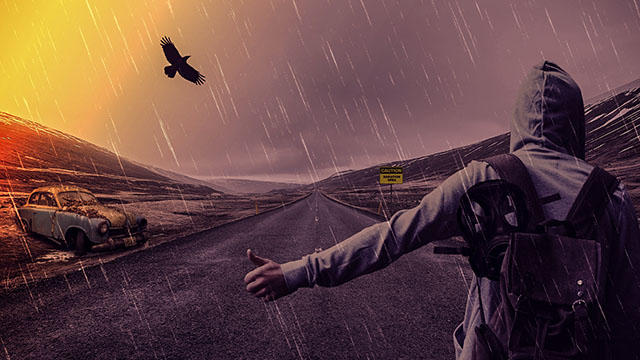
This will need two images. One is that of a person and another one is that of a road. First, open that image of a person and select ‘Pen tool’ first and select the entire person. Right click and make the selection. Now, open the image of a road. Copy the person and paste him to the image of a road. Select ‘Hue/saturation’ and adjust it. Go to level from below and adjust the ‘hue/saturation’ there as well. Select color picker and go to filter>noise>add noise. Select height and width to 200 percent. Go to level once more time from below and adjust. That sums up the whole process.
I hope that it will help you and from now on, hopefully you will follow this procedure more often in Photoshop and be an expert in this field in the future.
In this tutorial, you will get to know about the tool that is used for many purposes and one of the most important tools in Photoshop coined as the ‘liquefied tool.’ The shortcut tool of … Continue reading Usage of “Liquified Tool” in Photoshop
Read More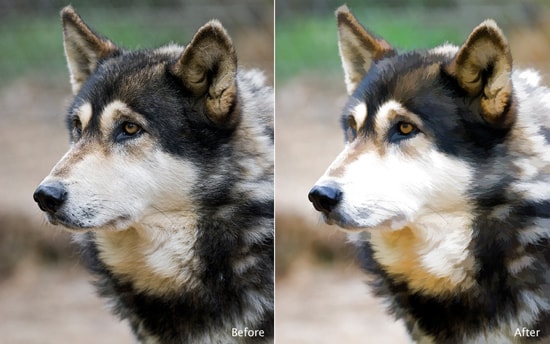
Here, you will learn on how to give your photo an artistic effect in Photoshop. You will learn how to add an artistic impression to your image. Hopefully, this will help the beginner and advanced level of students in … Continue reading How to Give Your Photos an Artistic Effect in Photoshop
Read More