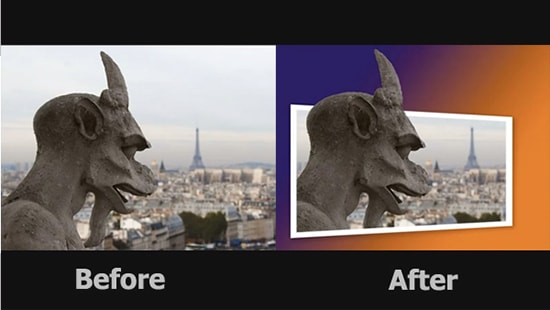
How to Create an Out of Bounds Effects in Photoshop
Here, you will learn on how to create out of bounds effects in Photoshop. I hope it will help you both the beginner and advanced level of students in a great deal.
Photo Courtesy – http://blog.video2brain.com/
At first, select an image that you want to work with under a layer. Right click on the background and duplicate the layer. Double click on the ‘background’ to unlock and click OK. Create a new layer. Select two colors using foreground and background. Select the gradient tool and blend the two colors together. Now bring ‘Layer 1’ under ‘Layer 0.’ Grab the rectangular marquee tool and create a picture outline. After the selection is made, right click on it and select transform selection. Right click another time and select ‘Perspective.’ It will give you the option of giving your photo an angle. After the selection is made, press enter. Now, select ‘Add layer Mask.’ Go to Layer> Duplicate Layer and delete the Layer Mask. Now, use the quick selection tool to select the ‘Out of Bounds’ areas. Add layer mask to that selection. Hold Ctrl down and at the same time click on ‘Layer 0’ mask. While the selection is selected, create a new layer. Right click the layer and select ‘stroke.’ Adjust to your requirements. Bring ‘layer 2’ below ‘Layer 0 Copy.’ That sums up the whole process.
I hope that it will help you and from now on, hopefully you will create more and more out of bounds effects like this and be an expert in this field in the future.
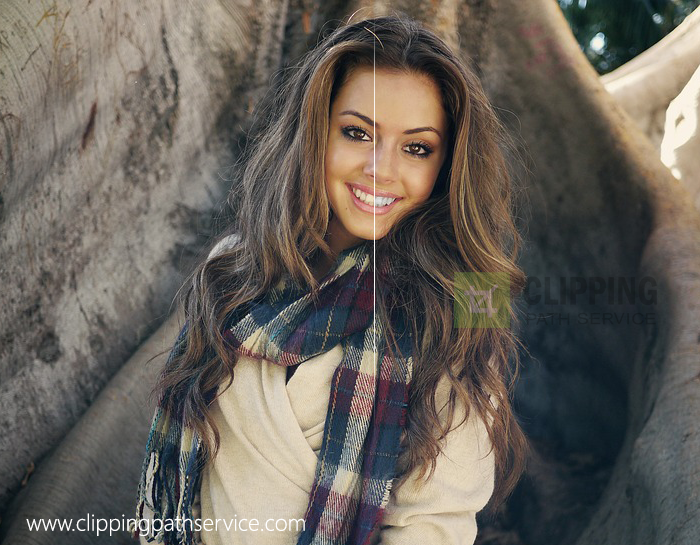
A smile on your face speaks a volume for you. The white shinning teeth gives you wings to fly, it shows you are open to the challenges the world throws at you. You are confident … Continue reading Whitening teeth in Photoshop and Smile Please!
Read MoreIn this tutorial, you will get to know about the tool that is used for many purposes and one of the most important tools in Photoshop coined as the ‘pen tool.’ When you click on … Continue reading Usage of “Pen Tool” in Photoshop
Read More