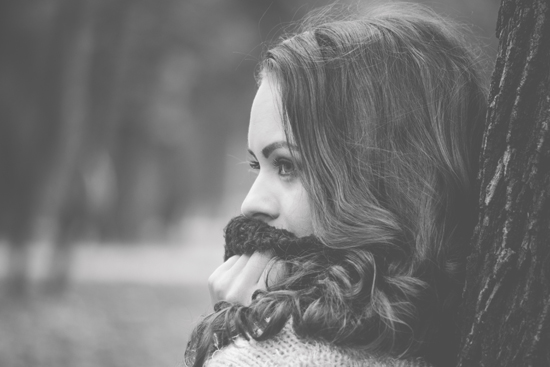
How to Create Dreamy Portraits using Photoshop
Here, you will learn on how to create dreamy portraits in Photoshop. Hopefully, it will help the beginner and advanced level of students in a great deal.
First of all, open the image that you want to work with and press Ctrl + J twice to make two duplicates of your Background Layer. Double-click the layer name on the middle layer and call it ‘Sharp’. Highlight the top layer, then go to the Blend Mode drop-down menu at the top of the Layers Panel and choose Screen. Right-click the top layer and then choose Merge Down from the list or press Ctrl + E. In effect, this applies the Screen Blend Mode so that it sits on one single layer. This represents the sharp, over-exposed frame you would use to create the effect using the traditional film method. Press Ctrl + J to copy the sharp layer. Rename the new layer ‘Blur’, then right-click it and choose Convert to Smart Object. Next go to Filter> Blur> Gaussian Blur. Aim to blur the detail while keeping shapes recognizable. For this image, we’ve used a radius of 18 pixels. Go to the Blend Mode drop-down menu at the top of the Layers Panel and change the Blend Mode of the ‘Blur’ layer to Multiply. If you think the image looks too dark, you can lower the layer Opacity to lighten it. You may want to adjust the Opacity if it needed.
That sums up the whole process. In this way, you can photo edit and create this dreamy portraits effect. Happy Photoshopping!
Here, you will learn on how to create a collage effect with photo edit in Photoshop. I hope it will help you both the beginner level and advanced level of students in a great deal. … Continue reading How to Create a Collage Effect in Photoshop
Read More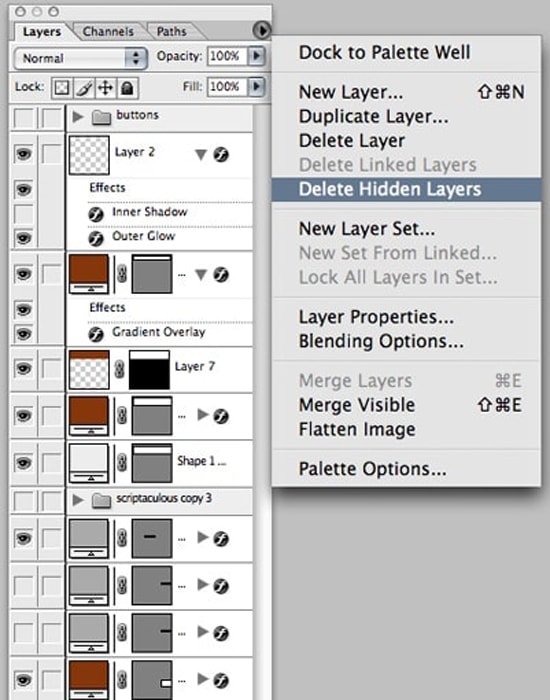
In this tutorial, you will get to learn on how to delete all hidden layers in Photoshop. Hopefully, this will help all the learners in a great deal. Photo Courtesy – Delete Hidden Layers When … Continue reading How to Delete All Hidden Layers in Adobe Photoshop
Read More