How to apply gradient in Photoshop
Gradient tool creates a steady blend between several colors. Today we will focus on the interesting world of gradient tool. There are few things we might do with this tool that a lot of people might not aware of and we will look into this.
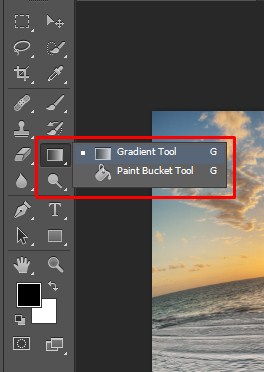
Open up a photo in Photoshop and click on the gradient tool. The shortcut to highlight the tool on keyboard is G.
As soon as we select that you can look up the Menu Bar. Click the arrow down and it will give some presets.
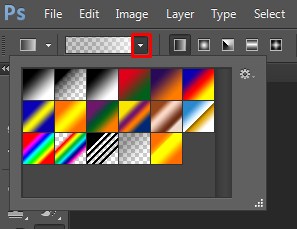
If you hover over them it will tell you what those defaults are, like Foreground to Background. Basically what that will do is whatever you have set as your foreground color, if you click it and set it that will be one end of it, and then your background color will be the other end. Next one is the Foreground to Transparency and so on. There are couples of option that we should go over though.
Linear Gradient
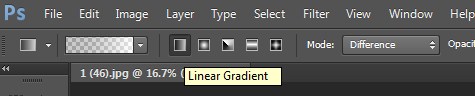
The first one is kind of the default Linear Gradient. So if you click and drag and had an angle it will apply that gradient. So if I had for example the first one Foreground to Background, black to white click and drag. Then it just does that simple gradient. If you hold shift and click and drag it will go at 45-degree angles so it can go completely left and right or 90 degree to the head up and down or 45 degree angle as well.
Remember to fill part of the image, select the desired area. Otherwise, the gradient fill is applied to the entire active layer. This is true for all the gradient options.
Radial Gradient
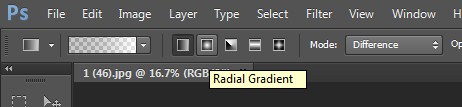
Second one is a Radial Gradient, so it just creates a gradient coming out from the center wherever you start clicking and dragging.
Angle Gradient

The other one Angle Gradient, if you click and drag that out it just kind of goes clockwise from where we click and drag.
Reflected Gradient
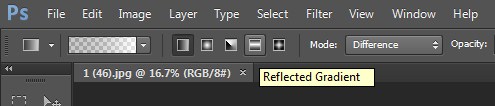
The Reflected Gradient- If you click and drag with that it’s going to go in either direction from where we click and drag so it’s like linear gradient but instead from black to white its black and then to white on either side.
Diamond Gradient
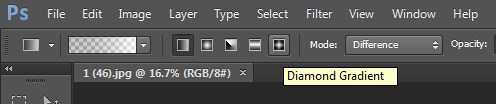
And finally the last one’s a Diamond Gradient if you click and drag that, it just creates a diamond.
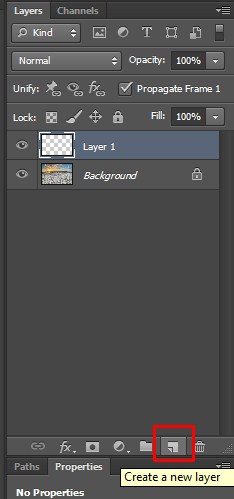
You could create a new layer on the layers panel and then click and drag and then change the layer blending mode to something over there for a different effect or you can adjust the opacity.
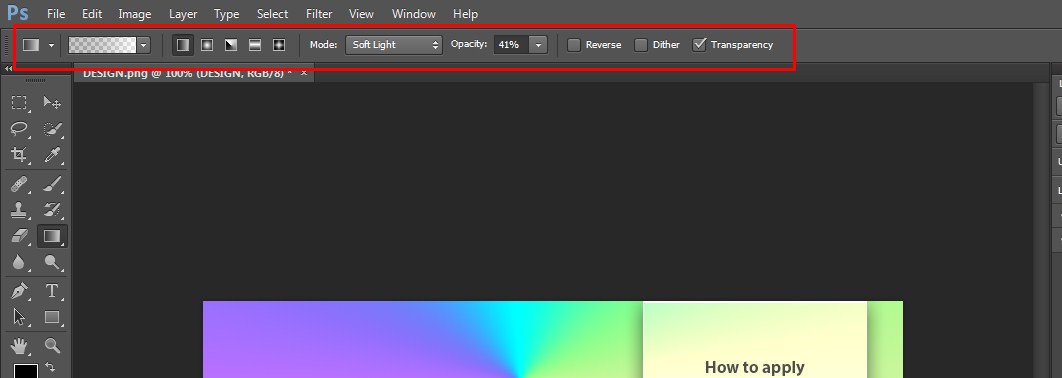
But another way to do something similar is just change it up in the mode section. In this way you don’t have to create a new layer.
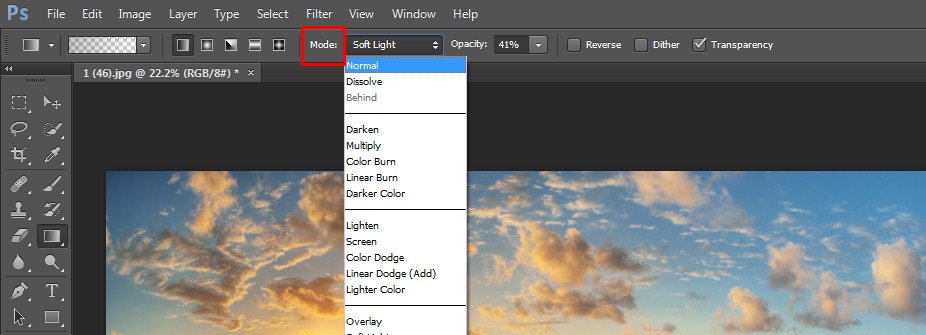
For opacity, if we were changing the opacity of a top layer so it’s going to be stronger if we have a hundred percent and then move it to one percent then it will not be as strong. Reverse just reverses the direction of the gradient. So if you have a linear gradient instead of black to white it would be white to black. Dither is it does a smoother gradient so there is less banding.
Finally, Transparency let’s say we had this one here from Foreground color to Transparent and you have that unchecked, then it would not let you do normal here. It would not do the transparent part which is just a solid color in this case. If you click and drag and do keep transparency checked then it does maintain the transparency. So that’s the basics of the gradient tool and using some of the defaults here you can go through and see some of that yourself.
CUSTOM GRADIENT
You can also create a custom gradient. To do that, instead of clicking this down arrow
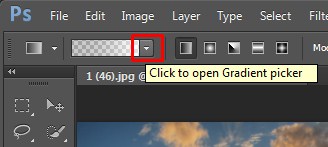
If you just click over somewhere, see picture below, then its pulls up the presets that we just saw but it also has this area down where we can create a custom gradient.
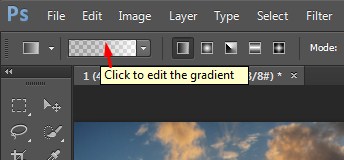
You can start of as you want. Use it as kind of a preset and you can adjust it down smoothness, these moves right or left for the opacity changing purpose.
Gradient Editor Overview

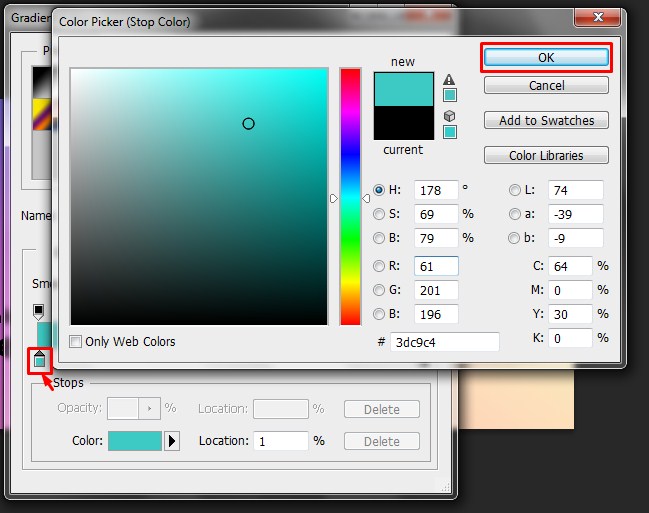
To change the color you have to change the bottom stop ones down the below. If you double click on the bottom stop you can choose a custom color and then you can double click on the other one. Select a complementary color and then we have a new gradient and if you click the top area you can adjust it.

Say you wanted this ocean green at the left side and at the right side the greenish yellow. You can make it partly transparent as well. The little diamond at the middle point will help to create the effect.
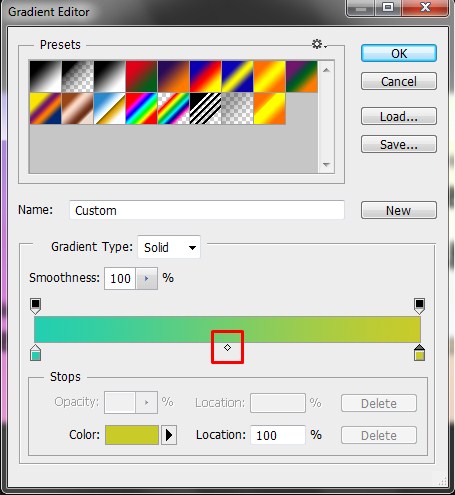
When you click on the color stops then by default the diamond appears in the middle. If you move it to the left it’ll just have more of this side when you apply the gradient and if you bring to the right you’ll have more greenish yellow. You can add another stop as you like by simply clicking underneath.

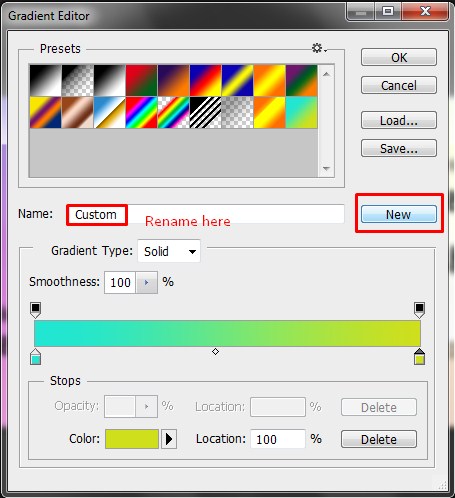
Or you can actually change it down here as well or just double click on it. So let’s just choose some kind of purple and then you have even more multi variant gradient. Now to delete a stop you can just click it and press delete. So we can create a couple in there or as many as we needed and also that midway point in each as well. So that’s creating a custom one once you have it you can name it as you want to add it along the list.
This is all from us today. Hope you like using gradient tool in Photoshop.Do share your comments and view with us.
Few more articles on Gradient to spark your interest:
How To Draw Gradients With The Gradient Tool In Photoshop
Five uses for gradient masks in Photoshop, Photoshop Elements, and Pixelmator
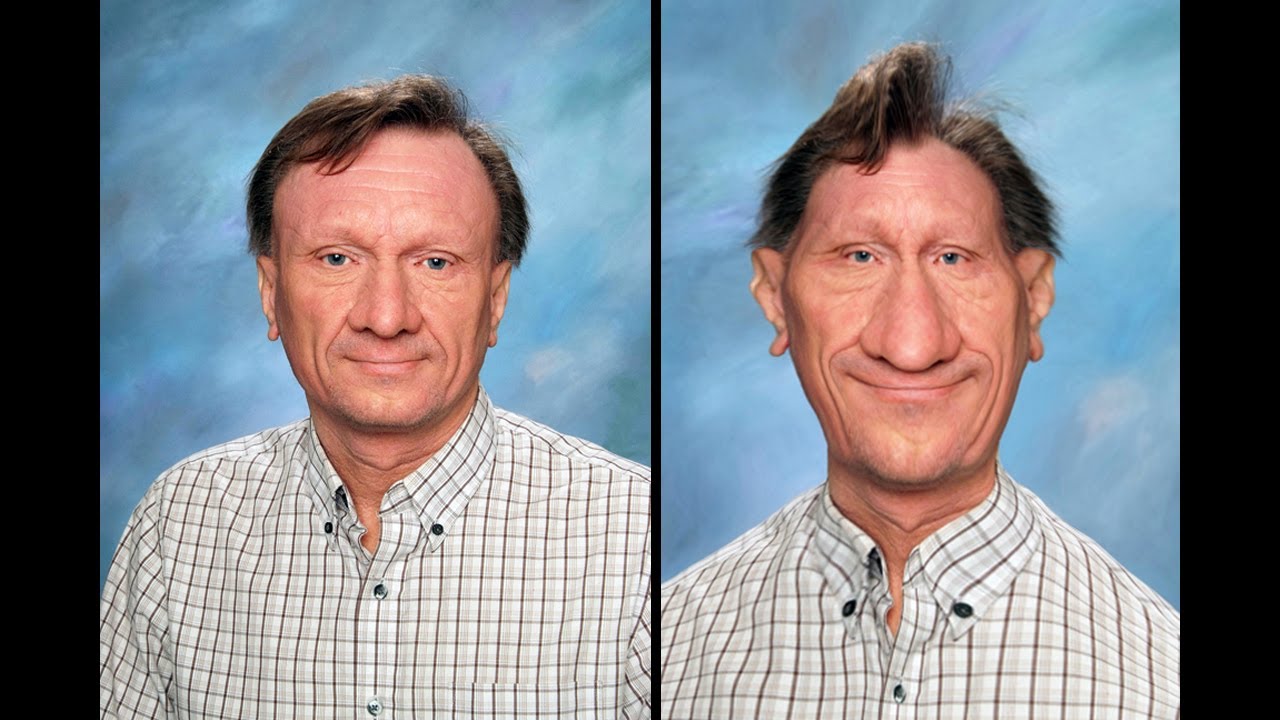
This tutorial is about how to make a caricature with photo edit from an image using Adobe Photoshop CS6. I hope it will help you both the beginner and advanced level of students in a great … Continue reading How to Make Caricature from an Image using Photoshop
Read MoreAs retouching is an very important way of representing an image it catches everyone eyes easily..Models of different sector get priority over other, they are found in billboard, TV, magazine even in journal. As celebrities … Continue reading About “Model Retouching”
Read More