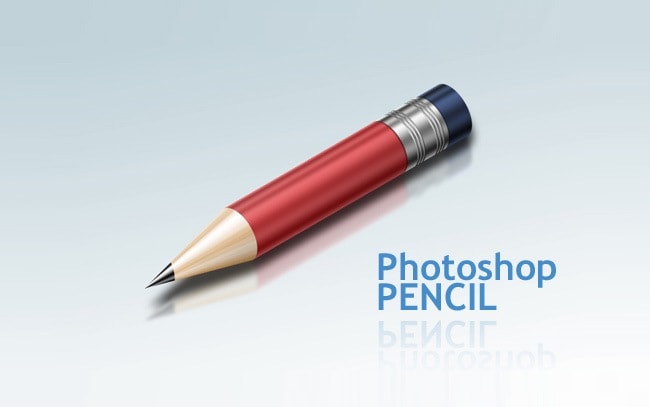
How to Add a Blurred Glossy Reflection to Plain Photos in Photoshop
At first, open an image that has a white background. Select the Quick Selection tool by pressing W. Click and drag over the white background in the image to make a rough selection of the entire backdrop. Click and drag on any small areas to add them to your selection or ALT + click and drag to remove them from the selection. The better the initial selection is, the more believable the final effect will be. Click the Refine Edge button in the top toolbar and use the settings that you want for your image because these settings will smooth out the selection. Right click the canvas and choose Select Inverse to invert the selection. Then copy and paste the cut out box onto a new layer. Hiding the original image will make the next steps easier. Next, split each panel of the cut out box into a separate layer. Select the Polygonal Lasso tool by pressing L. Make a selection of the top panel of the box and cut-paste it into its original position but on a new layer. Right click the top panel layer in the Layers palette and convert it to a Smart Object and then hide it. Repeat the process to cut out the side panel and make sure to convert it into a Smart Object too. Finally, convert the front panel layer into a Smart Object as well.
Create a new layer group and name it ‘Reflection.’ Move the 3 separate panel Smart Objects into the new layer group. Select the ‘Reflection’ group in the Layers palette and press CTRL + T to enter free ‘Transform’ mode. Right click the canvas and choose ‘Flip Vertical.’ Drag the layer group down until the bottom corner of the original box and the top corner of the ‘Reflection’ group appear to touch and press enter. Select the side panel, enter free ‘Transform’ mode, and then right click the canvas and choose ‘Distort.’ Click and drag the center left handle vertically to twist the side panel layer to match up with the original image and hit enter. Do the same for the front panel layer. You do not need to worry about the top panel because it will not be visible. You can leave it in the document or completely delete it. Select all the layers within the ‘Reflection’ group but not the actual layer group itself. Right click them in the layers palette and convert them into a single Smart Object.
Go to Filter> Blur> Motion Blur and give it a blur of 5 pixels with the angle set to 0. Again go to Filter> Noise> Add Noise to add some noise to the Smart Object. Make the necessary adjustments if you think is necessary. Add a layer mask to the ‘Reflection’ group. Select the gradient tool by pressing G. Make sure the gradient is set from white to black and drag from the bottom of the canvas to the top of the ‘Reflection’ group. This will make the ‘Reflection’ group fade from transparent to opaque. Set the Blending Mode of the ‘Reflection’ group to ‘Multiply’ and the opacity to 35% in the layers palette. Select the Smart Object within the layer group and move it up about 5 pixels or until there is no more white space between the original image and the reflection. Lastly, you need to mask off the reflection so that it does not overlap on our original image. Highlight your original image in the layers palette and with the ‘Quick Selection tool,’ click and drag on the white background again to make a selection. Then right click the canvas and choose Select Inverse. Next, highlight the Smart Object within the ‘Reflection’ group and add a layer mask using the layer mask button at the bottom of the Layers palette. Photoshop will use the current selection to create a layer mask. Finally, press CTRL + I to invert the layer mask so that anything outside the original image’s box shape will be visible whereas anything overlapping the original box will be invisible. That should end the whole task.
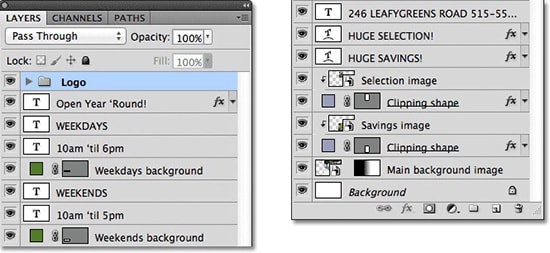
Here, you will learn on how layer works in Photoshop. I hope it will help you the beginner level of students in a great deal. At first, we need to know what a layer is. Layer … Continue reading How Layers Work in Photoshop
Read More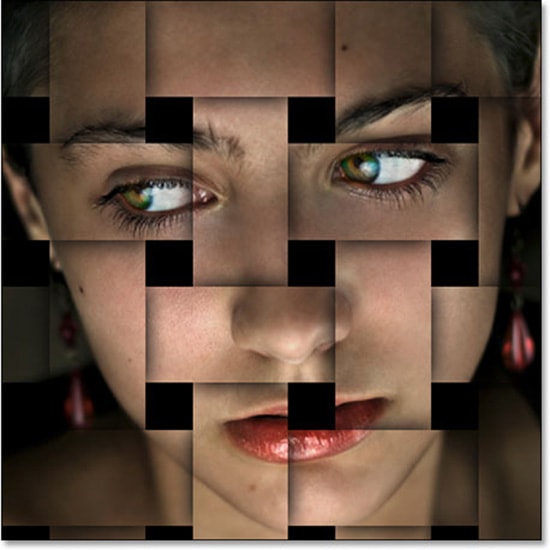
Here, you will learn on how to create basket-weave effects in Photoshop. I hope it will help you both the beginner level of students in a great deal. This effect works best for closely cropped … Continue reading How to Create Basket-Weave Effects in Photoshop
Read More