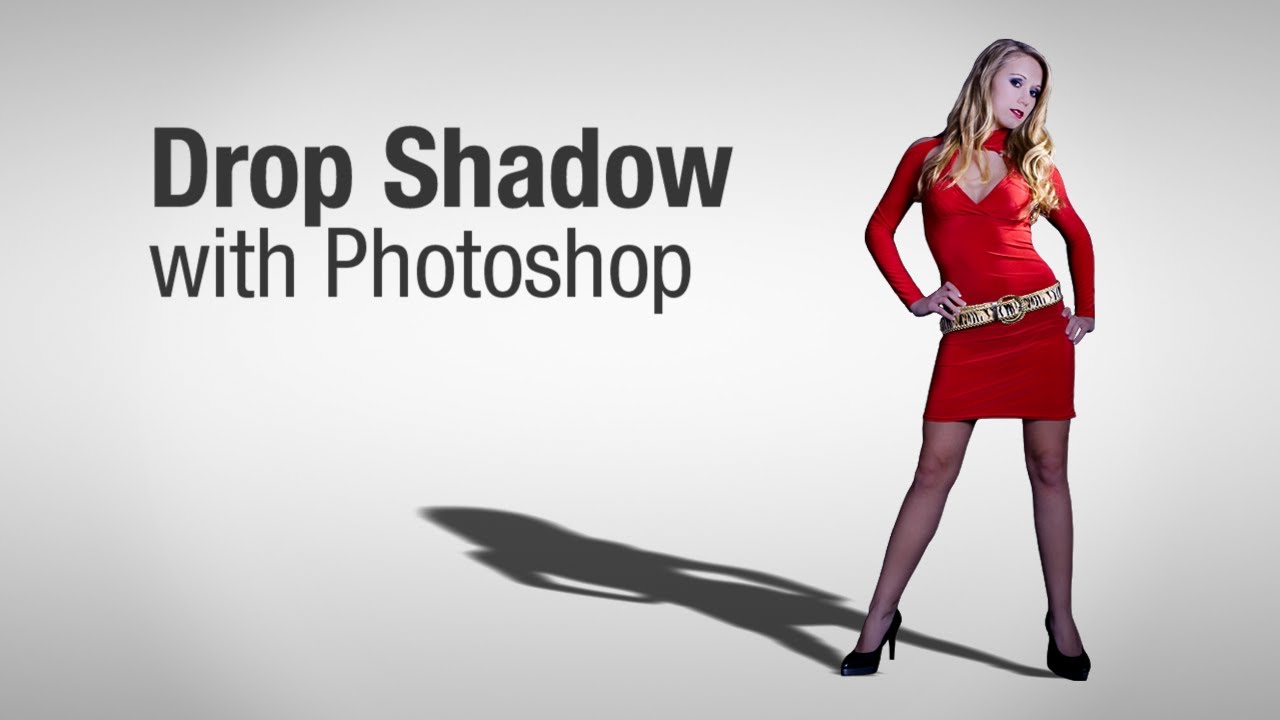
Basic Techniques on Creating a Drop Shadow in Photoshop
At first, open a layer and then double-click in the blank space on that first layer. This will bring up a box with the different layer styles. Then, you would start by adding a normal layer drop shadow, which is found in the upper left hand corner of the layer style box. You may want to move the shadow off to the right so that you can see it better to work on. Opacity is not very important but you can leave it at 50%. After that, you can adjust the size to get a nice look at the edges of the shadow and click OK. Next, go back up to layer style and select create layer and click OK to remove the layer style. It also adds it on its own separate layer. Then, transform it and move it around to behind the image where it will actually look like a drop shadow. So, you would place the shadow directly behind the image to begin with and then go to CTRL+T to begin the transform process and drag the small visible dot all the way down to the bottom of the image.
Afterwards, you can begin moving the drop shadow around. It would depend on your particular photo and where the light is actually coming from and tweaks it so that it works for you. You can either hold down the CTRL key to get the little icon to move the corners around and angle them a little to get a more realistic shadow appearance. Then click ‘Return.’ You can also go in a mask or remove the extra shadow bits at the front for a cleaner appearance. Now, you can go back and adjust the opacity settings to lighten the shadow’s appearance.
That will sum up the whole process on basic techniques on creating a drop shadow and you can add a more realistic appearance to your images if you want.

This tutorial is about how to make a creative typography portrait using just one photo and applying a typography brush to it. This is easy but needs practice to get the best effect. At first, … Continue reading How to Make Creative Typography Portraits in Photoshop
Read More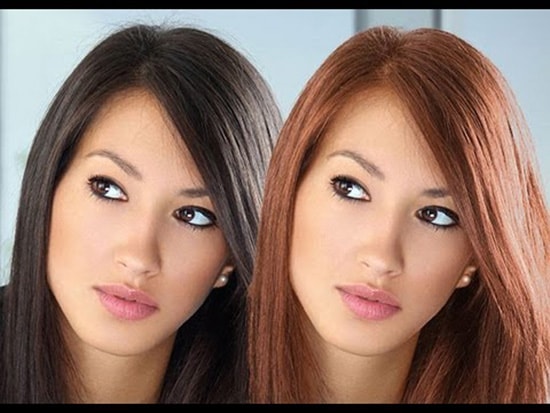
Here, you will learn on how to how to change hair color with some photo edit using Photoshop. I hope it will help you both the beginner and advanced level of students in a great … Continue reading How to Change Hair Color in Photoshop
Read More