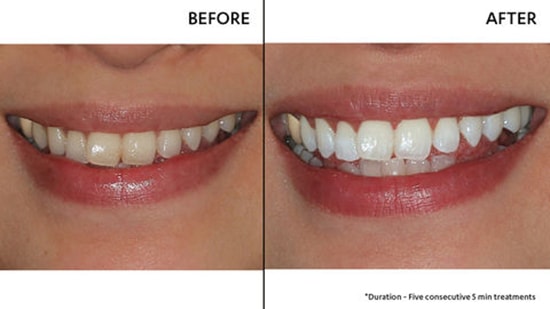
How to "Whitening the Teeth" in Photoshop
In this tutorial, you will learn on how to ‘Whitening the teeth’ of images in Photoshop. I believe that it would be very helpful for beginner level of students in Photoshop.

Photo Courtesy – https://www.joyus.com/
At first, open your desired image that you want to work with. Use the zoom tool to focus on the teeth of the image. Next, you want to select the teeth. In order to do that, you need to go to ‘quick selection tool.’ Select the teeth and zoom it so that you can work well on those teeth. Select the teeth and use subtract from the selection tool from over the toolbar to just edit where you go over the line or where you actually miss to select. If it goes over the teeth, you just need click and select it that makes you select all of the teeth. Now, on the selected image, click right button and select ‘Layer via Copy’ which create a new layer. Then, go to image, adjustments and hue/saturation chronologically from the above toolbar. Make some adjustments of your own choice. Generally, one needs to lower the saturation and increase the lightness to get good effects. This brings to an end to the process.
