How to Compositing and Selecting Hair in Photoshop
In this tutorial, you will learn on ‘how to compositing and selecting hair in Photoshop.’ I believe that it would be very helpful for both beginner and advanced level of students in Photoshop.
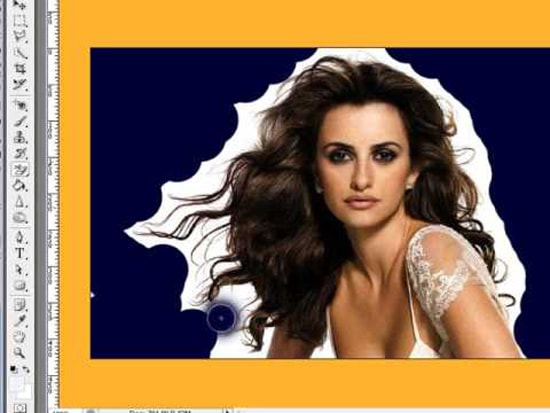
Photo Courtesy – it.circlecount.com/
Suppose you like a document where there is a background that you want to use. However, it is an in design document. So, in order to use it, right click on that document and click on show link file. It will show to you. You can launch it after that. Now, you need to select an image that you want to use it as top of the background image. Suppose that of a lady who has a long hair. Firstly, you need to select a tool that of a quick selection tool. It will help you to quickly select what you want to select of the image. It actually works well on the hard edges but the problem is on soft edges. So, select Alt key and pull it back a bit and subtract a bit more. It is not doing a great job for the hair part. Now, you need to move on t the tool named refine edge tool. Set the compositing in a way so that it shows on black. Select the smart radius on the edge detection and adjust it to your choice which will help you to soften the edges where the edges are soft. By selecting refine radius tool, you can start painting which you think that it should be gray. Now, turn on the decontaminated color and adjust which will suit your image for you. You can adjust the edge or bump edge to make it work well for you. After that, you need to set this output to a new layer on layer mask when you choose decontaminated color and click OK. This sums up the whole process.
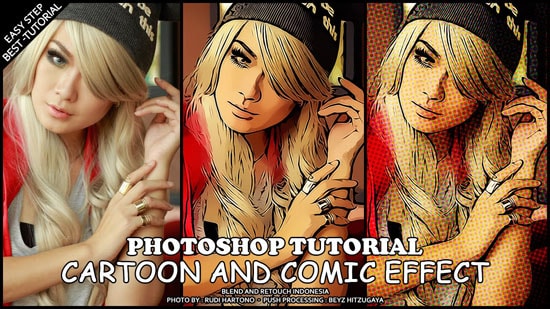
Here, you will learn on how to give an image a comic style effect using Photoshop. Hopefully, this will help many students. Open the image that you want to give a comic style effect. Adjust … Continue reading How to Give an Image a Comic Style Effect in Photoshop
Read More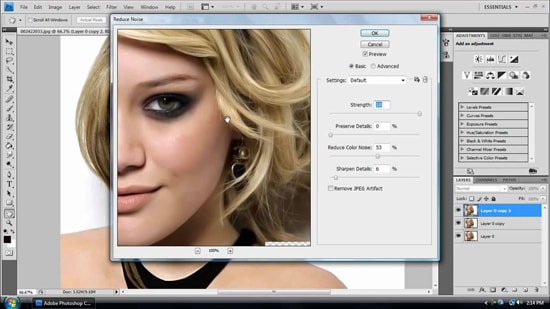
It is often seen that you take pictures with your digital camera and you look at them and wonder what is missing. The pictures just do not look good enough. In this tutorial, you are … Continue reading How to Intensify Your Images in Photoshop
Read More