How to Intensify Your Images in Photoshop
It is often seen that you take pictures with your digital camera and you look at them and wonder what is missing. The pictures just do not look good enough. In this tutorial, you are going to take a seemingly ordinary picture and intensify its colors in Photoshop.
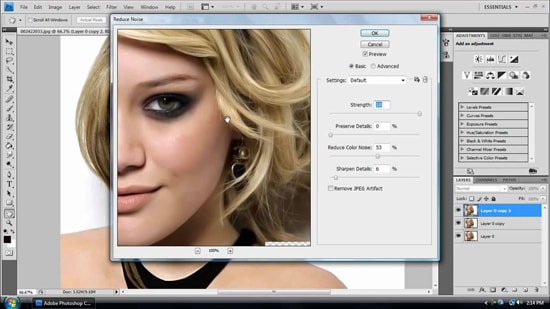
Photo Courtesy – Intensifying Images in Photoshop
It is almost going to be like you are bringing your picture to life through Photoshop and the best part of it is that – it requires very little hard work and technical Photoshop skills. However, you need to make note that the same exact steps are not going to produce the same effect for every image in Photoshop but with a little bit of modification, the images will be brought to life for sure. Open any image in Photoshop. Go to Image> Adjustment> Hue/Saturation. This is the primary Photoshop tool to help intensify your image. Make the necessary adjustments where necessary. Next, go to Image> Adjustment> Brightness/Contrast. Again make the necessary adjustments where you feel is required. Go to Filter> Artistic> Plastic Wrap. Then, go to: Filter> Blur> Gaussian Blur. After that, go to Filter> Texture> Texturizer. Change its Blend Mode from Normal to Soft Light.
That is it. In this way, you can photo edit and have successfully intensified your image in Photoshop. Hope that helps!
In this tutorial, you will see that how to add text in Photoshop. I hope that it will benefit the new users or beginner level of students of Photoshop. If you would like to add … Continue reading How to Add Text in Photoshop
Read More
Here you will learn on how to achieve a cinematic effect on your image in Photoshop. It can be done using color curve layers with some shortcuts using color adjustment layers and color lookup adjustment … Continue reading How to Create a Cinematic Effect Using Photoshop
Read More