Photoshop Clipping Path Service
What is clipping Path?
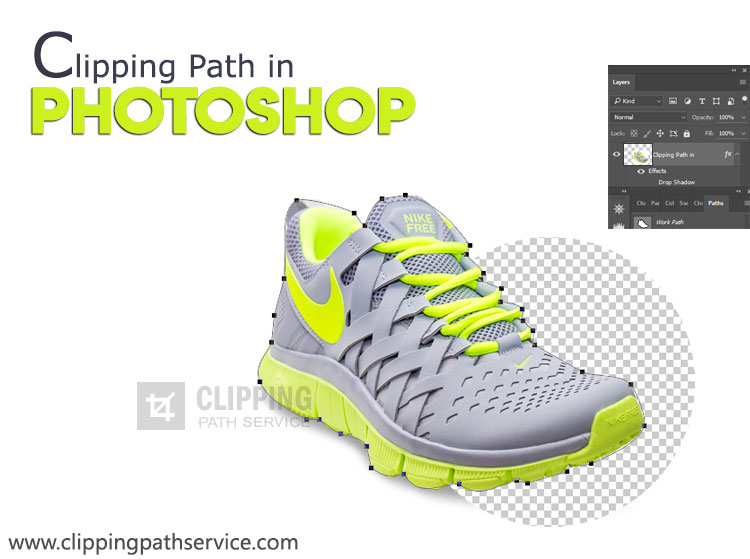
A clipping path, also known as “deep etch,” is a close vector path or shape used to cut out an image. So the idea here is that we have an object in a photo on a background and we want to get rid of the background. So anything inside the path will be included after the clipping path is applied and anything outside of this path that we create will be left out or clipped off. This is very useful when it comes to add or remove any unwanted mistakes like wrong background or poor lighting from your photos.
Which is the best tool for a clipping path in Photoshop?
Comparatively, clipping path is easy to achieve using Photoshop pen tool. Anyone can achieve it with little patience and concentration. Today later in this article we will show you how to do it on your own.
Different uses of clipping path
There are many uses of Clipping Paths. Among them a few would be
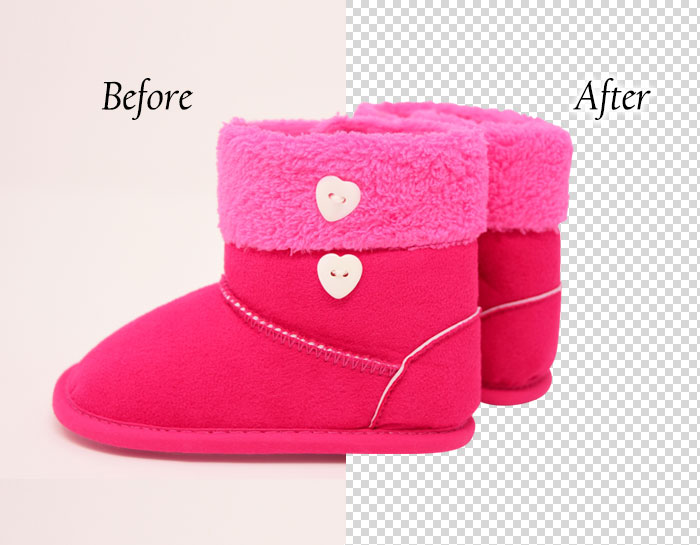
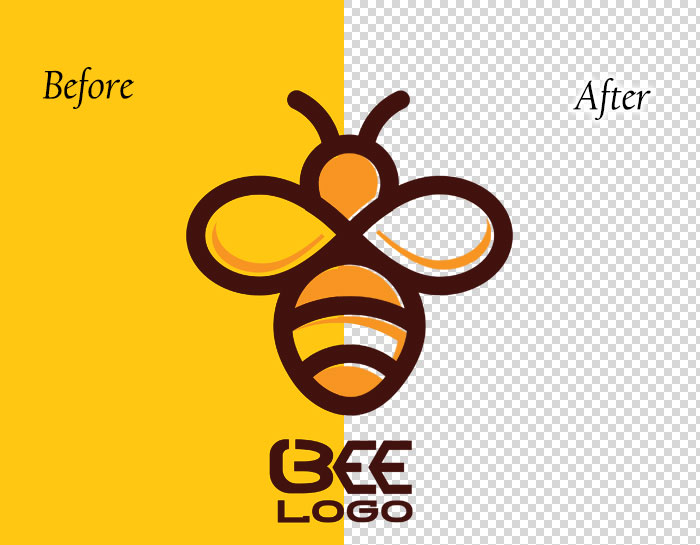
1. Background Removal/ Removing the Background from a product
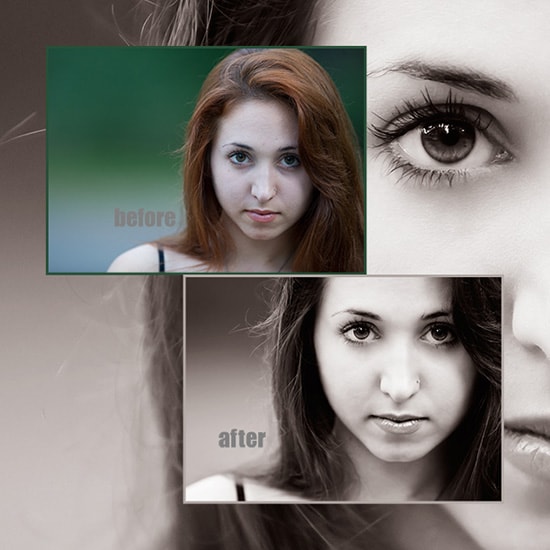
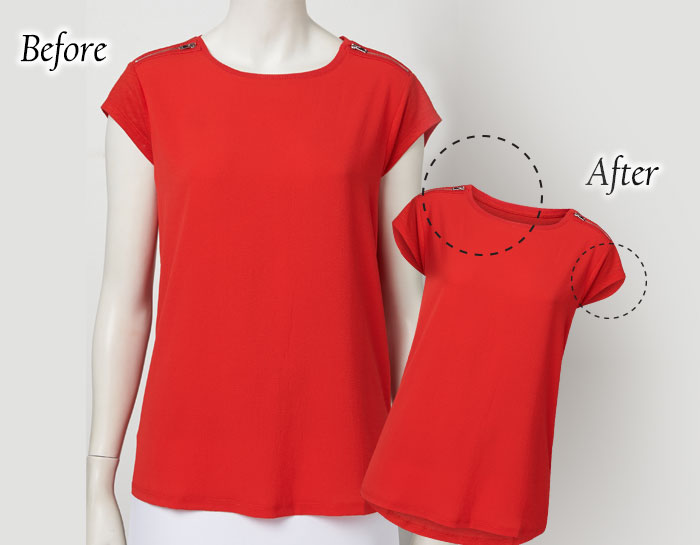
2. Multiple Clipping Paths for Color Mask and Color Corrections
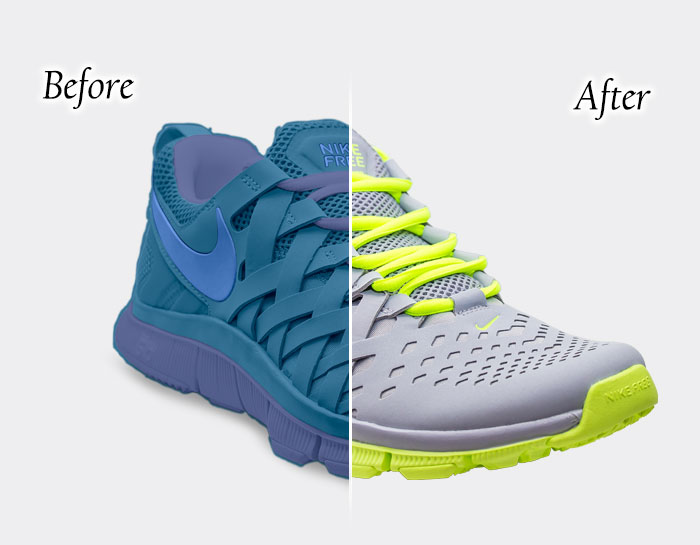
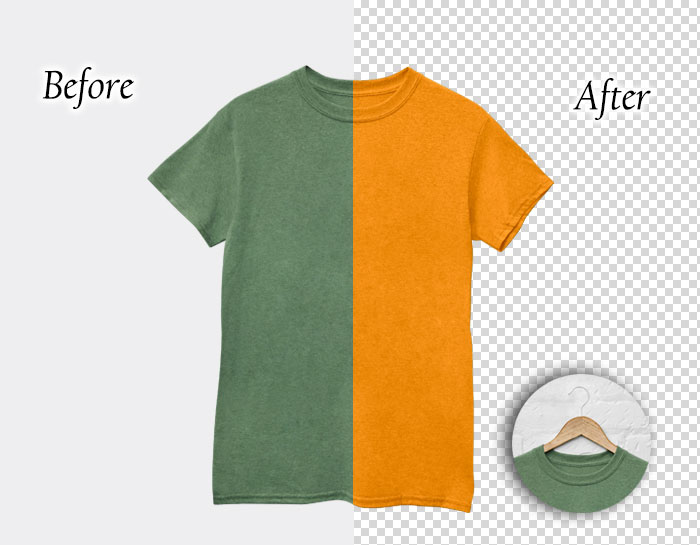
3.Multiple Clipping Paths to make a Different Color Product
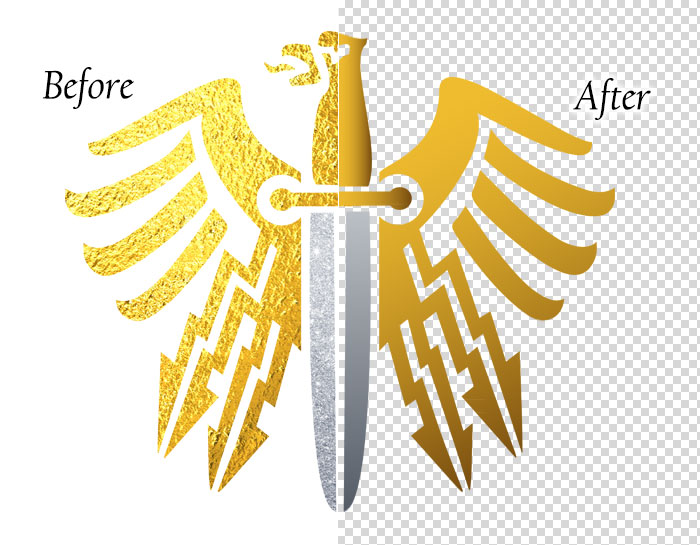
4.Clipping Paths to Recreate Graphics and Logos
5.Manipulating Images with Clipping Paths
ClippingPathService normally deliver handmade Clipping path, which is best way to accomplish the work, with every photo shoots embedded. But we also provide Alpha Channel Embedded, Layer Mask, Transparent Layer etc as your production required.You can visit us here for a free trial.
How to make a Clipping Path in Photoshop/ Way to do it on your own:
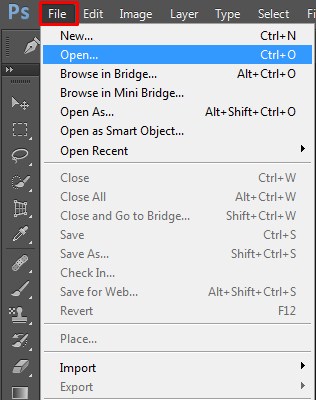
If you know the basics of Photoshop then this will be a fun ride for you. If you aren’t familiar with the tool then don’t worry, enjoy the process to delve in. Open Adobe Photoshop software. Select and open the file you want to work on and change the back ground. This can be done from File drop down option to select the file you want to remove the background from.
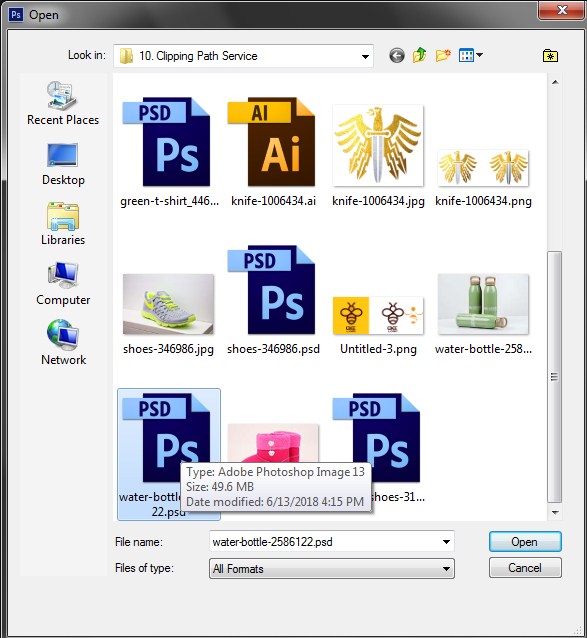
Selecting the File from the Desktop.
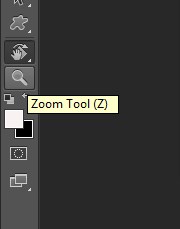
Zoom in the photo by using the zoom tool as much as you need to your requirement.
As you can see the image you opened, comes up with the name background and it is locked. Double click on it so we can edit the image.

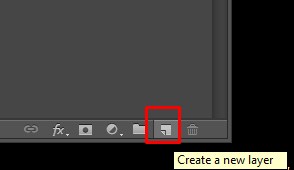
Next create a new layer by going to layer button at the bottom. You can choose to rename it or leave it as it is. However, it’s a good practice to rename the image.
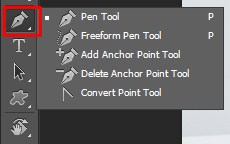
Next select first pen tool amid many pen tool variation.
You want to make sure that your paths panel is available so that you can preview your path as you are drawing it. The goal is to clip that path so that you are not able to see the rest of the background. As you will draw the path you can look in your path panel and see in real time the path being created.
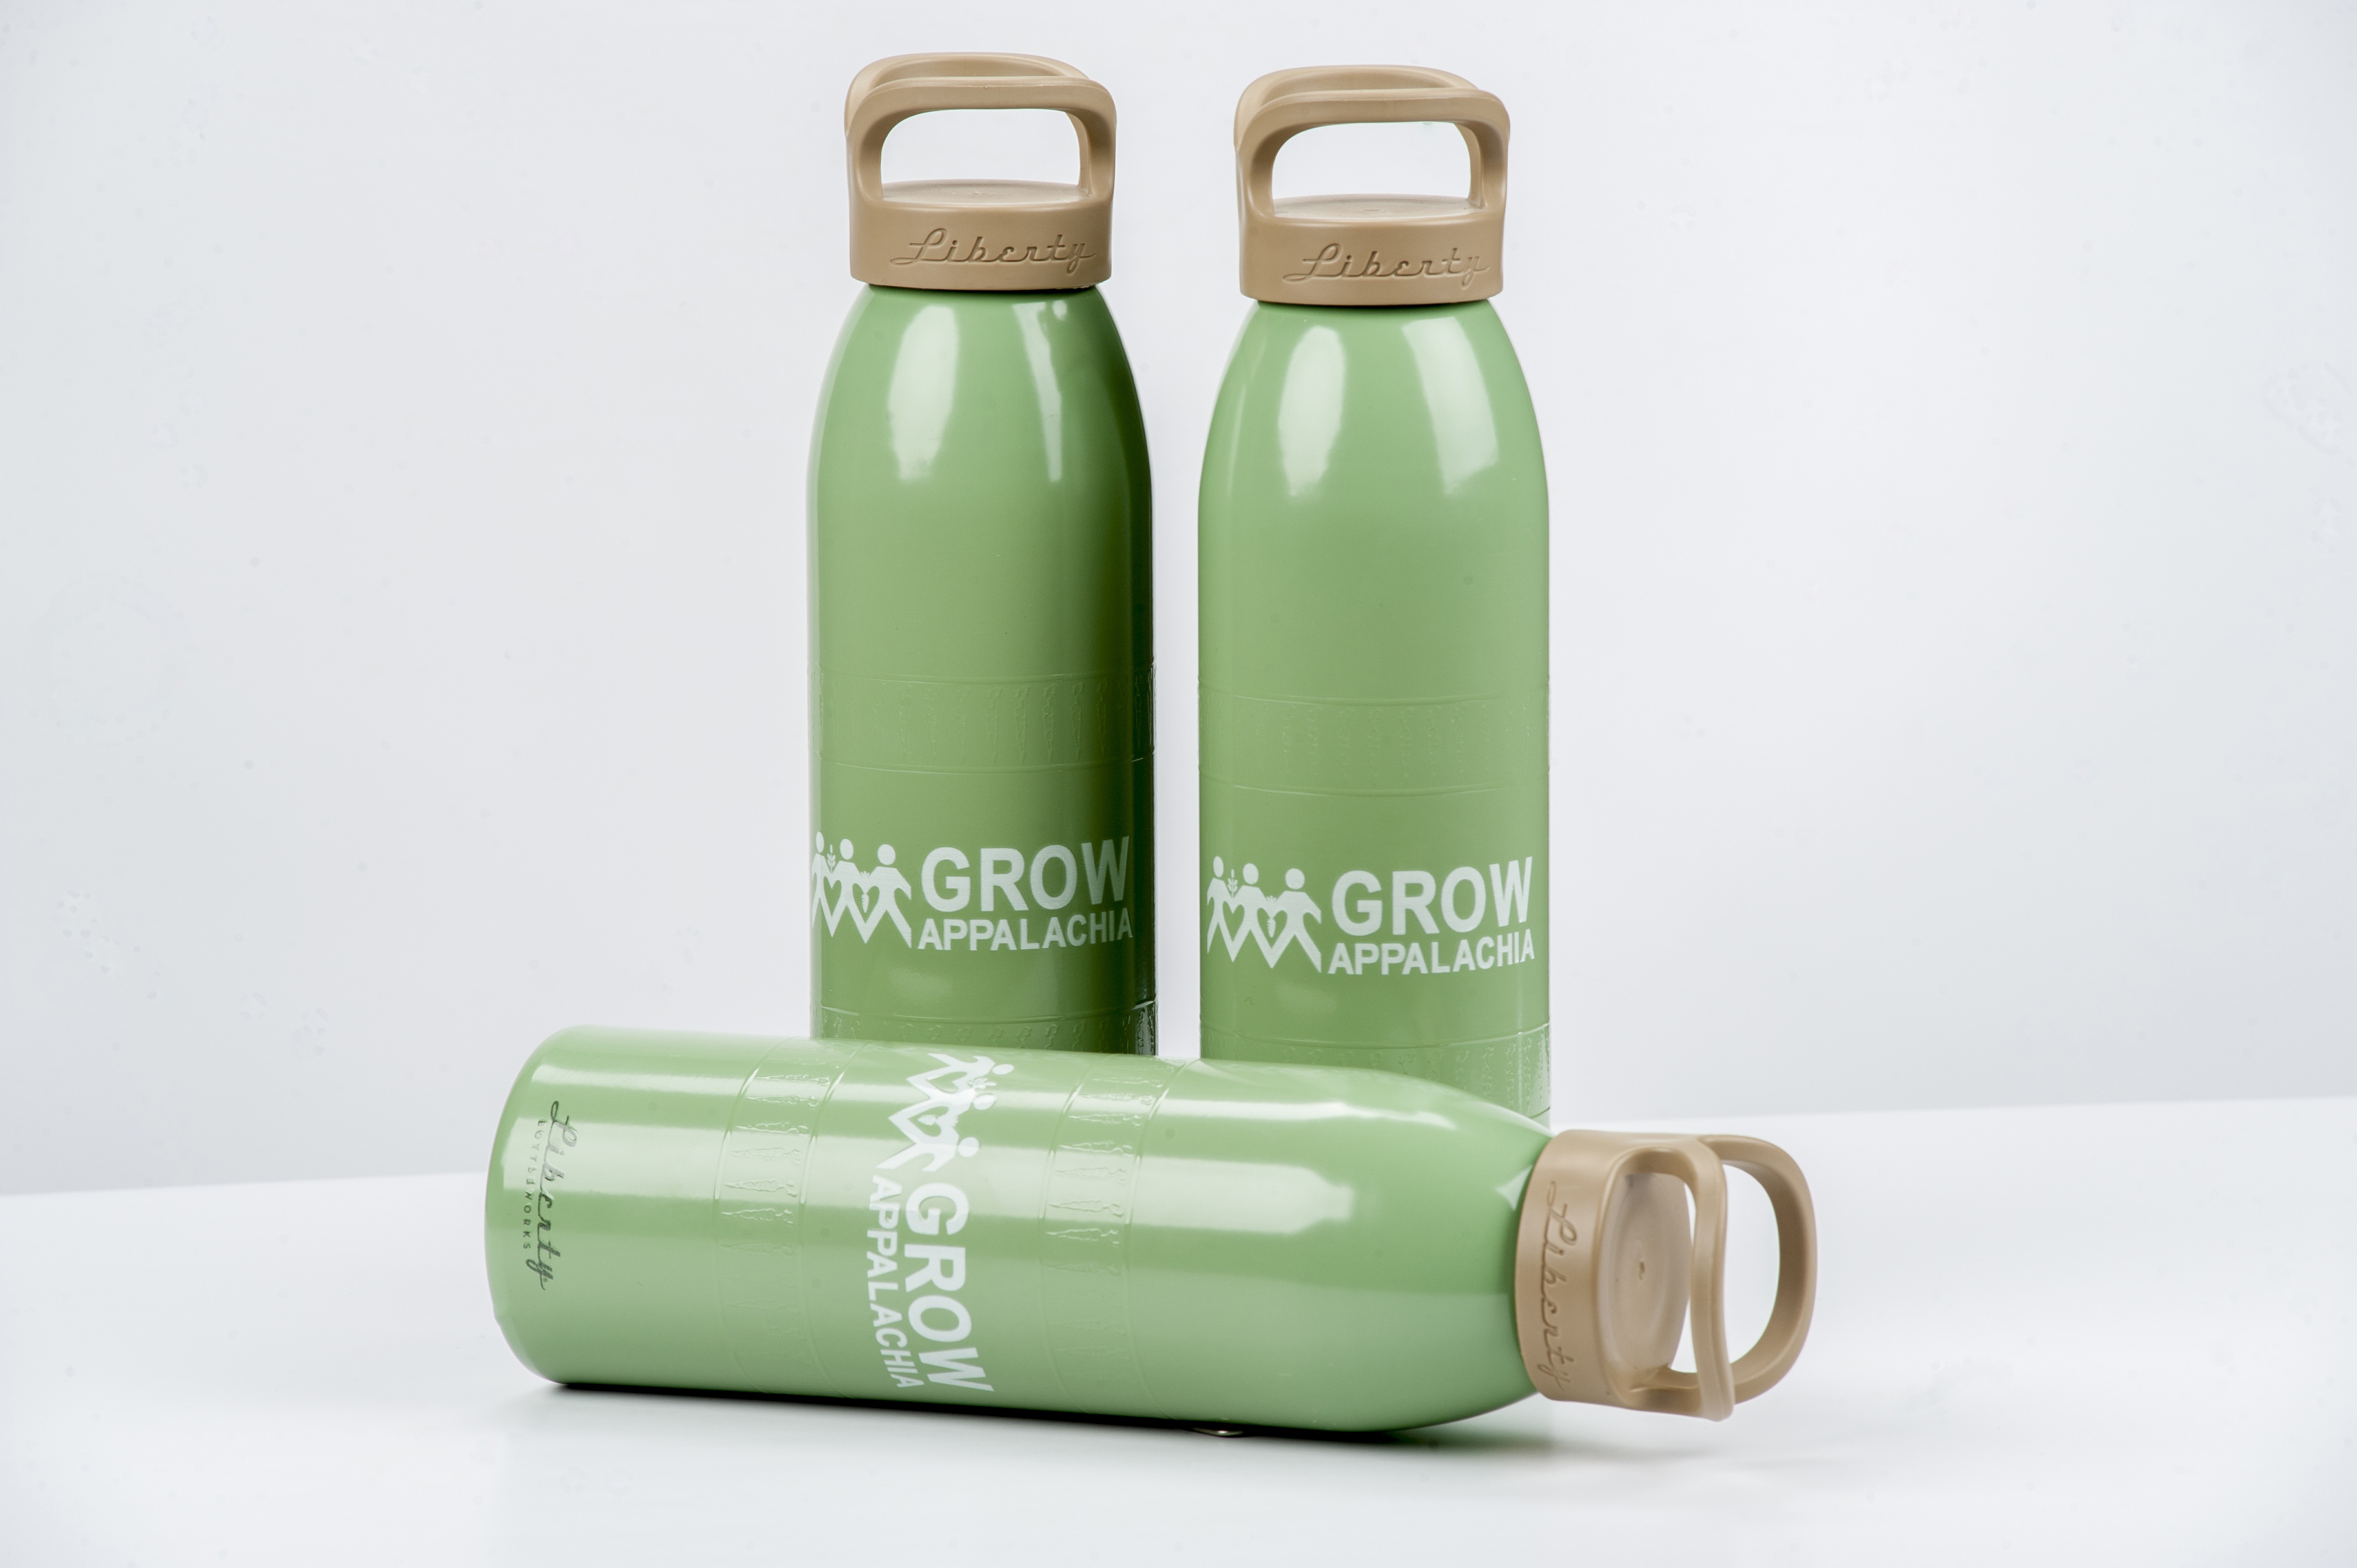
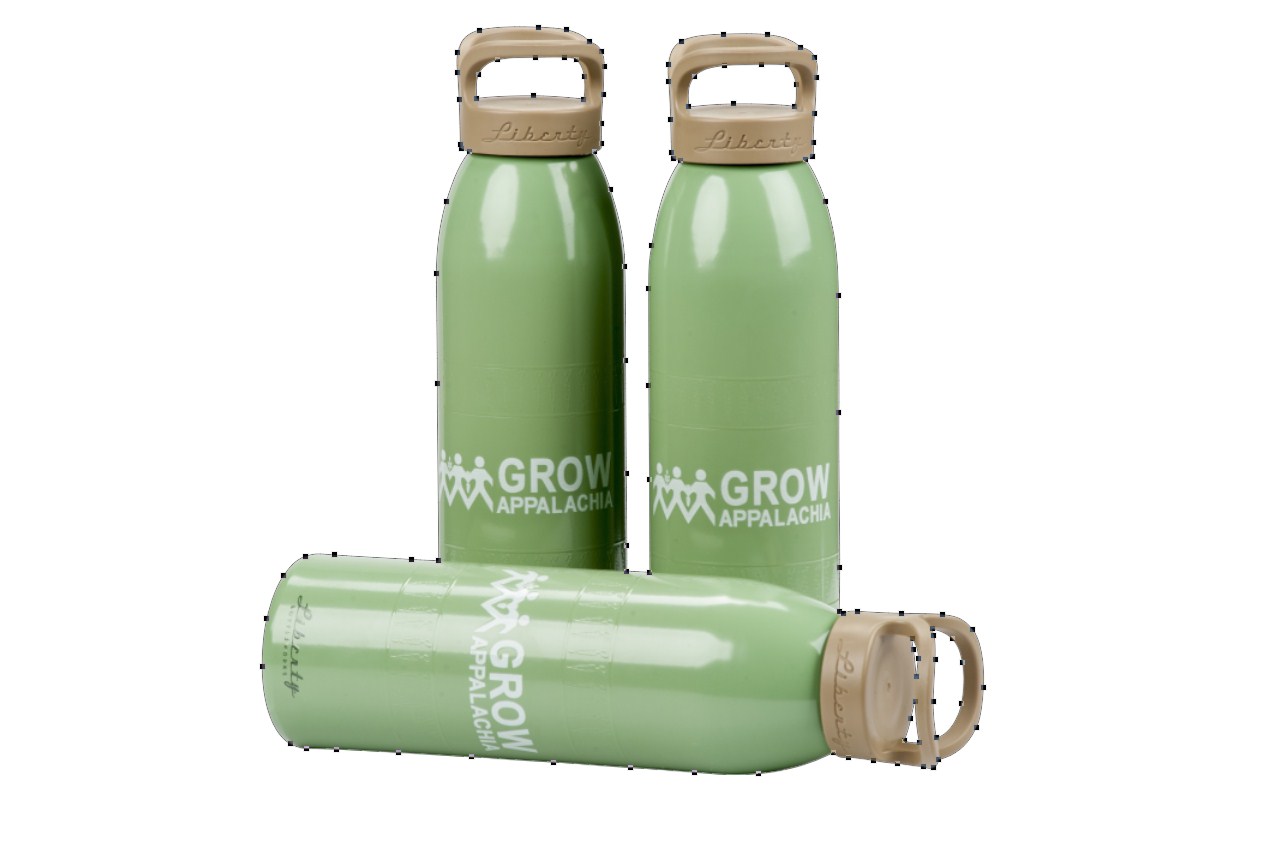
Here’s how I like to draw a clipping path in Photoshop as quick as possible. Create new path layer, start moving the pen tool to create clipping path, simply clicking on the edge of the bottle. You have to follow along the boundary lines to create the path.
There might be edges where it is not uniform as rough patches may appear. Don’t bog down by it; we can’t go in straight line as we have for most of the bottle. We have to slow down a bit and make the path moves in uneven manner as the bottle. We have to create the path over and around the bases to make it perfect.
To overcome this hindrance select add anchor point tool to create a new anchor point on existing path. Again start moving the pen tool to continue making the path. When crossing any angle select convert point tool to adjust the path shape .With these tool you can adjust the path shape. Select the path tool again to create the path.
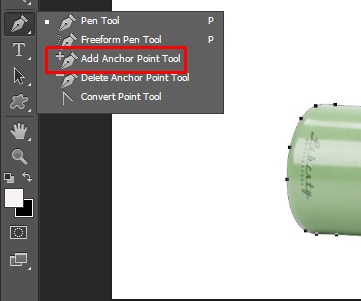
When you have the pen tool selected you can hover over the line and you’ll see a small plus sign will appear. This means you can add a point. Then just drag the point into position and you’ll notice that the point when it’s added has busier handles. You’ve got a curve set already, you can just drag it around till you get a nice smooth curve if you want to remove a point all you have to do is hover over the point you’ll see a minus sign, click on it and it will go away.
We are almost done; check out entire clipping path to find out any loophole in the image. Make quick selection to find out any loop or edges. Like in between the caps of the bottle lying down. To select path press Ctrl enter after click on the path layer. Deselect the path command D for Mac and Ctrl D for Window. Cut out the loops where the backgrounds are visible on the object. One quick note, to move the image select the hand tool or press spacebar. Zoom in or out to fit the image on screen. This is all you need to do.
There are faster ways that you can draw a path for example you can use the magic wand select what you either want to clip or what you don’t want to click in which case you would inverse and then you can convert that selection to a path. However that doesn’t always work it just depends on the subject that you’re clipping in the background that it’s surrounding.
As you’re making your path think about how the photo is going to be used if it’s going to be used in print it’s going to be high resolution so you want your path to be fairly accurate. You can also look at the shape of what you’re clipping and decide, do you need to carefully adhere to the edge or can some bits and pieces of it be clipped out in which case you can actually work very quickly. If that image is going to be used on the web you don’t have to worry so much about being absolutely perfect. Since we’re talking about low resolution here, you don’t want to spend hours getting a perfect path drawn on something that may only show up maybe a hundred or so pixels in dimension.
Self vs. clipping path service:
Clipping path is the most demand-able and most used image editing service all over the world for E-commerce product selling. If you are a professional photographer, E-commerce business owner or a retailer you need to have impressive high quality product image to stand from the crowd. As you might have seen hand made clipping path is a tedious job. It requires hours and hours of patient. This is where Clippingpathservice comes in. Clippingpathservice can achieve this by saving your valuable time and money. We make it easy to ensure all your images fit your E-commerce image editing guideline. We resize, crop, remove borders, and remove image background turning it to pure white, transparent or color background as per your guideline.
Clippingpathservice.com is an ISO Certified Company and work 100% towards the satisfaction of the Clients. For us, Quality is not a geographical term; we exist because of our customers. We continuously strive to understand our client’s needs, providing the best solutions, and building long term mutually beneficial partnerships. Our most important tenet is that we are a firm that delivers what we promise. To ask any questions or to know more about our services contact us here.
Related Articles:
How to Create a Transparent Background in Photoshop
All the images are taken from Pixabay and edited by Clippingpathservice.
Here, you will learn on how to create blur background using photo edit in Photoshop. I hope it will help you both beginner and advanced level of students in a great deal. Photo Courtesy – https://www.ephotozine.com/ … Continue reading How to Blur Background in Photoshop
Read MoreIn this section, you will learn on how to make the matrix text effect in Photoshop. I hope that is helpful for all and the beginner level of Photoshop students especially. At first, we need … Continue reading How to Make the ‘Matrix Text Effect’ in Photoshop
Read More