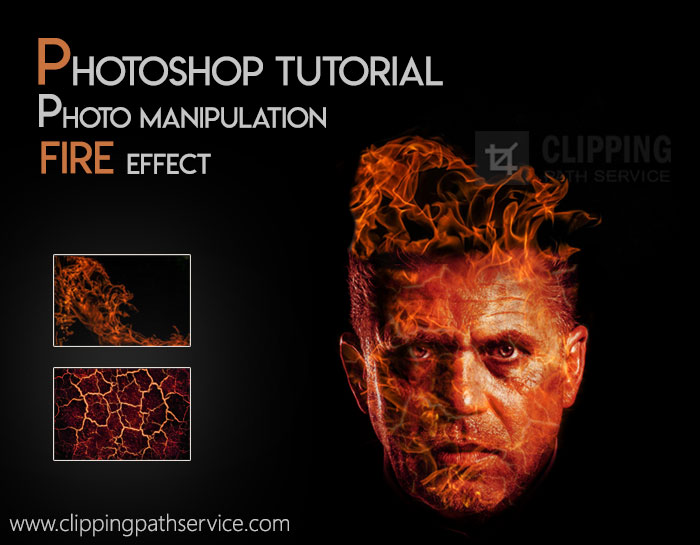
Photoshop Tutorial | Photo Manipulation Fire Effect
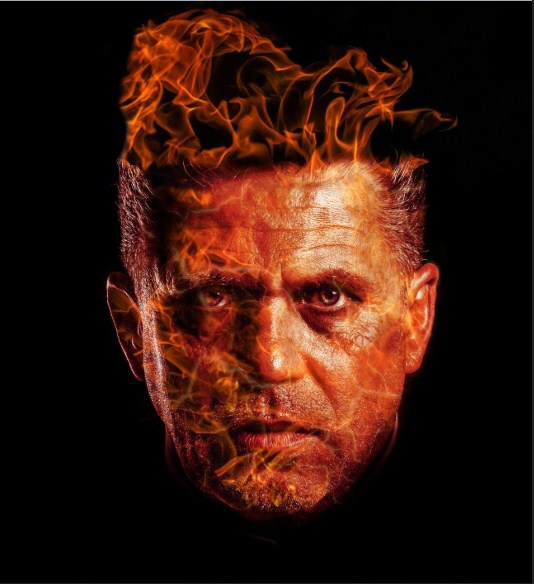
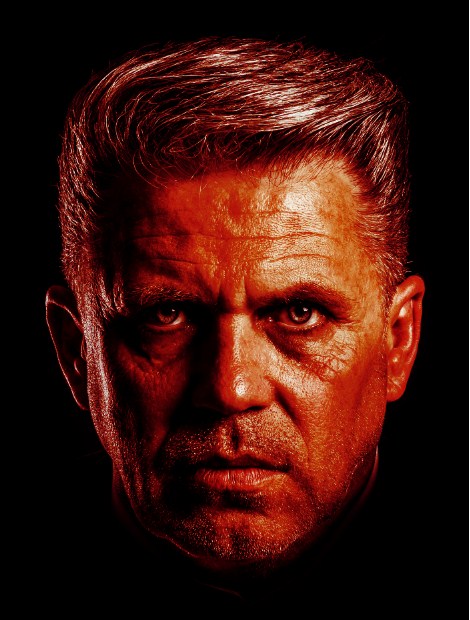
In this tutorial we’re going to learn how to create a fire effect in Adobe Photoshop. You can see below an example of what we’re going to be creating. We will be taking a subject and using several different images to combine them together to create this piece of a man on fire effect.
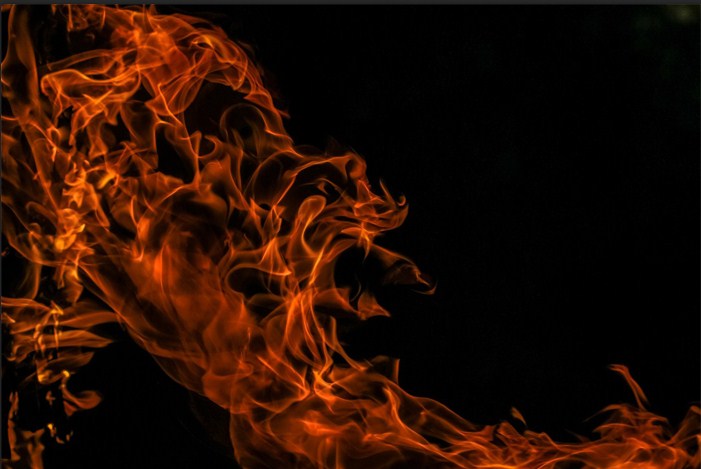
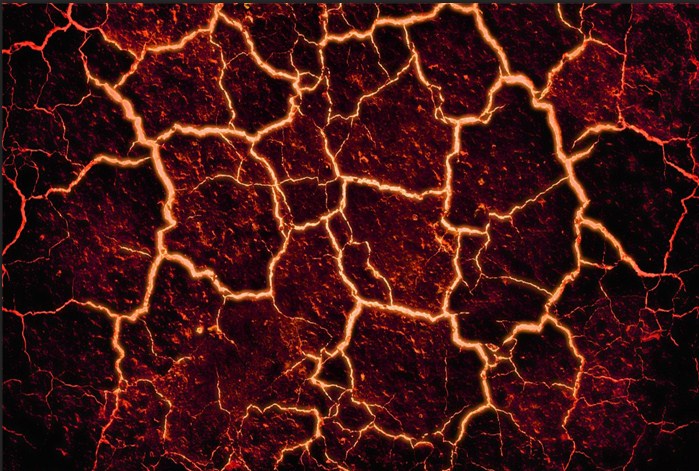
So we’ve got an image of a man, we have an image of fire and flames, and some molten lava. Basically, anything fire related is all good for this tutorial.
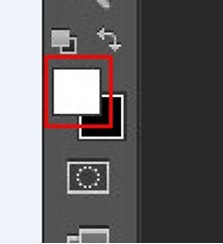
Create a new document of 2,000 pixels wide and 2,000 pixels high. Set the background to black. Selecting the canvass with Ctrl + A, pick the color black from the bottom left corner of the color palette click OK and press Alt + Backspace to set color the entire canvass in black.
Another way to set the background to black is by going up to the Edit menu at the top and choose Fill, or press Shift+F5 on the keyboard.
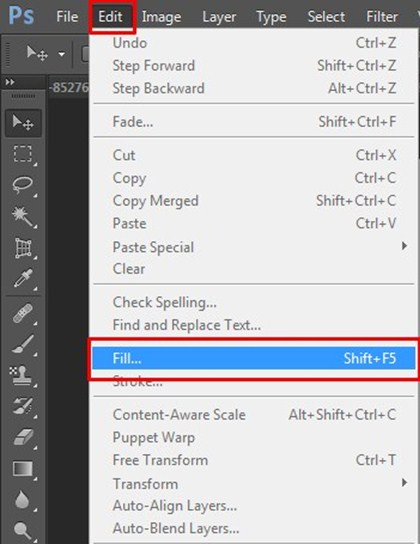
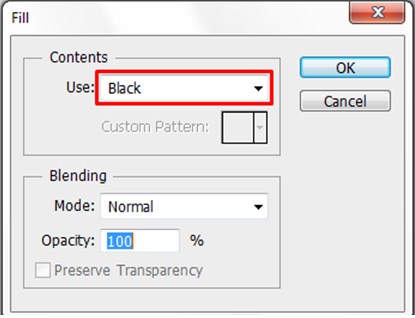
When the Fill dialog box appears, choose Black for the Contents and press OK. The document will now filled with black.

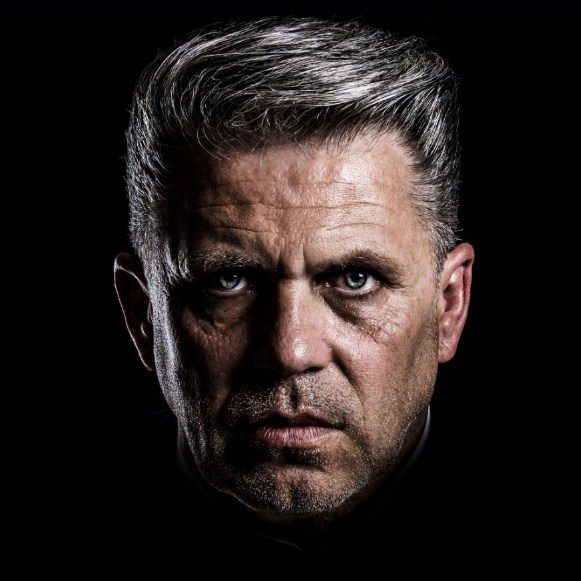
Next you will grab all of your images and get them into your main document. While on the man’s file selected click Command or Ctrl + A to select the image then switch back over to the main tutorial PSD i.e. the black canvass, and click Command or Ctrl + V to paste the photo.
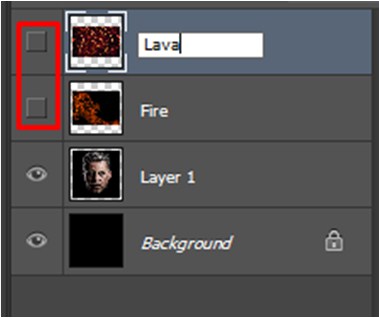
The image will zoom out there and to set it right press Command or Ctrl + T and you can hold Shift and left-click and drag from one of the corners and scale this down Put the man right in the center and bring him down to the canvass in the middle. Repeat the same for two other images, copy them each and paste over the main black canvass. Go through each of the images and scale them down, the fire and lastly do the same for your molten lava. At this stage, you can hide all the fire layers for now, just by clicking on the eye icon will hide them.
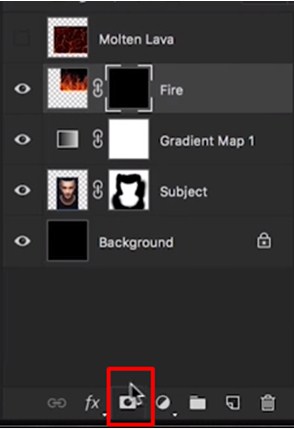
Before we move further double click and rename all of these layers just so we don’t get confused so let’s call the fire image ‘Fire’ and molten lava image ‘Lava’.
We’re going to start work on our subject first. The subject is on a dark background and as we’re using a black background as well it’s going to make it all the more easier.
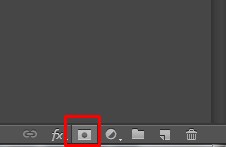
For the next step add a layer mask .
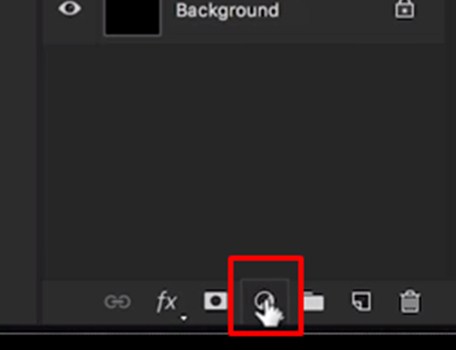
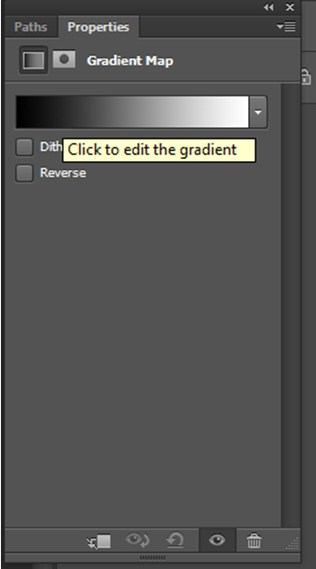
Next go to the adjustment layer icon from the bottom of the layers panel
and go to gradient map
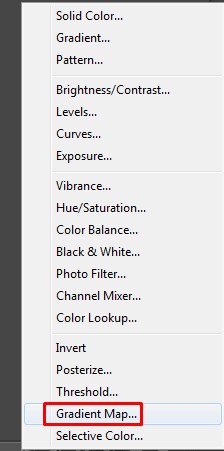
and if you click anywhere on the gradient slider then you get the Gradient Map.
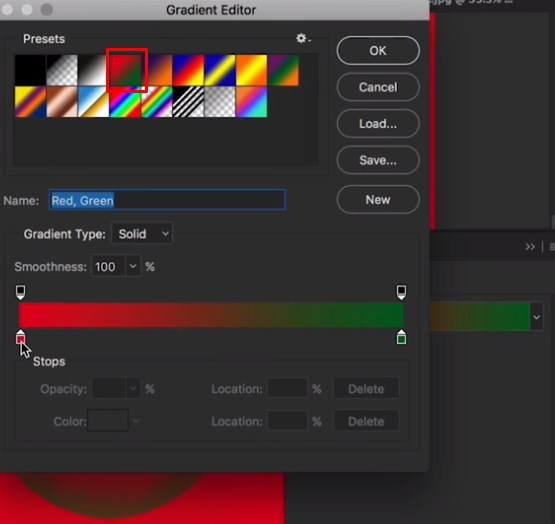
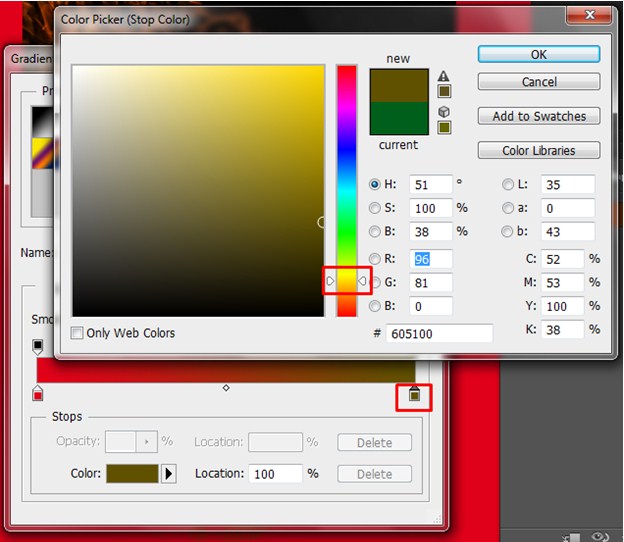
As we we’re going to be using red so picking one of the defaults at the top is perfect. Double click on the green Stop and pick a nice bright vibrant yellow so you’ve got red through to yellow.
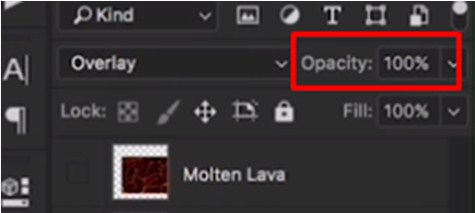
And then set this gradient map to Overlay.
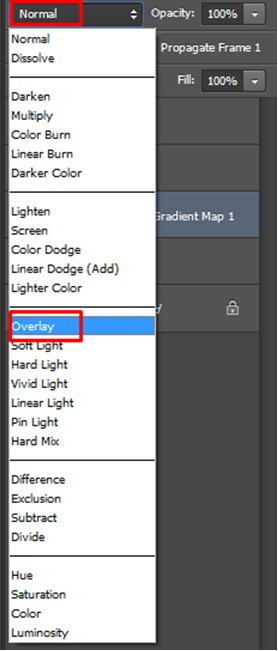
So we’ve kind of applied a very fire kind of glow to a subject and we’ll leave that set the opacity at a hundred percent for now but we might tone that down a bit later on.
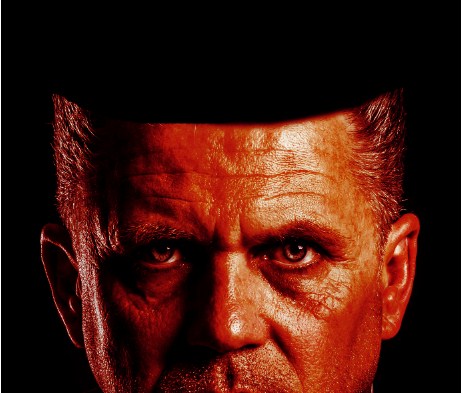
So with the subject selected click on the Layer Mask. we will use black just to remove the top part of his head, a nice sort of curve there to kind of follow the contours of his forehead, it doesn’t need to be perfect.
Now we’re going to switch on our fire layer, you need to line up flames so it appears on his head. Hold Alt and add a layer mask, pressing Alt will hide everything, which is really helpful.
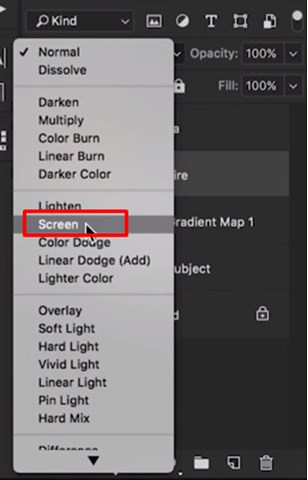
Then of course you can use white foreground color to bring in some fire back on to the subject. Select the Brush Tool to brush in some of the fire. Make sure you don’t want to brush too far out as that is completely irrelevant. You just want to keep it go around the head. With the Fire Layer selected change the blending mode from Normal to Screen so you will see it just blends a little bit more seamlessly with the top of the head.
You can of course go back to your subject mask and again just remove some of that or even add some back in some of the part of the image. So the step here is really about trying to blend. Just blend the fire and the head together as seamlessly as possible. So there’s a lot of working with layer masks, if you want to learn the basics of layer mask you can read the article here, and a lot of jumping backwards between one mask sort of fire and then the subject mask just try to get these two blend together as seamlessly as possible.
So we’ve got the fire there. we’re now going to right click on the fire layer and select duplicate layer click OK.
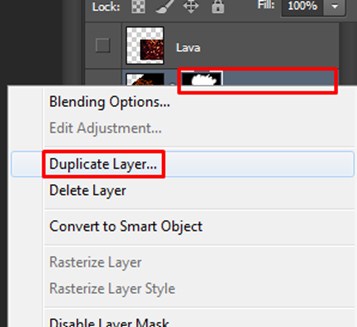
We’ll drag the duplicate layer underneath and we’ll go and call this layer “ face fire.” Now you can actually delete the layer mask from it as it won’t matter.Hide your other fire layer as what we’re going to do is use some of the kind of tips of the flames to add some texture to the face. So again if we hold Alt and left click on the Layer Mask icon then a black mask appears.
Select white as your foreground color and use your soft feather brush to brush in some texture over the face. Zoom in a bit more when necessary to ease up the work. Select that gradient map and drop the Opacity down.100% is a little bit too strong but if you select something around 80% then the result looks good. So just brushing in some extra detail then you can try switching up the blending mode to see what other kind of effects that you can create, Screen gives the best effect so far so we will stick with it.
So you’ve got your main fire layer for the head and you’ve got some extra fire detail on the face. Now switch on to your molten lava layer and re-position it again. Add a layer mask by holding Alt and left clicking on the mouse and it will hide everything.
Again using white and that soft feathered brush we’re going to brush in some lava. now you have to change the blending mode to Overlay you can see it really does blend in and then we can try Screen to see how that looks that’s probably a bit better.So usually just experiment with the different blending modes try to figure out how two layers with different colors and everything can all blend together as effectively as possible. Again bring the opacity down, you just really want to kind of add some subtle texture on the image so you don’t want this to be too pronounced,that’s why we are bringing the opacity down to 80%.
So let’s have a look, The image is coming to a pretty good shape. So you can see the composite start to come together. We can now go back to our fire layer now. This is really the part of the process where you want to kind of fine-tune and refine. So let’s go back to your subject again,we’re just going to jump between layers. Increase that brush size, you can increase or decrease the size of your brush quickly in Photoshop with the left and right square brackets on the keyboard, and also you can drop the opacity. We’re really just going to work on that blend between the top of the head and the flames. Then it’s really a case of just playing around with all of the different layers that balance the opacity.This is all there is to it.
This is how to create a fire effect in Adobe Photoshop. Hope you have enjoyed the article.
Related Articles:
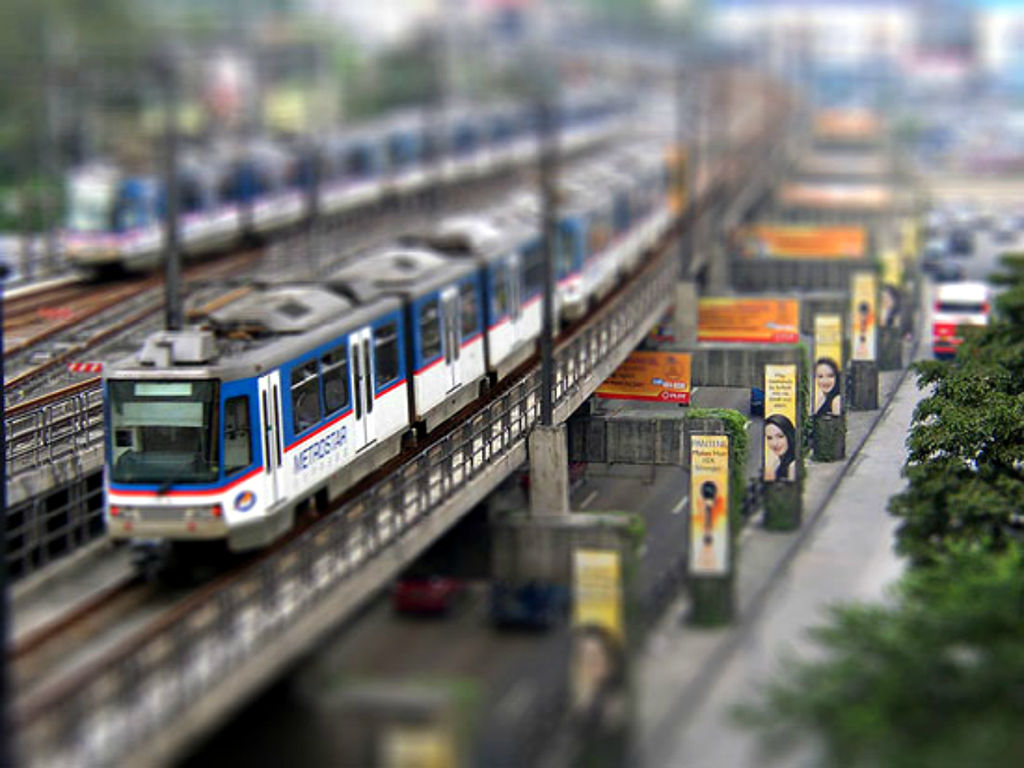
Here, you will learn on how to to achieve a miniature effect in Photoshop. I hope it will help you both the beginner and advanced level of students in a great deal. Not all the photos … Continue reading How to Achieve Miniature Effect in Photoshop
Read More
Today we will learn how we can use the Vanishing Point Filter. It is actually quite fascinating what we can do this filter. Before we move forward we need to set up the stage before … Continue reading How to add a cool Graffiti using Photoshop
Read More