How to Create Lomo Effects in Photoshop
Here, you will learn on how to create lomo effects in Photoshop. I hope it will help you both the beginner level of students in a great deal.
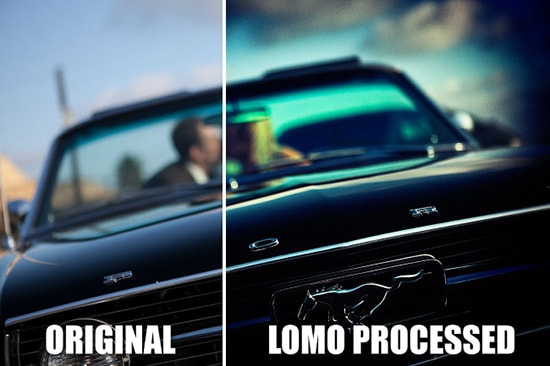
Photo Courtesy – https://www.slrlounge.com/
At first, select an image that you want to work with under a new layer. Then go to the vector mask and click on exposure. Make adjustments in exposure and offset that of your desire. Then add a curve. Bring the curve down with ‘S’ shape look. Add another curve but this time select ‘Red’ in the curve instead of ‘RGB.’ Bring that down a bit and now go ‘Green’ and push it up this time. Lastly, select the curve onto ‘Blue’ and bring all the way down. Now, select the foreground color as black and select the ‘gradient tool.’ Hold Shift key and draw a straight line and make the sideways as dark as of your choice which will create a border. That will sum it up the whole process.
I hope that it will help you and from now on, hopefully you will create more and more glowing effect images like this and be an expert in this field in the future.
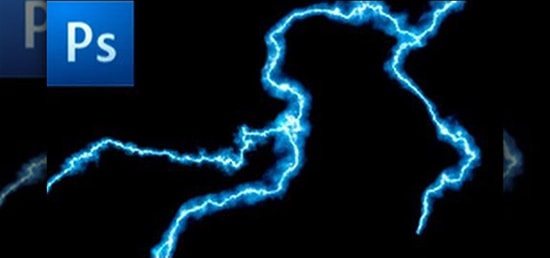
Here, you will learn on how to make lightning effect in Photoshop. I hope it will help you both the beginner and advanced level of students in a great deal. Photo Courtesy – http://photoshop-tutorials.wonderhowto.com/ At first, … Continue reading How to Make Lightning Effect in Photoshop
Read More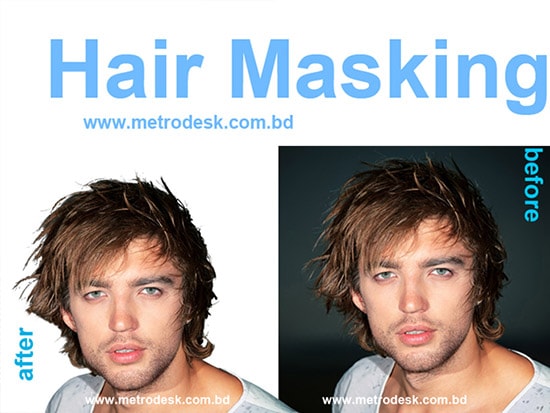
Here, you will learn on how to mask hair in Photoshop. I hope it will help you both the beginner and advanced level of students in a great deal. Open an image under a background. … Continue reading Hair Masking in Photoshop
Read More