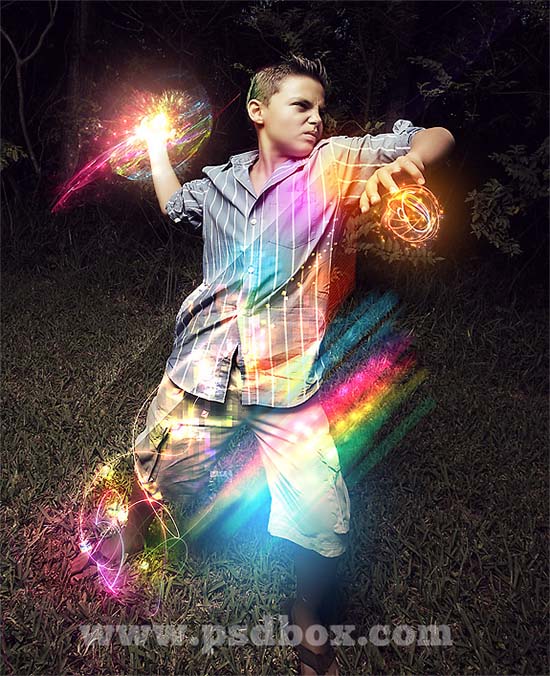
How to Create Amazing Light Effects in Photoshop
Here, you will learn on how to create light effects in Photoshop easily. Here, we will play with blending modes, adjustment layers and brushes. You will get the best result when you create a dark background and then introduce the image that you want to enhance and at the end create your lights with a combination of brushes. I hope it will help you both the beginner and advanced level of students in a great deal.
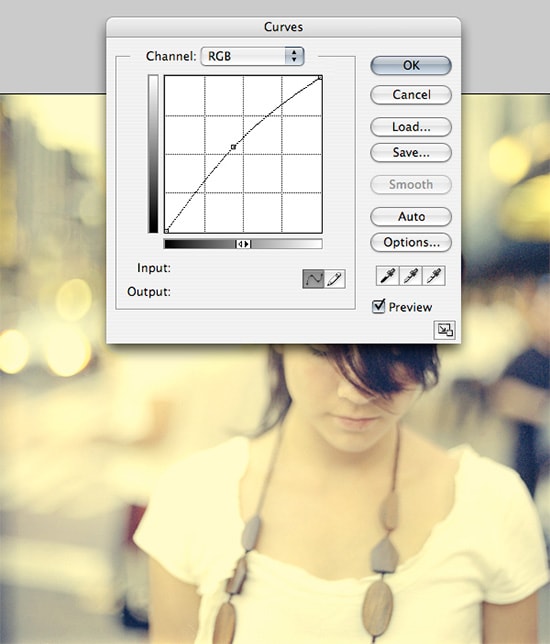
Firstly, create a new layer. Then select the paint bucket tool and fill the layer with black. Now paste in the paper texture and re-size it by pressing Ctrl + T which enable the transform tool. After that, set the layer blend mode to overlay. You should have totally black layer and then create a new layer between the black one and the texture. Select a large soft white brush and start painting over the center. Reduce the opacity of the layer until you are fully satisfied with the result. Apply a gradient map by clicking on the ‘create adjust layer’ button below the layer window. Choose the default gradient from purple to orange. Set the layer to overlay and the opacity to 70 percent. Paste in the image of something or someone that you want but supposedly here as a child. Use curves and levels to increase the contrast of the image like earlier and create an identical gradient map layer. However, this time we only want to affect only the child, not the background. Hence, select the gradient map layer and go to Layer> Create Clipping Mask.
Photo Courtesy – http://www.psdbox.com/
Create a new layer and select white or a light purple as foreground color and start painting with a large soft brush. The aim is to create a background light effect. Imagine that you have to create a route for the light effect. Create a single layer for each click with your brush. Reduce the opacity of these layers from 10 percent to 30 percent. Now, grab the lasso tool and set feather to 30 pixels and make a selection. Set purple as foreground color and black as background. Create a new layer again and go to filter> Render> Clouds. Click Ctrl + F to increase the contrast and Ctrl + D to deselect. We want to eliminate the black parts of the clouds. So, set the layer to screen and apply curves and levels to increase the contrast and use the eraser tool to remove the unwanted clouds. If you want a stronger effect, you can duplicate the layer. Create a new group and set the layer blend mode to color dodge. Create a new layer inside the group. Select a white soft brush and start painting over the part of the image you want to enhance. Reduce the opacity to 30 percent. Create a new layer and entitled it as ‘light smoke’ and switch the layer blend mode to color dodge. Set the foreground color as nice purple. Select one of the smoke brushes and paint. Duplicate this layer 2 or 3 times and that will give you nice light effects.
I hope that it will help you and from now on, hopefully you will create more light effect images like this and be an expert in this field in the future.
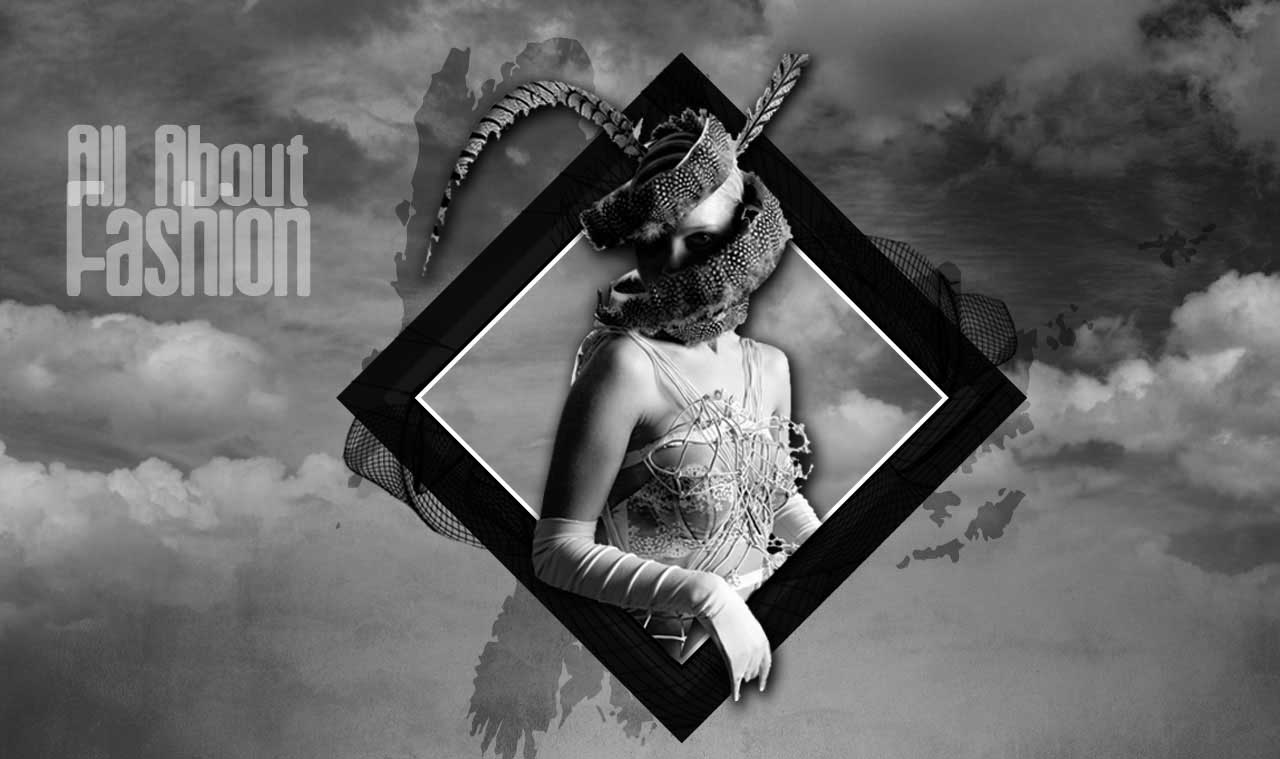
Today you will learn how to create a fashion poster in Photoshop. The techniques that will cover here include creating a collage of photos and applying simple layer adjustment. You will need an image of … Continue reading How to Create a Fashion Poster in Photoshop
Read More‘Vicious and Pretty’ retouching is also another important kinds of retouching. It looks both pretty and vicious at the same time. Therefore, it is tough as well as it is challenging. Photo Courtesy (both) – https://jollyrebels.wordpress.com/ … Continue reading ‘Vicious and Pretty’ Retouching
Read More